Creating an ASE model using multiple Materials
This tutorial is assuming that you've read the Modeling - Basic Tutorial which shows how to export a simple cube with a single material to ASE. If you want to use multiple materials your mesh has to be tweaked a bit, as mutltiple shaders require your model to be separated into several objects. This tutorial refers to Blender 2.43.
Create and texture your Model
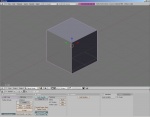
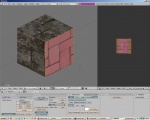
We're using a cube here as in the other tutorial for the sake of simplicity. We will apply two different materials to the faces. So basically, create the cube, enlarge it by a factor of 10 (it will be too small in-game otherwise) and unwrap it by switching to U/V Face Select, selecting all the faces and and hitting U:
Go to the U/V editor (with all the U/V faces selected) and select the shader for your cube (Image > Open) - I used the blocks_008_editor.tga file directly from the repository:
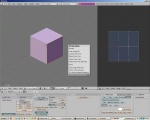
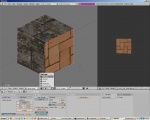
Now we select a single U/V face to apply a different texture to it. Just right-click the according face:
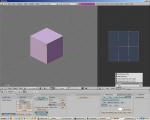
In the U/V editor, select Image > Open and select a different image (here brick_004_editor.tga):
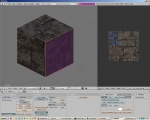
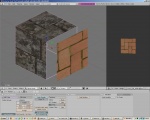
Note: you can preview your textured model by going to the Object Mode and choose the "Textured" render mode:
Separate your Meshes
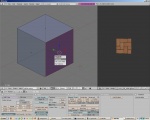
In order to export your model to ASE you will have to separate your meshes according to their textures. In our case we only have one face that is using a different texture than the rest of the model. Switch to Edit Mode and select that face. Hit P to separate the face from the mesh and create a new object out of it:
Go back to Object Mode: This is what it should look like if you select the cube and move it - the separated face should stay where it is - this is just for illustration:
Export your Model
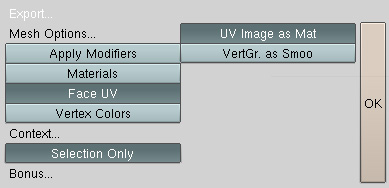
Don't forget to hit Apply Scale & Rotation (CTRL+A) if you resized and moved your model and select the two objects (the cube and the single face). Now export the model using the Export > ASCII Scene menu and use these options:
I exported this test model to c:\games\doom3\darkmod\models\darkmod\cube.ase as this is just a testmodel I will delete it anyway.
Edit your ASE File
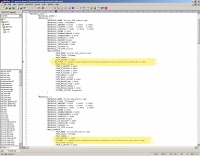
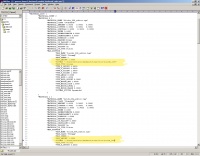
Open your ASE file using your preferred text editor and you should find two *BITMAPS entries. You will have to change both of them now to the according darkmod shaders (the right image shows the corrected shader references):
Test your Model in-game
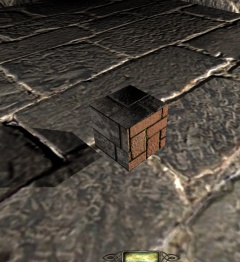
Now create a testmap and place your model into it. Load it into the game and voilà:
