Vaulting: Difference between revisions
m uploaded external images |
m adding category tag |
||
| Line 41: | Line 41: | ||
* [[Vaulting Junctions]] | * [[Vaulting Junctions]] | ||
[[Category:Editing]] | |||
[[Category:Tutorial]] | |||
[[Category:Mapping Tutorials]] | |||
Revision as of 14:20, 21 November 2018
Originally written by Demigod on http://forums.thedarkmod.com/topic/1786
This tutorial is based on the tutorial by John "Anwulf" Hutton (http://anwulf.teamhuh.com/vaulting.html) It has been updated simply to reflect the changes introduced by the Doom3 engine
Vaulting or Archways
To create a vaulted corridor or arched doorway
Create a Brush
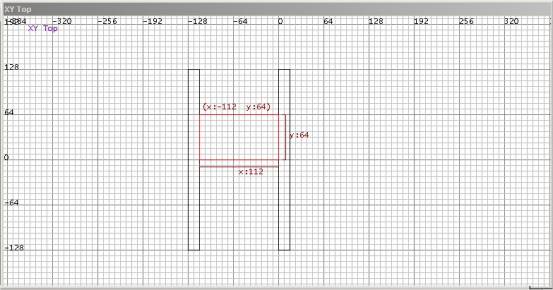
First a brush has to be stretched to fit the width of the corridor or space that the vaulting will cover. The height of the vaulting can be set at this point as well or it can be changed latter. In this case the brush is x: 112 y: 64 z: 64
Create a Patch
The next step can be done in two ways. The first and the simplest, and that which will be used for the rest of this tutorial is as follows
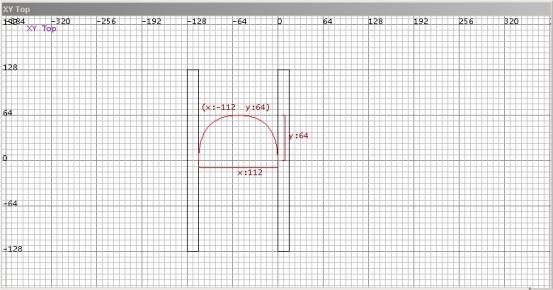
- Select the brush to be turned into the vaulting then go to Patch -> Endcap. This will produce an image similar to the one below
To correct this the brush will need to be rotated, in this case it requires rotating on the x axis three times.
- The second way to make this is to turn first half the width of the brush. Then turn it into a bevel Patch -> Bevel. This will then need duplicating for the second half of the corridor. This method can be useful if the width of the corridor changes and the excess width of the endcap can be seen. However doing so can create problems with texture alignment.
Create End Caps
The above methods will create the vaulting required. However to terminate the vaulting before a wall is reached caps have to be placed at the end of the vaulting.
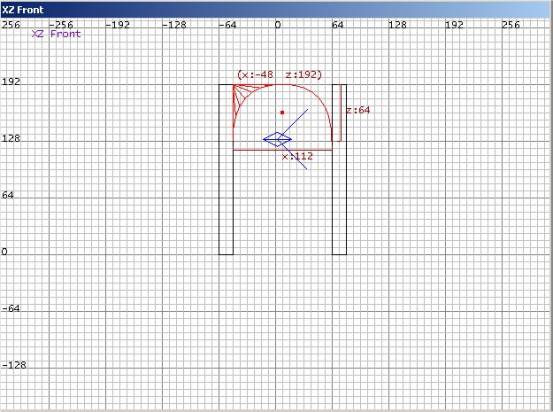
To do this select the endcap and go to Patch -> Cap -> Inverted Bevel -> Inverted Bevel. This will create a cap for half of the endcap as shown below.
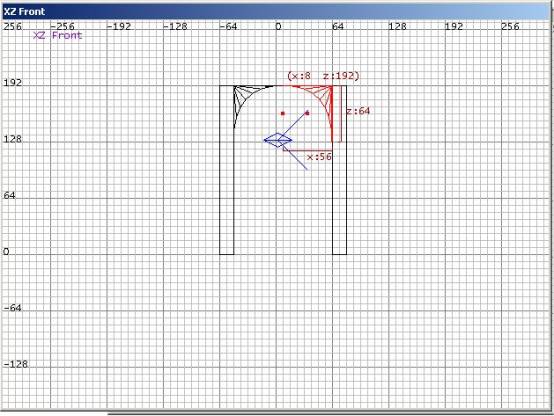
To remedy this select the endcap again. The endcap and the new cap should be selected. While holding down the Shift Key left click on the endcap (the vaulting) This should deselect the vaulting leaving you with the cap selected. To duplicate as normal press space, rotate the cap on the z axis and move it into place as shown below.
Here the vaulting is complete. It can be stretched to fit the needs of the corridor, though the duplicated cap must be remembered when doing this.
Note: Adding caps to the ends of bevels or endcaps can create node without a volume errors in the bsp readout. These are not errors, just warnings and can be safely ignored.


