Blender: The Tools and Their Uses
Blender Basics This is a list of the most commonly used basic tools you'll be playing with in Blender. The list below will cover what they do, and some of the scenarios you'll find yourself using them in.
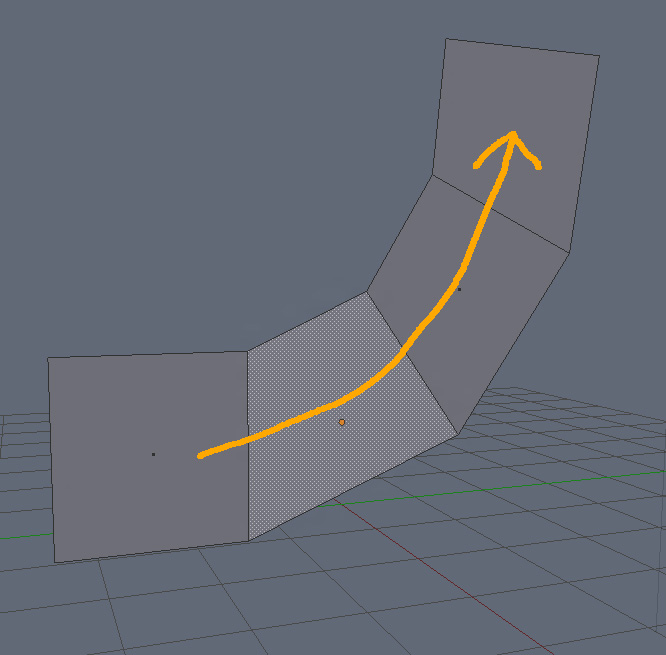
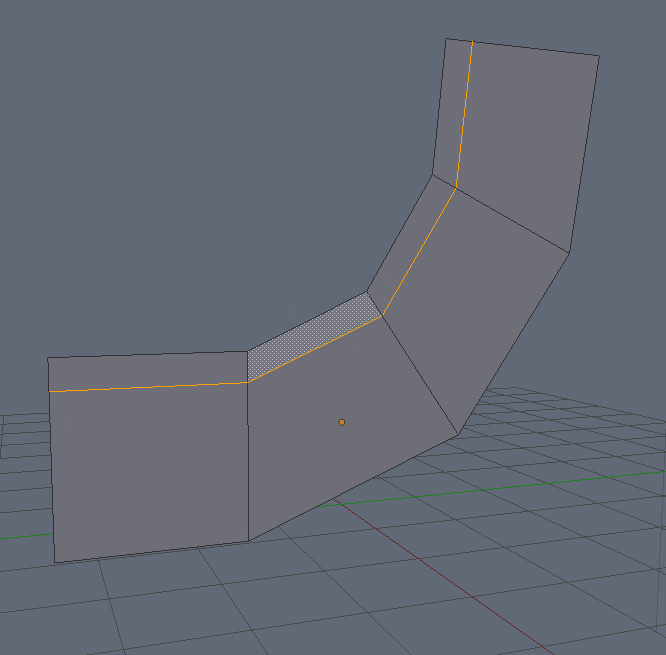
- Loop Cut And Slide, Loop Selection, and Loops Loops Loops Ahh, good ole loop cuts. Probably the one tool you'll find yourself using the most when adding detail to your geometry. It's clean, easy to select only producing more quads, and contours to the rest of your geometry. When activated, it'll draw your loop based on the orientation of an edge you hover a mouse over. For example, say you want to cut a loop through the center length of the body of our little bendy example model, like so...
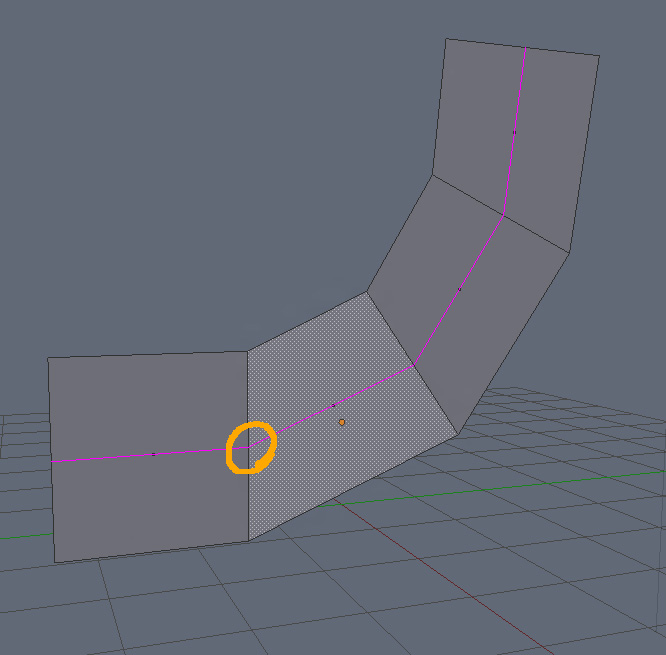
...you want to hover the mouse over one of the vertical edges when the tool is active. Basically telling it which edge you want it to cut the loop through.
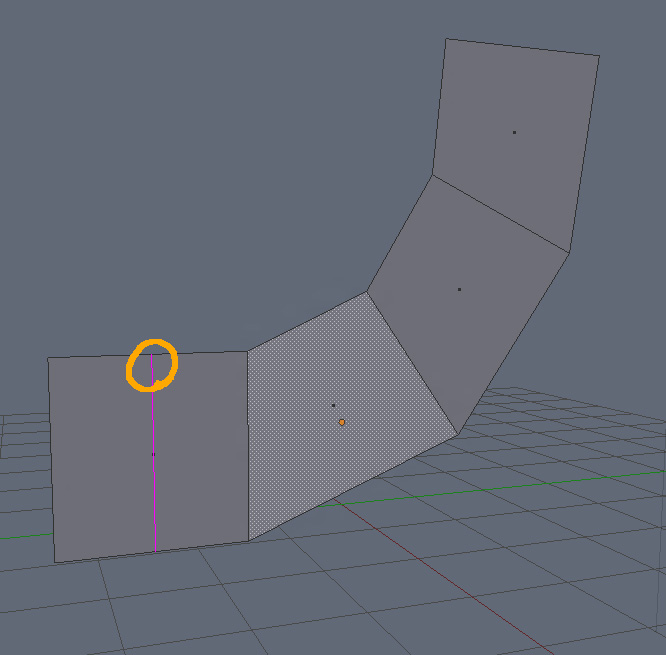
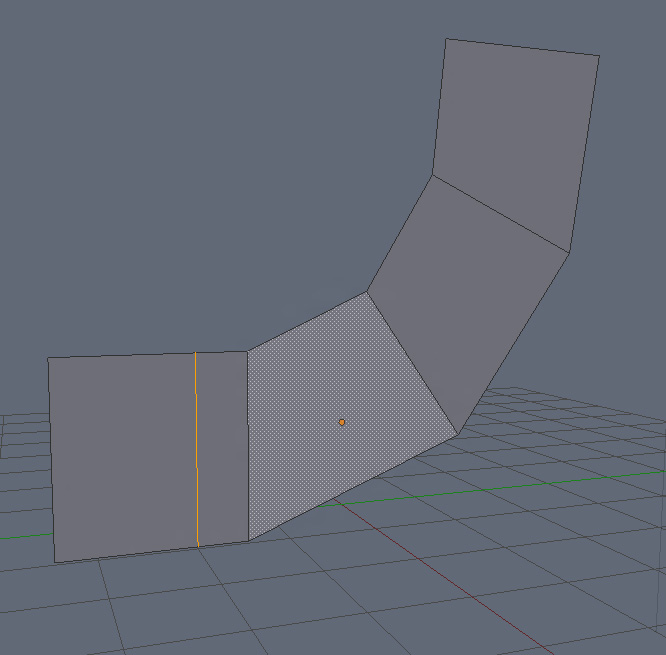
If you want to cut through one of the segments, you'll pick one of the horizontal lines along the top, you'll hover your mouse cursor over the edge you want to cut through, and it'll show you the purple cut guide, like so....
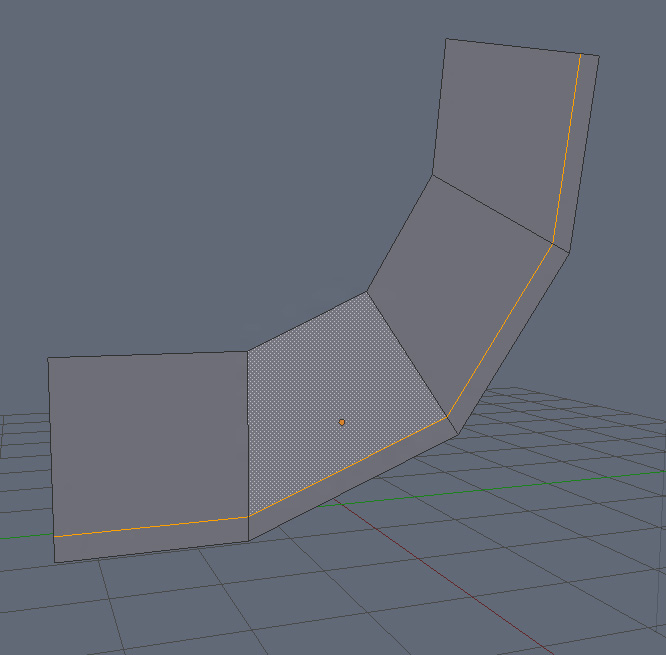
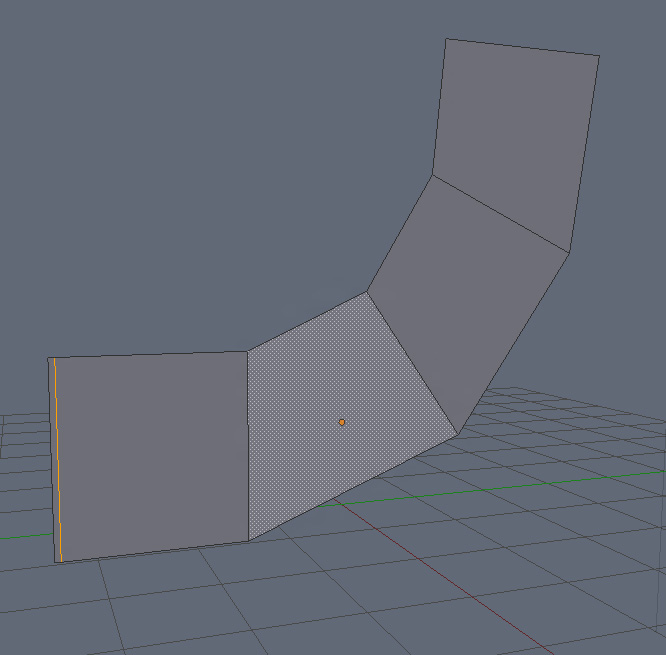
Easy. While the preview guide defaults to the center of the quads you're intending to cut, that doesn't mean it'll cut only there. When you decide on which edge you want to cut through, clicking the mouse button once activates the cut, and moves you on to the next stage of the Loop Cut and Slide tool. That's right, you're going to be sliding your loop cut. Once it's active, just move your mouse about to position your new edge loop to any position you want.
Once you've got it situated, click your mouse button yet again. You've now added your edge loop.
It's an incredibly simple tool, yet one that will prove it's value in a variety of situations. If you're confused at all by my explanation, all you have to do is spend a couple of minutes playing with it. You'll see exactly what it does.
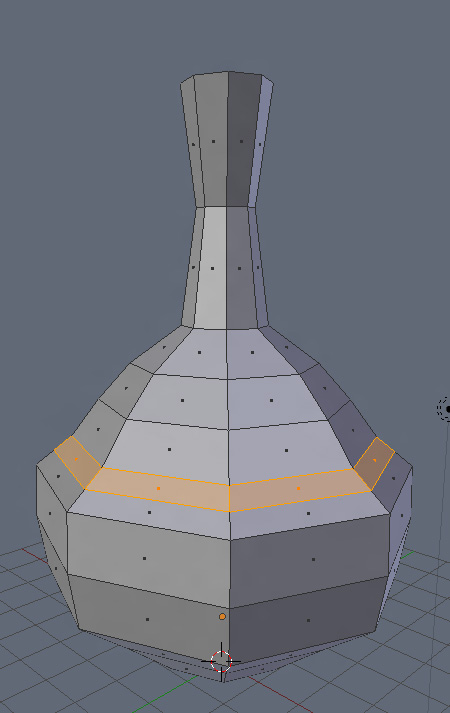
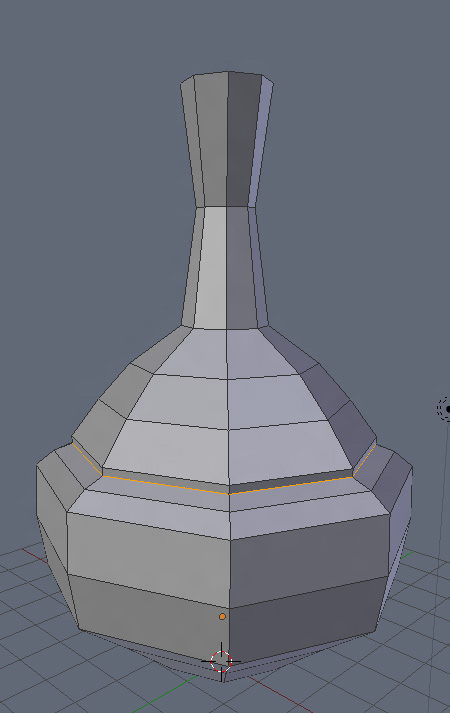
But what can it be used for? Well...everything. Say you're making a round jug (this is a pretty crappy jug, I admit)...
...and you want to add in a little more geomety in that highlighted section. Like a little hard lip there. Just add a loop cut and scale it about!
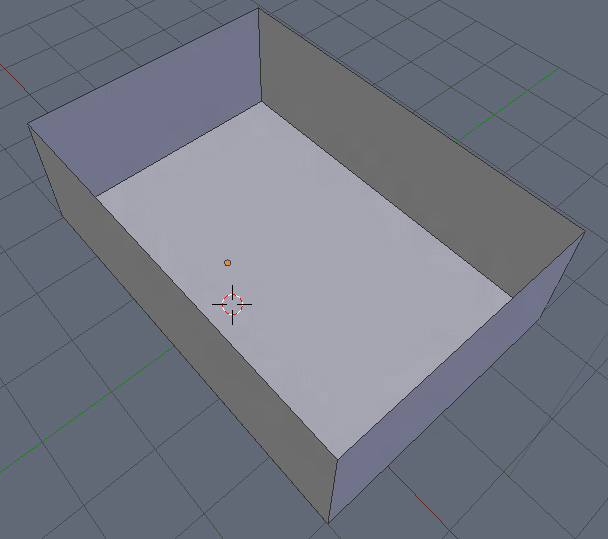
Or what if you're designing a room...
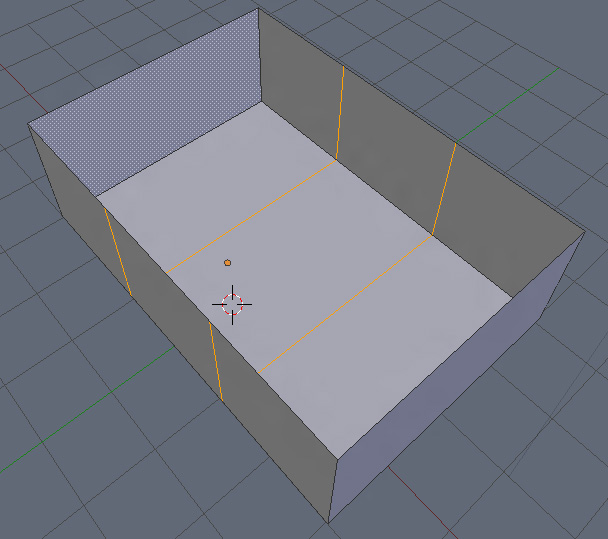
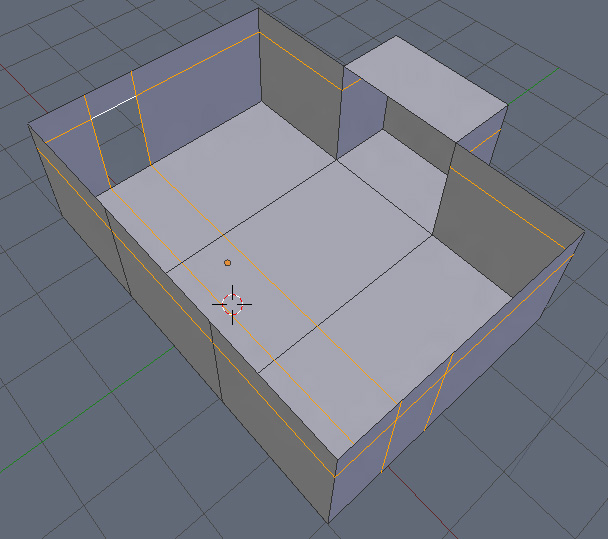
...and want to add a small alcove off the center wall? That's easy! Just a couple of Loop cuts...
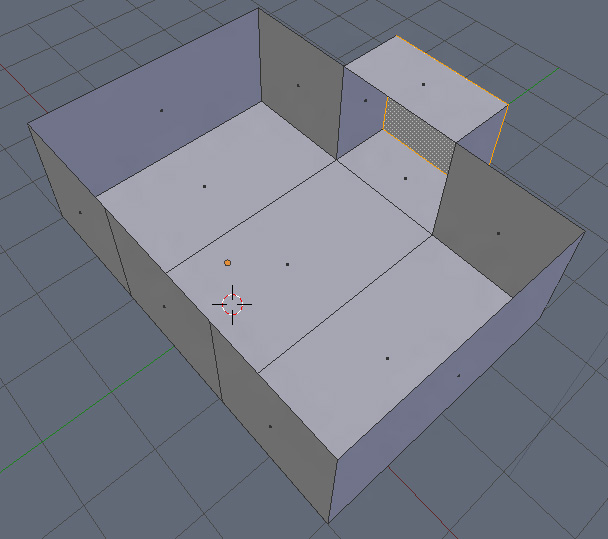
...and extrude the new quad you've created...
There you go! Alcove!
And what about a door? Just as easy! 3 loop cuts, and a delete face.
Literally 5 seconds of your time to carve out a door. For the final example, lets say you want to make your new alcove curved. You're going to need to make a few slices in your geometry to define the contours of your wall. We're going to use loop slices again, but this time, I'm gonna add one little step to the equation.
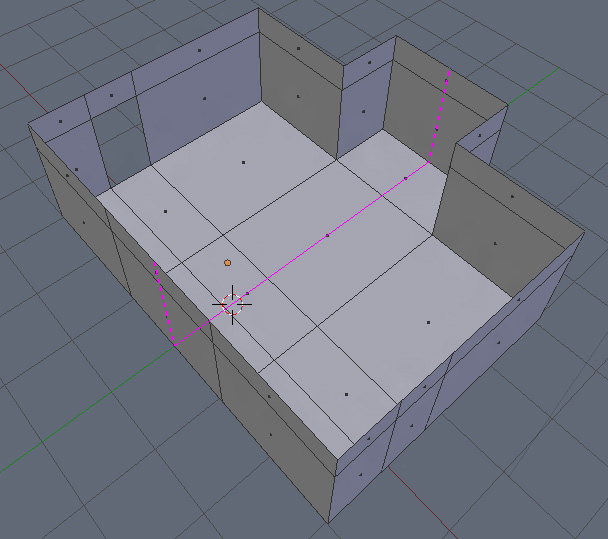
First, activate the tool, and align your mouse so you define a loop cut that runs through the center of your alcove (FYI, I went ahead and deleted the topmost face on the extruded section for the sake of the tutorial, in case you're wondering).
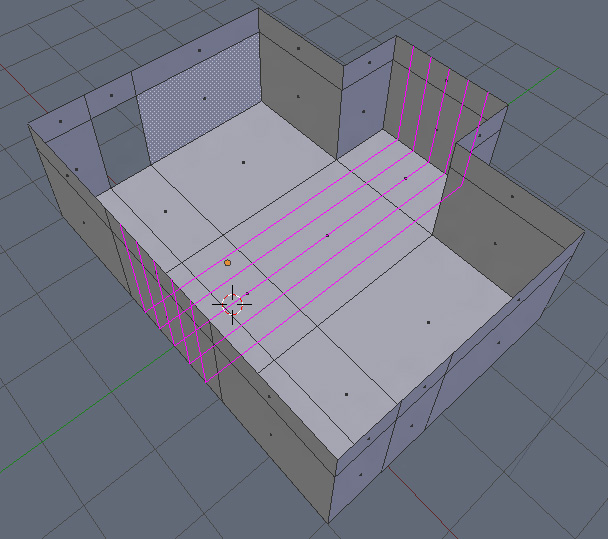
...but before you commit the cut, scroll your mouse wheel up. See that? You can add multiple equally sized cuts to your geometry.
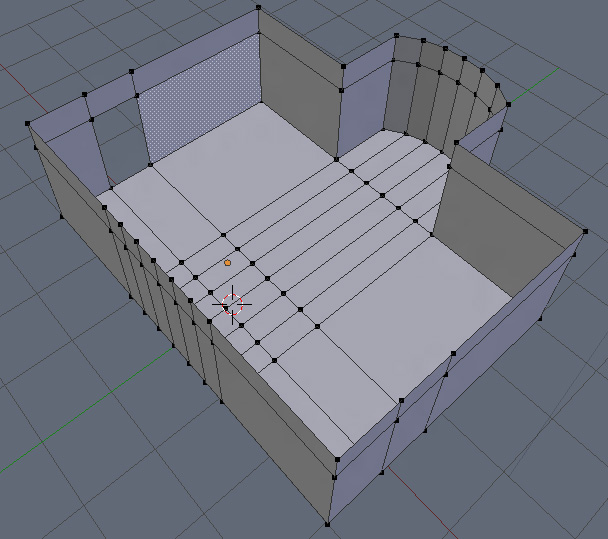
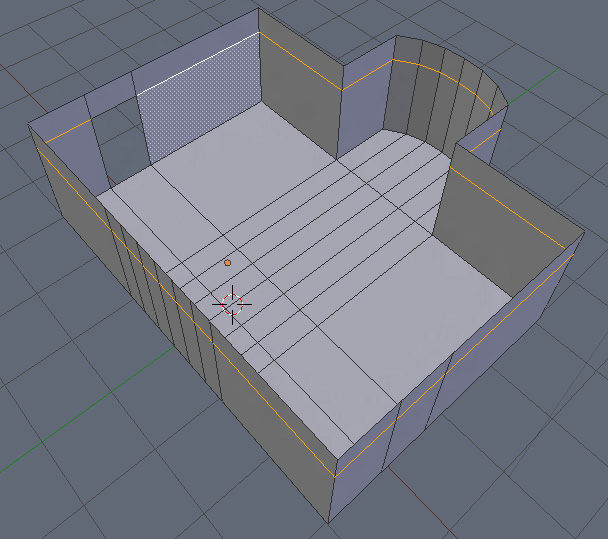
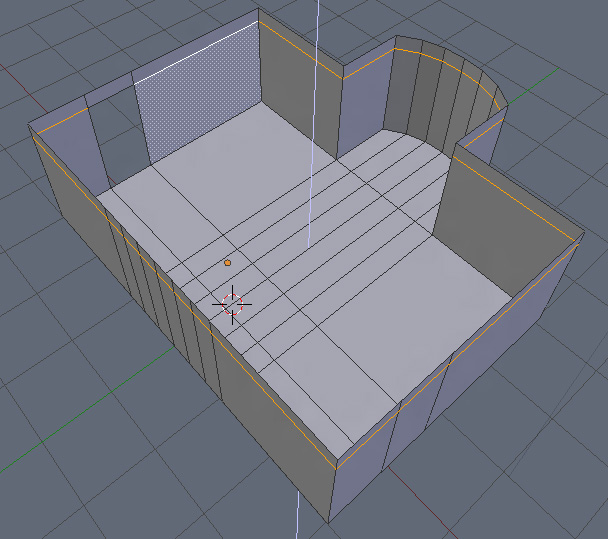
Since they're all equally spaced, you don't have to worry about your new curved wall being oddly shaped. Now just go to your overhead ortho view, switch to vertex selection mode, and mold out your shape. Voila...
You've got yourself a curved alcove. As you can see, loop cuts are very powerful things. It's added a goodly bit of unnecessary geometry, but it's clean. All quads. Easy to work with, and easy to clean up. And what do I mean with easy to work with? All those loops you've made? They can be selected in a single click. Say you want to make your door a little taller. You've got two choices here. One, you can go in and edit the two corner vertices, or two, you can perform a select-loop, and transform the loop up to raise the height of the door.
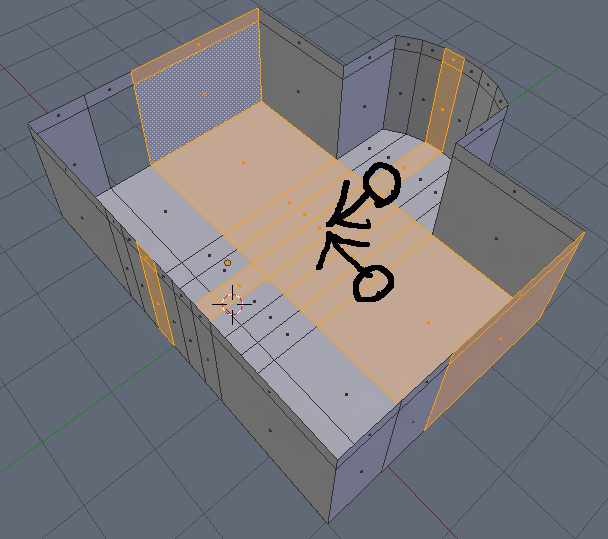
That's all kinds of handy and convenient. And loop selects don't just work with edges alone. If you need a row of faces, you can do that as well. To grab your intended row of faces, just perform an action similar to defining the path of a loop cut. In Face Mode, hover the mouse over the edge you want the selection to run through, and click away.
You can select multiple loops with the shift key. For instance, I have loop selection bound to alt+RMB. If I want to cycle through loops, I'll just use it. If I want to select mulitples, I'll hold down shift+alt+RMB. Ahh, the wonder of loops. Keep in mind that, wonderful though they may be, they're not all powerful. Loop cuts won't cut through tris or ngons. It'll run the loop until it hits the offended geometry, then stop. From there, you'll have to use the knife tool (which I'll cover below) to cut through it into you get back into quads. And edge loop selections won't select any edges along a corner or one that borders an empty piece of geometry. You'll have to select those extra bits by hand. Still, despite the limitations, they'll make your modelling life oh so much easier.
