Normalmaps, How to Make Good Ones
Original text copied from http://homepage.ntlworld.com/gerald.hunt1/website/nfhwta.htm, by Greg Hunt
Comments by Springheel
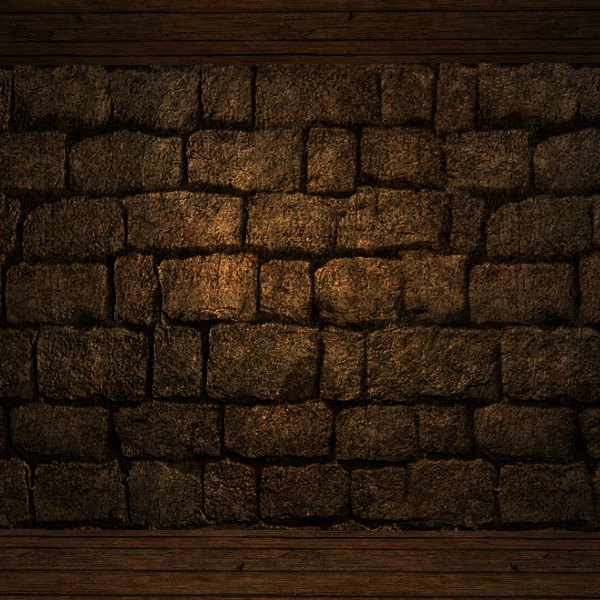
Running the nvidia plugin on your diffusemap usually doesn't give great results, as every bit of 'noise' in the diffusemap becomes rough and bumpy in the created normalmap. Here's an example of bricks that are too rough:
Here's how you achieve a good-looking normalmap without the noise
"The essential goal of this tutorial is to show how I go about achieving making organic (possibly rounded/curved/smooth) normalmaps that appear to be 3d-modelled."
First of all you need to create a heightmap. A heightmap is basically a black and white version of your texture, where the higher areas are light and the lower areas are dark. On something like bricks, the bricks would be pretty bright and the cracks between the bricks would be dark.
"So here is where the process begins. With a black and white heightmap. Duplicate this so we have 3 layers of the same image."
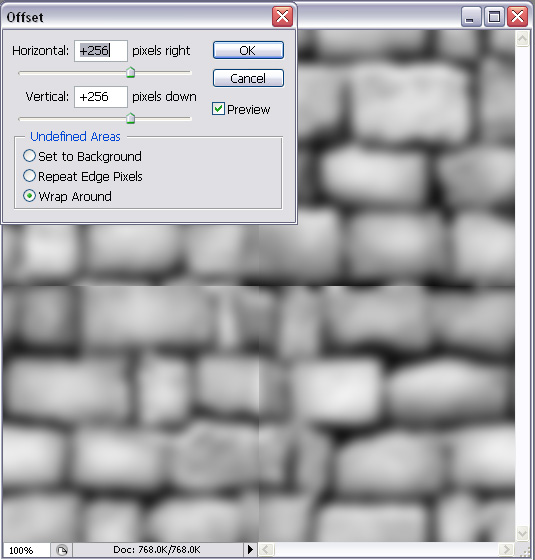
"- Use a Gaussian Blur filter with a pixel radius of 6 on the bottom layer image, use the Filter->Other->Offset tool and offset it by half the texture's resolution, making sure that "Wrap Around" is checked. Repeat this step and Gaussian Blur it once more. You should have offset the image twice and blurred this image 3 times now.
- On the 2nd layer image Repeat the previous step but using a Gaussian Blur filter with a pixel radius of 3, you can leave the top layer alone for now.
- Run the bottom layer through the nvidia plug-in with a scale value of 15-30 (depending on the texture), run the 2nd layer through with a scale value of 9-12 and also check "Du/Dv" in the filter type options, do the same again with the top layer but with a scale value of 5.
- Set the top and the 2nd layer's Blending mode to "Overlay" then tweak the opacity to how you see fit, then flatten the image.
You should have a normalmap like above and as you can see, it puts more emphasis on the geometry even though edge/line details are still present, they don't overthrow the overall shape. From this point onwards I can simply create additional heightmap layers for fine details, filter them through with a "Du/Dv" Filter Type and a scale between 5-10, Overlay and Merge."
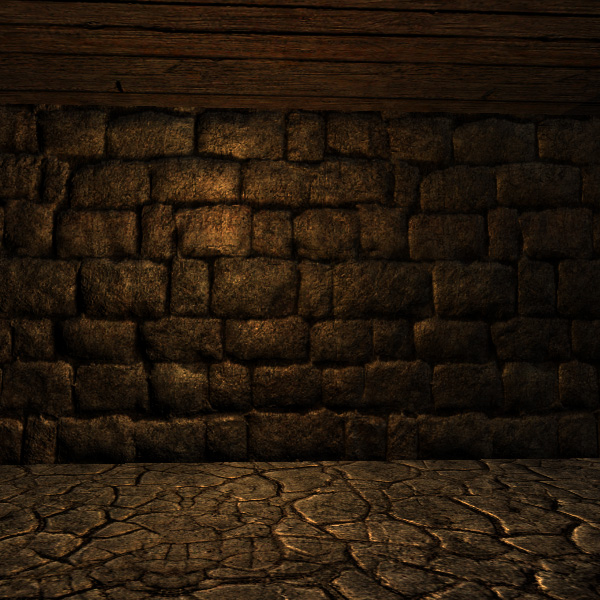
The result will be something like this smooth version:
Further tweaking
Tips and tricks by STiFU (Based on Photoshop, but applicable in GIMP)
Sometimes there are parts in your normalmap that just don't look good enough yet and could do with some tweaking. Small alterations can be done directly on the normalmap with the Clone Stamp Tool for example. However this approach is not very intuitive to handle and requires a very good understanding of normalmaps. So we take the detour over the heightmap again.
You can generate the heightmap like described before (I'd recommend to use only one layer and less blur in this case though) or have an external program like Crazybump or SSBump do it. The heightmap does not have to be very precise, because you are going to edit it manually in just a few selected places anyway. So identify the spots you want to fix and draw the heightprofile of those places using Dodge, Burn and Brushes (White is high, black is low). You don't need to draw all the details here, because you can get those pretty well from the original normalmap. Sometimes it's also usefull to change contrast/brightness before drawing and it might help to have a semi-transparent layer with the diffusemap visible.
When you're done, convert this heightmap into a normalmap, paste it as a layer over your original normalmap and name it something convenient like "normal from heightmap". Add a layermask and paint it completely black, so that nothing of the new normalmap is visible anymore. Now use a white brush with a very low hardness and an appropriate size on the layermask to make the structures again, which have recently been edited in the heightmap. Improve the transitions with Burn and Dodge, if necessary.
Now you will want to improve the details on your "normal from heightmap". To do this, apply its layermask also to a duplicate of the original normalmap. Move this new layer to the top, name it something like "details" and switch the blending mode to overlay. And here comes the trick: You can now use a highpass-filter (Filter->Other->High-Pass) on it, so that really just the details are visible above the "normal from heightmap" (instead of the whole original normalmap with its bigger structures). How big the details are can be altered by the radius of the filter. The artist has now full control over this. This trick is of course also applicable in the upper tutorial. Move the "normal from heightmap"-layer to the bottom and change it's blending mode back to normal, while the other one is changed to overlay. Use the highpass on the toplayer and you're done...
In case you're interested: The technical background behind all this is that the normalmap of high frequency structures can be estimated very well and errors aren't detected so easily by a human observer, but it's the total opposite with low frequency structures. Hence we correct the low frequency structures by hand with a heightmap and use the automatically generated detailsignal to improve it.


