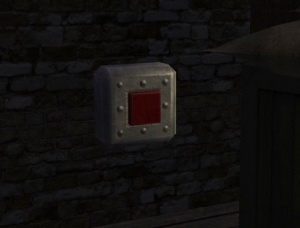
Not Combining Textures
Introduction
This tutorial explains how to make new textures by combining parts of existing TDM textures, including their normal and specular maps (plus any other components of the material). This can prove easier than starting the whole endeavour from scratch. Normal maps can be harder to create than diffuse and specular, so the technique mentioned here can save a lot of effort.
Example: You may want smooth metal with rust, and some rivets in very specific places.
Prerequisites
Intermediate knowledge of GIMP/Photoshop etc (including layers, masks, and different brush types).
Basic understanding of diffuse, normal and specular maps (i.e. what each of them is for).
It may help with searching to have all of TDM's textures and material files extracted somewhere (but not to your main TDM folder unless you know the consequences). The textures are in the tdm_textures_... pk4 files. The materials are in tdm_models_decls01.pk4. Alternatively you can scroll through the Materials in DarkRadiant.
Preparation
(This uses the example mentioned in the introduction)
Find a smooth metal diffuse texture. Search the material files to find what normal and specular maps it also uses. Load each of these into a single image as separate layers.
Find a texture which is only rust (e.g. metal\flat\solid_rust03). Use the material files to find its normal map (this one does not have a specular map).
Something similar will be needed with the rivets textures, but it's best to leave them till later.
Some images may be different sizes, so it's best to pick one size and make them all equal.
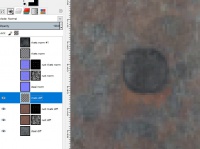
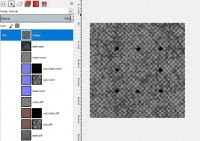
You should now have a set of layers like this:
It's best to arrange the layer order into diffuse, normal and specular.
Processing 1 - Rust Diffuse Layer
Note
For terrain textures, you'll need to ensure the masks are seamlessTurn off all of the layers except for the diffuse for the plain metal and the rust.
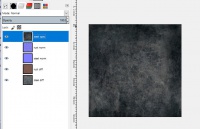
Add a mask to the rust diffuse layer, and fill this with solid black to make it fully transparent (it's better to use masks instead of normal erasing because it preserves all of the layer's original colours).
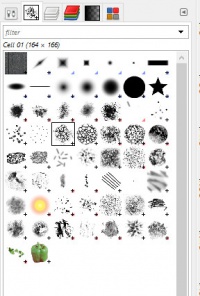
To get a light smattering of rust, you need to draw a soft white wispy pattern on to the mask. GIMP has several brushes that can make this fairly simple:
Experiment with brush sizes, types and colour (greyscale) to get a pattern of rust that looks good. Example:
Normal view -> 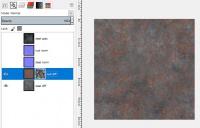 Mask visible ->
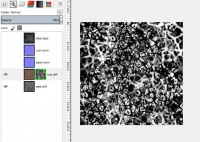
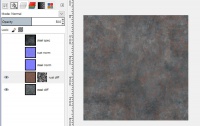
For further tweaking, the mask's brightness/contrast can be edited, or you can try more advanced things like levels or curves. The overall layer opacity is also a good thing to try adjusting. E.g. Here is the above with the layer opacity set to 50%:
Note
It's better to use masks instead of simple erasing because you can keep all of the layer's original colour information.Processing 2 - Rust Normal Map Layer
The opacity of the diffuse layer needs to be applied to the rust's normal map so that in game, the rust appears to be much more rough than the surrounding steel.
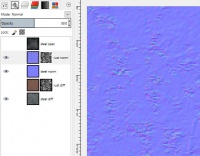
Copy the mask from the rust's diffuse layer, add a mask to the its normal layer, and then paste it. With that layer visible, you should see something like this:
Note that the layer opacity has been reduced to 50% to match the diffuse layer.
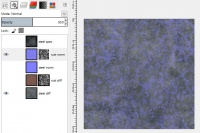
When showing the steel normal map, you can just about see the difference between the smooth steel and the rough rust:
Processing 3 - Rivets Positions and Sizes
Note
This part is more complicated, but very rewarding once you get the hang of it.Find a rivets diffuse texture, and its normal map. Its specular map can be ignored - it will save effort to make your own after the rivets have been resized and positioned correctly.
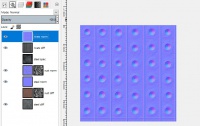
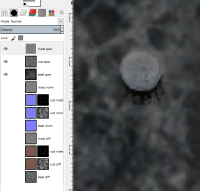
Paste the two images as separate layers:
You need to think about the rivets' sizes and positions, and how many you want. In this example, only a few will be needed, but their sizes and positions will need to be adjusted.
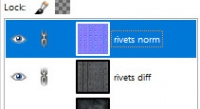
To keep the diffuse and normal layers synchronised, you need to link them (in GIMP the link toggle is next to the visibility toggle):
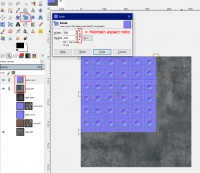
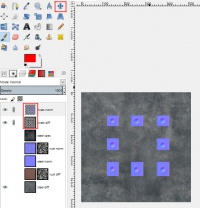
This allows basic transformations to apply to all linked layers:
Scaling down the normal layer also scales down the diffuse layer.
Note
Using the scale and move tools only, it may not be possible to get the rivets' sizes and positions right. In that situation, focus on the sizes. Individual rivets can be moved in a separate process.Use the selection tool to delete the rivets you don't want from both the normal and diffuse layers, and use the Move transformation to move them around:
Processing 4 - Neatening the Rivets
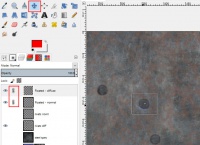
Once you're happy with the sizes, neaten them up by smoothly deleting the around their edges. It may be easier to use the erase brush on the normal map, and again on the diffuse map, rather than making both of them have identical opacities or using masks:
Erasing the normal map -> 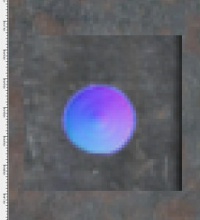 Erasing the diffuse map ->
Processing 5 - In-Game Check
Before doing any further work on the rivets, see how the current material looks in game (or in a 3D object program if you're making a model).
Processing 5 and a half - Moving some Rivets
If you want to move some rivets, but not all of them, you can still use the Transform tools and linked layers, but you have to transfer them to new layers, (diffuse and normal).
Use the select tool around the rivet:
In GIMP, Press Ctrl-Shift-L to float it, then right click to move it to its own layer:
Repeat the procedure for the diffuse layer:
Turn on the link for these to layers (ensure all others have been turned off) and they can be moved together:
Once finished, these two layers can be merged back to their original layers.
Processing 6 - Extra Rust - Diffuse Map Layer
In addition to the light rust that covers the whole texture, it can look good if there are heavier concentrations around rivets or other protrusions, where moisture could be expected to linger, or which be the source of a minor leak.
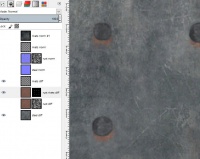
Make a copy of the rust's diffuse layer (which should still have its mask). Reset the opacity to 100%, and fill the mask with black. Move it so it's underneath the rivets' diffuse layer, and use a small, uneven, white brush to draw, in this example, small patches of heavy rust underneath the rivets:
The advantage of using a new layer is that it can have a different opacity.
Processing 7 - Extra Rust - Normal Map Layer
In the same way a normal map was made for the light rust layer, another one has to be made for the extra rust layer. Copy the rust normal map (assuming it still has its mask). Copy the mask from the new diffuse layer and apply it to new normal layer:
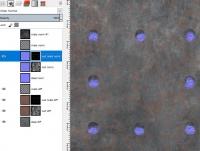
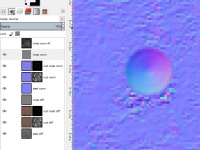
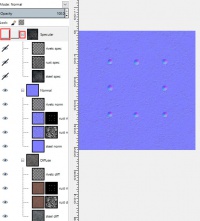
The images below show all four diffuse map layers visible, and all four normal map layers visible:
You should be able to see how smooth metal, light rust, heavy rust and a rivet are all represented on the normal map.
Processing 8 - Specular Map - Rust
The plain steel already has a specular map, which is quite shiny. Rust should be very dull, so you need a dark, almost black, specular layer that matches the rust.
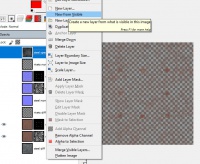
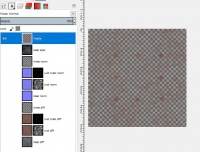
Turn off all layers except for the rust diffuse layers. (GIMP) Right click in the layer panel and select New From Visibe:
Lower the brightness so that this is almost black (and desaturate too, if desired):
When the steel diffuse layer is made visible, you should be able to see that there will be no shininess where there is rust.
Processing 9 - Specular Map - Rivets
Copy the rivets diffuse layer, and move place it above all other specular layers. Rename it and increase its brightness:
This will make the rivets very shiny, and combined with their normal map they have have a strong 3D appearance.
Tip 1 - Layer Management
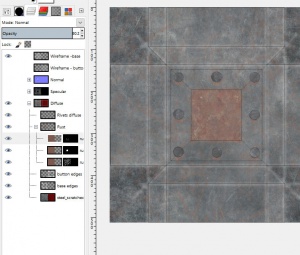
This example has 11 layers. It's a good idea to make use of layer groups for the diffuse, normal and specular images:
This allows you to easily hide a whole set of layers (e.g. specular), and to collapse the 'tree' to make it easier to focus on the other layers.
Each time you import a new diffuse texture (or duplicate one, e.g. the rust layers in this example) you'll have to also import a normal and possibly specular map, so layer groups become more and more useful.
Tip 2 - Don't be Destructive
You can do all the opacity work using an erase brush, but many programs tend to discard a pixel's colour once it has been made fully transparent. Masks are the best way to let you do whatever you want with opacity while guaranteeing the original colours will be retained, so nothing is lost.
Tip 3 - Model Textures
If you're making a texture for a model, import its UV map to make it easier to position things. E.g. This is for a button texture:
3 Types of rust (including heavy rust around the button), with the UV map making it clear where the rivets should go.
The model in game. The rivets have a nice 3D look and viewed more closely, the rust is visibly rough.
Closing Remarks
The first time you try this, it may take a while, but once you get the hang of it the only challenging part will be when things need to be resized/moved etc.
