Brushes: CSG operations
by Baddcog
CSG operations are tools that can be used on brushes (which always start as cubes) to turn them into other shapes. These shapes can be other cubes, cylinders, spheres, cones and other odd shapes. This can add alot of life to a level that would other wise be made of cubes. These shapes all differ from patches in the fact that they are flat shaded so they will have sharp edges whereas patches are smooth shaded and look round. That can be a benefit for alot of shapes that need a sharp look to them.
Brushes are level geometry so they have some benefits over patches, mainly that they can seal off the void and keep your map from leaking. You can easily create shapes from them that you can't from patches easily. The one limit is they must always be convex, meaning they have to have a closed hull, that if a line was drawn through at any point it would go through no more than two sides. So they can be a cylinder but not a tube, however you can use many of them together to make a shape like a tube. Another benefit is that they block pathfinding, so if you make a round tower out of brushes an AI will not walk through the walls. A similar tower made out of patches would need monster clip to build pathfinding to block AI.
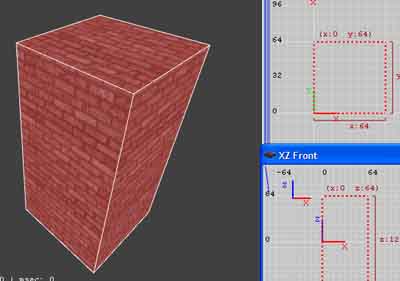
- OK, to get started open a new map and drag out a brush
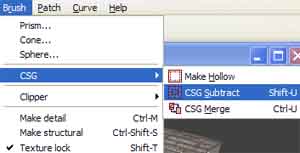
- You will use the brush menu to perform csg operations on this brush
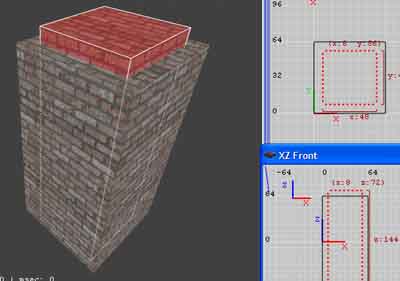
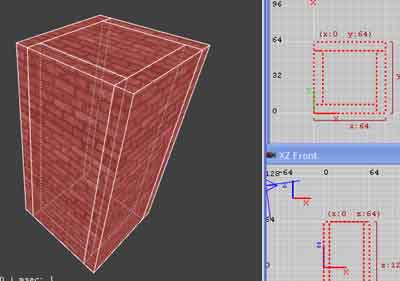
- Copy and paste that brush, then resize so it is smaller side to side and taller top to bottom
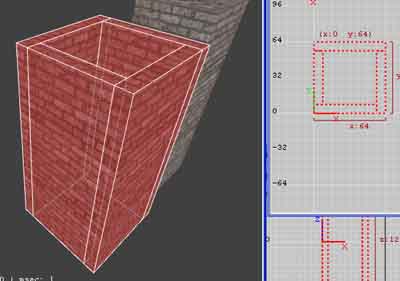
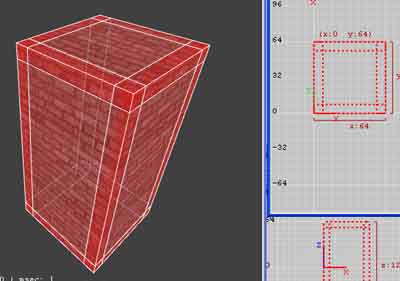
- With the inside brush selected choose csg subtract, this will cut the shape of the inside cube out of the outside cube effectively turning it into four cubes. This leaves four brushes that are convex that together create a convcave shape. This is an easy way to make four walls for a room.
- If you leave the brush in the middle and resize it toop to bottom so all five brushes are aligned you can use the csg merge command to make them one complete brush again. This only works for brushes whose sides align into a convex shape.
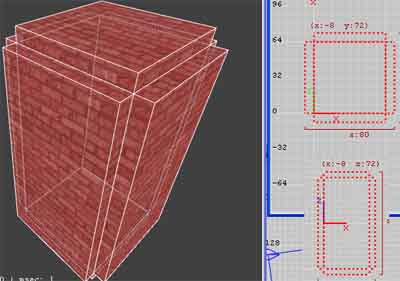
- Another option for making rooms is a standard Doom3 editor command, make hollow. This basically takes one brush and carves out the inside of it into air. It's an easy way to make a room but there are a few things to keep in mind with this operation. First; the new brushes will be the size of one grid spacing, second; you have to make the brush two grid lines larger than you want the air space of your room to be as the outside of the brush becomes the outside of the new walls, and last but not least; all six of the new brushes overlap.
The overlapping is generally not a clean way to build, so you'll need to resize each brush so only the inside corners match up. This does two things. It eliminates z fighting and it makes texture alignment easier as your texture won't end up bleeding over behind another wall, you'll see the entire texture in front of you and this is very important if you want the entire texture on the surface.
- Dark Radiant has a new option that is much better than make hollow for creating rooms, that is make room. As you can see from the picture the benefit is that the brushes only touch to seal the void, they do not overlap so you won't have to resize. Also the create the walls one grid space thick around the outside of your original brush. This means that you create a brush exactly the size you want your air space to be, hit make rooms and your walls are exactly where they should be. No muss, no fuss.
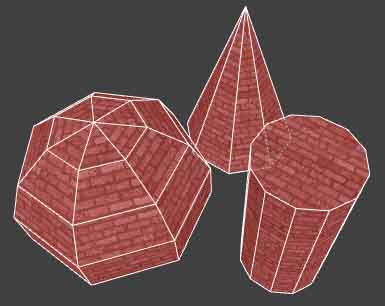
- In the brush menu you probably noticed a few other options as well; Prism, Cone and Sphere. There names are pretty self explanatory, prism is a cylinder btw. Select your brush and choose one of them, a dialog window will appear that lets you specify numder of sides. I am not sure of the limits on all of them, I have done 22 sided prisms and they render nice and round in game, but have alot of polys, cones can probably have as many sides and prisms. Spheres are limited to seven sides.
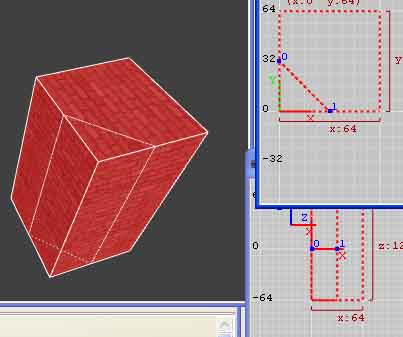
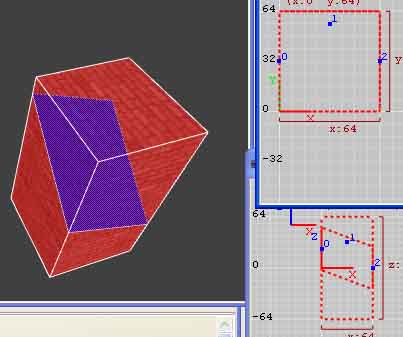
- The Clipper tool is yet another option for manipulating brush shapes. A tut for that is planned for the future. It's not hard to figure out though so take a shot. Create a brush, choose the clipper tool and click two places on the brush, all you are doing is drawing a line between two points. These points can be on, inside of a mile away from the brush. They create a plane that will slice of part of the brush if that plane extends through the brush. It's easier to get the cut you want if you click near the brush.
To further the usefulness of the clipper you can click a 3rd point. This can help to make complicated angles across a brush. At any time you can select one of these numbered points and drag it changing the angle of the cut. At any time you can unselect the clipper tool and your brush will NOT be cut.
- To make the cut you have three options; Clip Selection, Split Selection, Flip Clip Selection.
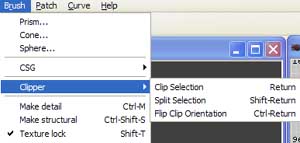 Clip Selection will cut the brush and delete the part you cut off. The blue is the cut plane and
everything on the side of the blue will be deleted.
Split Selection will cut the brush in two pieces but will not delete either piece. This would be good for a brick that is broken in two, you could leave one half in the wall and move the other half to the floor.
Flip Clip Selection will turn the blue cut plane 180 degrees so you can delete the other half if you want.
