Creating a Tower
Introduction
In making a tower, a couple decisions have to be made before it is even started.
Firstly: what is the purpose of the tower? Is it a lighthouse or a guard tower? Do you want it to taper near the top or be totally vertical? Either way is possible, but it requires slightly different steps. This tutorial will try to lead you through multiple ways to create a simple basic tower.
If this tower is part of a larger map (which is likely), my personal preference is to create a separate map just for the tower, and copy and paste the basic outline into the larger map later on to test scaling, or create a mock-up in the main map to give you basic dimensions.
Tower Size
Decide how large you want the tower to be at the base (or, if it doesn’t taper, how big you want it to be at the bottom and top).
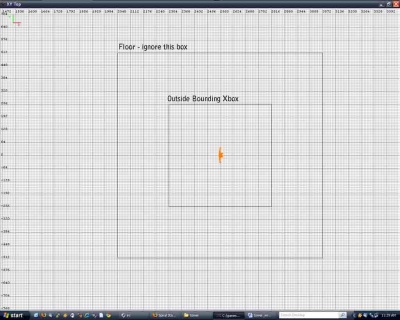
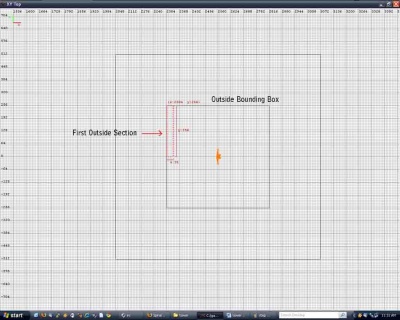
There are multiple ways to do this: If you already have in mind items that you want to populate the tower with, place these and try to get an idea of the scaling. You can also place AI entities to try and gauge how big it is. When you’ve found an appropriate size, create a square brush (doesn’t need to be tall, its just for a guide in the top-down XY view) Move it out of your way so it doesn’t get in the way of the camera later (can move it strait up, will do the exact same thing).
Creating the first section
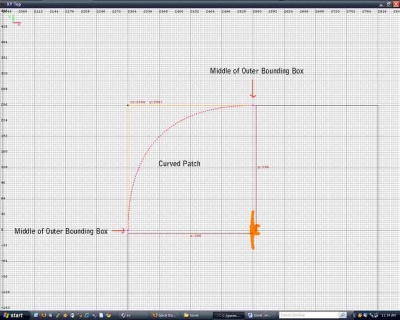
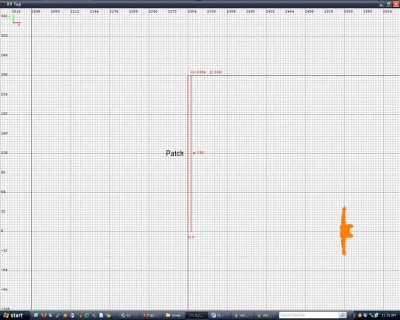
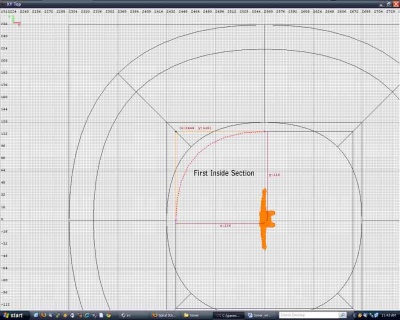
Create a brush 1 px wide (or depending on your grid size it can be however large 1 grid mark is, 4 is probably easier to work with) along the left inside of your bounding box, meeting the box in the corner. Click in one of the side XYZ views and create a 3x3 patch mesh (clicking on the XYZ side views makes sure it doesn’t create a flat patch and instead a tall one).
Making Curve
Hit V to drag vertexes. Select the top most one and drag it to the exact middle of the top most side of your bounding box. NOTE: Be sure to shift click and drag over the vertex to get the two under the top one, otherwise you just get the top. The bottom vertices should be in the middle of the left most side of the square. Drag the middle vertexes into the corner of the bounding box. This should create a nice bevel. You will probably need to invert it so that it is visible from the outside instead of the inside (menu patch>matrix>invert) pieces.
Tapering Top
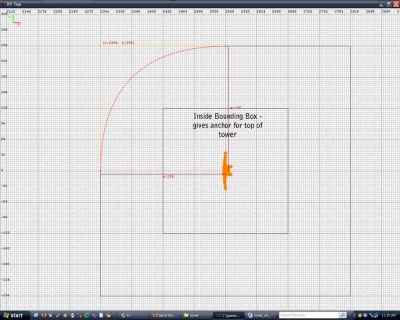
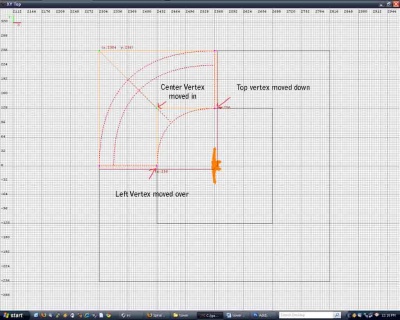
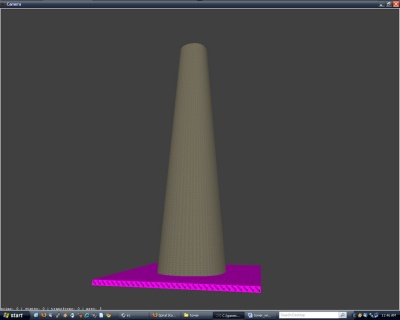
Ignore this if you do not want to taper the tower near the top – Skip to Creating_a_Tower#Creating_inside_wall. Create another bounding box, much like the first, but smaller. Make sure it is perfectly square with the larger box and perfectly square overall. Using one of the side XYZ views, select the top 3 vertex and drag them to the side so that they can be more easily selected individually from the top view in a second. You might have to use 2 different side views to get them off the lower vertexes. Once you can select each one in turn, do the same thing you did for step 3, move top vertex to middle of smaller bounding box, bottom to middle of left smaller box and center vertex to corner of smaller bounding box. This should create a similar bevel to your first on the inside. At this point observe what it looks like from far away. You will note that the wall curves from the bottom to the top, this is because of the 3x3 nature of the patch. It has 3 vertexes in the middle that cause a curve. If you want a strait angle from top to bottom, select these 3 in a side view and drag them on top of the bottom vertexes. This will cause a sheer angle instead of a curve.
Cloning sides
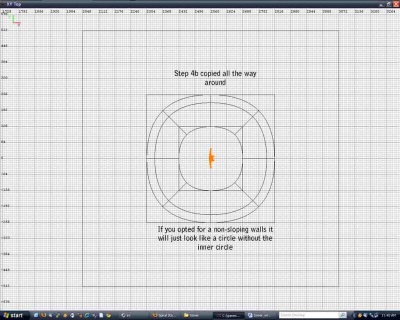
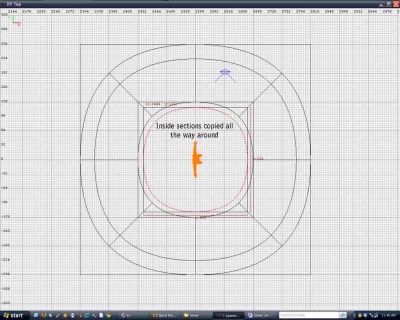
Ensure this looks as it should and the clone your section, rotate once by Z axis, and place in the right upper corner. The edges should meet perfectly in the middle of the top side of the outer bounding box (might have to zoom in to be sure, from zoomed out it can be hard to tell). Copy both sections and flip twice and put at the bottom of the box. You now have your 4 outside pieces.
Creating inside wall
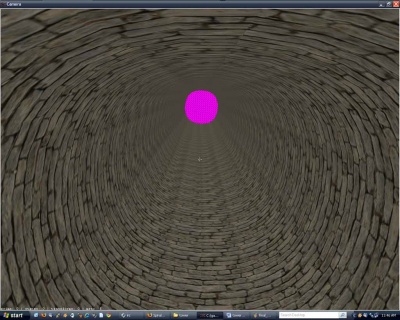
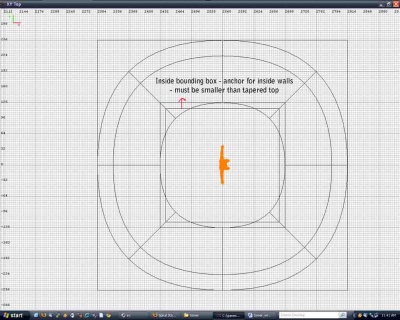
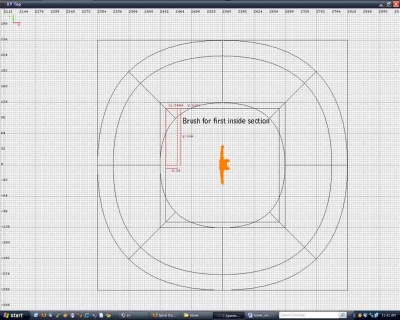
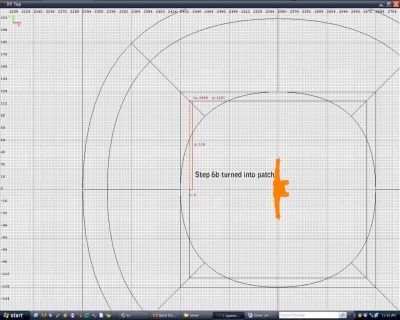
This is much like the first steps. Create a box like your first, but smaller (if you tapered the top, make this one smaller than the box you created to do so). It needs to be square and square with your outside box. Size it to be realistic compared to how thick you want your walls to be. From the center of one side of the box to the center of the outside box will be how thick the walls will be. Repeat steps 2,3 and 5 and this time, don’t invert them (they should default be visible from the inside this time).
Conclusion
There you have it! Your basic tower shape is completed! Read an excellent tutorial on Spiral_Staircases and you will be well on your way. This is kind of a rough tutorial to get you through the basic steps to create the tower walls, decoration might be covered later. One thing to note, since this is made of patches, you can’t make holes for windows, so windows should be func_static’s that are not meant to be see-through (there are plenty of premades, or you can create your own).
