Using Character Sets: Difference between revisions
No edit summary |
No edit summary |
||
| Line 58: | Line 58: | ||
All keyframes appear on the timeline and you can delete the track again. You can also delete the animation clip in the visor<br> | All keyframes appear on the timeline and you can delete the track again. You can also delete the animation clip in the visor<br> | ||
Now you can save the file and make adjustments to the animation if necessary. | Now you can save the file and make adjustments to the animation if necessary. | ||
<br> | |||
The animation clip you saved earlier can be applied to all characters who are using the animation rig. | |||
<br> | <br> | ||
'''Don't forget to turn character sets OFF when your animating. Otherwise your creating keys on all animation controls.''' | '''Don't forget to turn character sets OFF when your animating. Otherwise your creating keys on all animation controls.''' | ||
Revision as of 14:41, 11 March 2008
This guide explains the basic use of character sets in Maya. Character sets can be used to exchange animations between Darkmod characters who use the same animation rig but also to layer your animation. This guide only covers exchanging animation.
Global steps:
- Create animation clip from existing animation
- Export animation clip
- Apply animation clip to another character
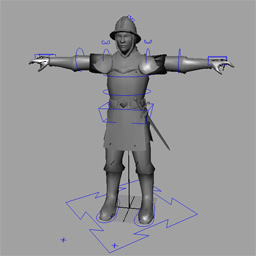
Characters must use the same animations rig to exchange animations. citywatch_rig_00.mb is the basic Maya animation rig which contains a character set.

Step 1) Create animation clip and export
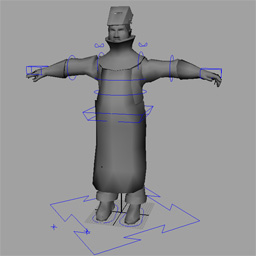
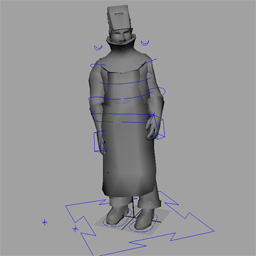
For this example i'll be using idle_armwipe.mb as the animation which we'll apply to the builder forger.
Open idle_armwipe in Maya. To activate the character set, press the arrow which is on the right side below the timeline.
Citywatch_body is the name of the character set. You'll also see all the keyframes appear on the timeline.
Check the length of the timeline in this scene (85 frames). Later on we'll need to set the same amount of frames in the new scene.

With the character set activated open the Trax Editor (window -> Animation Editors).
Go to Create -> Clip -> Option Box.
Leave settings at their defaults and give it a name like idle_armwipe.
Press Create clip and close the Trax Editor.
Open the Visor (Window -> General Editors)
Under Character Clips you'll find the idle_armwipe animation clip.
Right click on it and choose -> Export.
Give it a name, something like armwipe_clip and save it as an ma file in the builder_forger_mb folder
Step 2) Importing animation clip to builder forger
Open builder_forger_rig_01.mb. You don't have to save idle_armwipe.
Save this file as another animation file (something like idle_armwipe.mb) in the forger folder.

First set the timeline to the same amount of frames like the idle_armwipe animation.
Activate the character set citywatch_body.
Open the Trax Editor.
Go to File -> Import clip to characters, and check Put clip in Trax Editor and visor.
Click import clip and select the armwipe animation clip in the builder forger folder.
You'll immediately see the animation on the forger model.

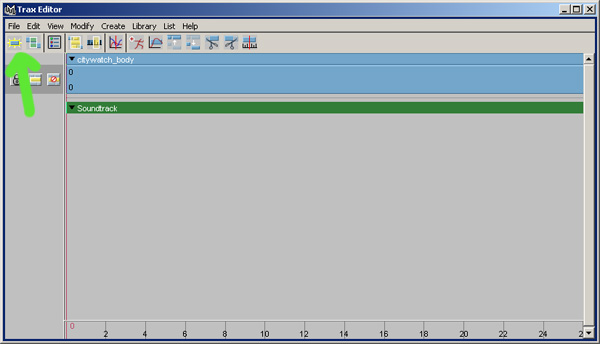
Last thing, go to the Trax Editor.
On the trax toolbar click on the first button to create a new track.

Right-click on the citywatch_body track and select -> Activate Keys
All keyframes appear on the timeline and you can delete the track again. You can also delete the animation clip in the visor
Now you can save the file and make adjustments to the animation if necessary.
The animation clip you saved earlier can be applied to all characters who are using the animation rig.
Don't forget to turn character sets OFF when your animating. Otherwise your creating keys on all animation controls.