Texture Tool Example 01: Difference between revisions
| Line 88: | Line 88: | ||
<tr> | <tr> | ||
<td> | <td> | ||
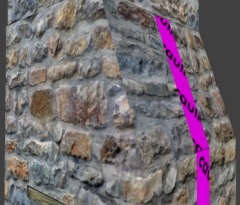
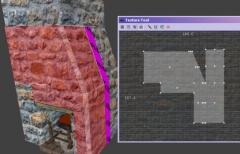
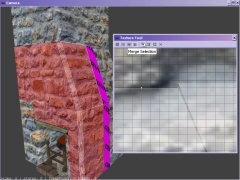
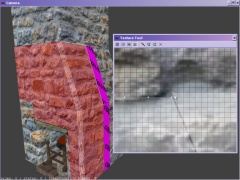
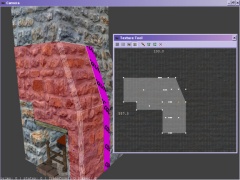
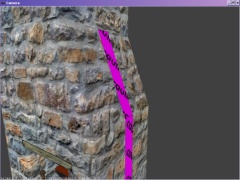
[[Image:Textool13.jpg|right|240px]]So with just the top three vertices of our sloping patch selected (NOT the bevel at all) click the third button along ''Snap to Grid'' and all three vertices will jump to the nearest grid line (the left-most one here indicated by the white Windows mouse cursor. In this case | [[Image:Textool13.jpg|right|240px]]So with just the top three vertices of our sloping patch selected (NOT the bevel at all) click the third button along ''Snap to Grid'' and all three vertices will jump to the nearest grid line (the left-most one here indicated by the white Windows mouse cursor. In this case they are not in line with the bevel vertex so we also need just to drag them down one grid square... | ||
</td> | </td> | ||
</tr> | </tr> | ||
Revision as of 22:20, 25 February 2008
Back to Texture Tool
Introduction
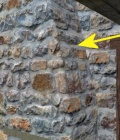
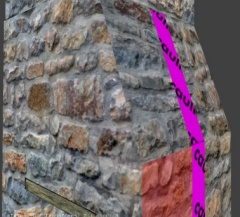
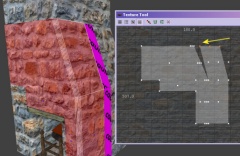
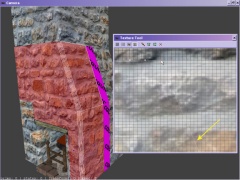
In this patch example there is a sloping chimney above a fireplace. This is made of brushes (with narrow patch bevels to soften the edges.) You can see from the image on the right that the texture on the slope pointed to by the yellow arrow aligns at the base of that slope with the front surface of the chimney on the left. But higher up the slope it does not align (indeed cannot, with a brush except perhaps with a custom texture.) If you scroll the texture along to align the top then it will not align further down.
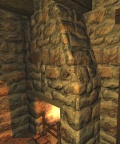
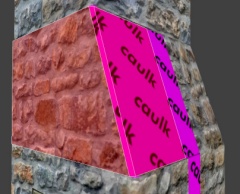
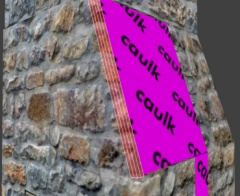
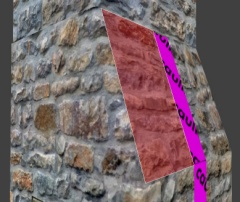
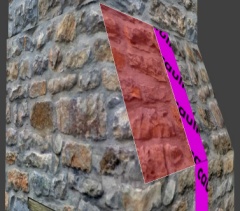
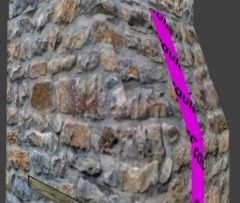
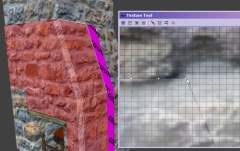
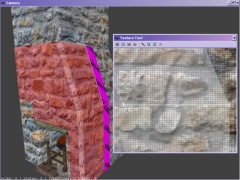
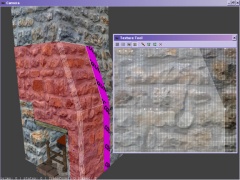
To fix this I retextured the sloping surface with caulk and placed a patch exactly over it with the required texture. I aligned this with the texture below that slope to start with in the normal way (using copy shader then paste shader natural.) With the patch selected I used the texture tool, selected the top row of vertices and LMB dragged sideways to the point where the texture just to the left of the edge matched (actually the edge bevel in this case but it would be the same for just a brush edge.) I kept the top vertex line horizontal. DeSelect and the result is a perfect match as you see in the image on the right.
Here are the step by step details...
Step by Step Alignment
To clarify the introductory example, here is how I did it step by step. Just to summarise we need to align the texture on a sloping surface with its neighbouring surfaces to its left and below..
Back to Texture Tool
