Blender: Rig for standard male NPC: Difference between revisions
From The DarkMod Wiki
Jump to navigationJump to search
No edit summary |
|||
| Line 21: | Line 21: | ||
* It's the same bones as the game model plus extra bones, you will need to use this rig to make animations. The rig from layer 3 will automatically copy all of its movements | * It's the same bones as the game model plus extra bones, you will need to use this rig to make animations. The rig from layer 3 will automatically copy all of its movements. To make it more tidy some of the bones are hidden (but you can still see them in edit mode). Arcturus also created custom models for some of the bones (those models are stored on other layer), this is how it looks with custom bone shapes: | ||
[[File:Blender_rig_04.png]] | [[File:Blender_rig_04.png]] | ||
Revision as of 19:24, 6 January 2014
Introduction
Arcturus has kindly created a Blender rig based on a standard male npc for use in the Darkmod. The following is a basic guide to what he did. The original thread is here for reference purposes. And here is an attached copy of the Blender file for your convenience
Lets begin
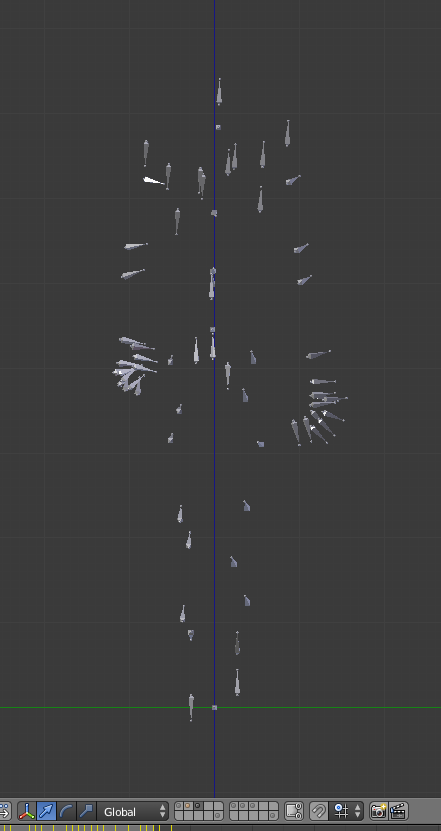
- On layers 1, 6, 7, 8 there are different character models. On layer 3 there is a rig imported from the game. It looks like this:
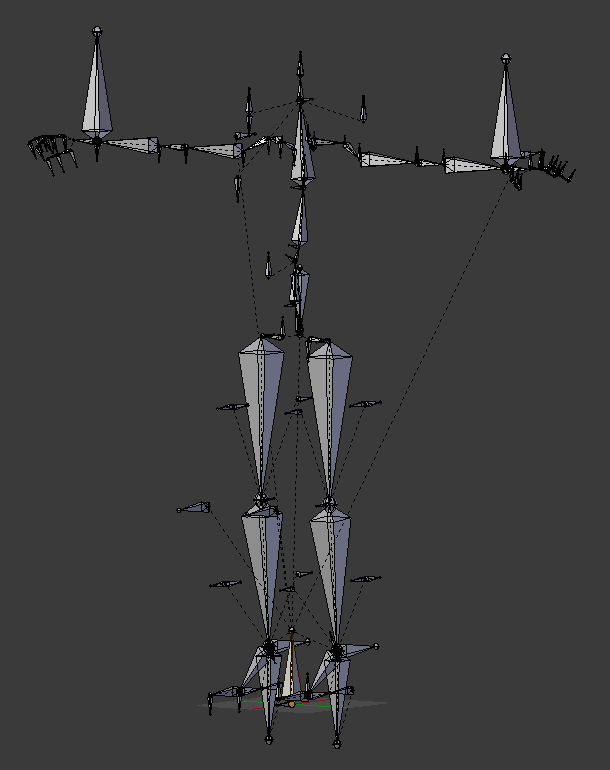
- It's very difficult to animate so I made second rig, which you can find on layer 2:
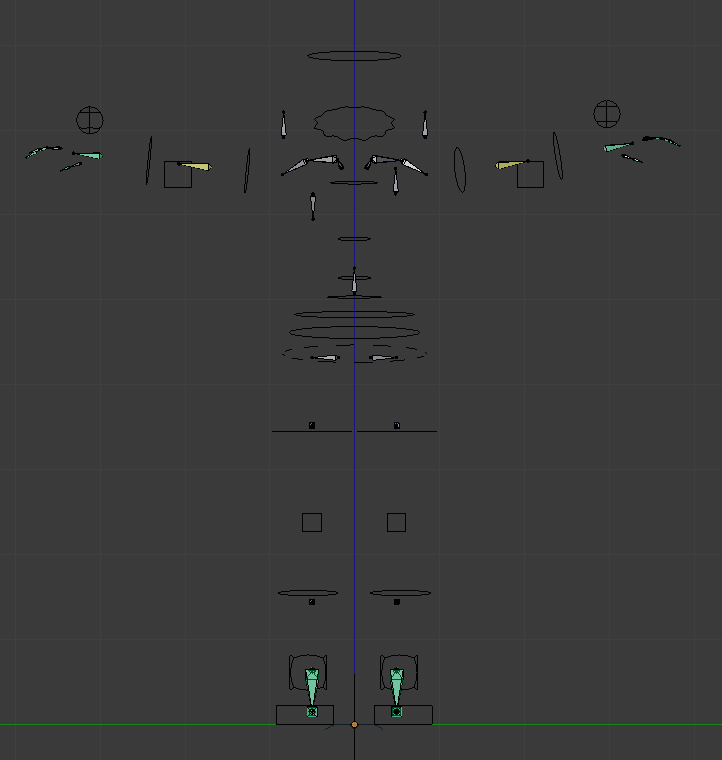
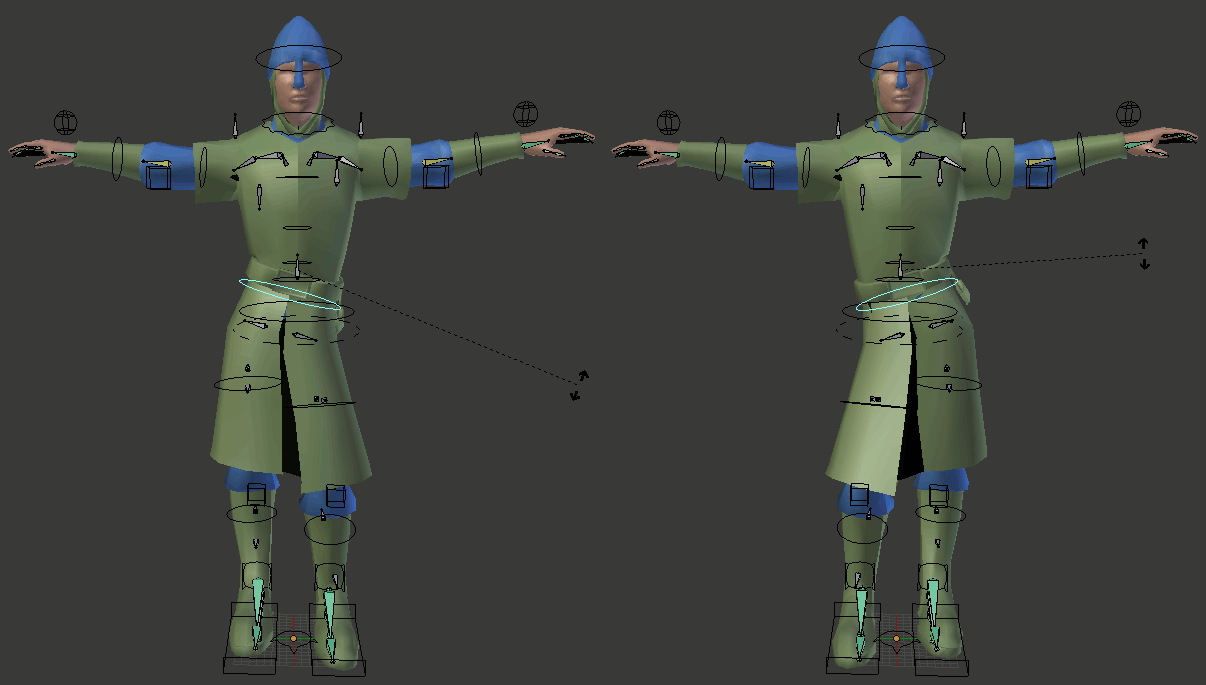
- It's the same bones as the game model plus extra bones, you will need to use this rig to make animations. The rig from layer 3 will automatically copy all of its movements. To make it more tidy some of the bones are hidden (but you can still see them in edit mode). Arcturus also created custom models for some of the bones (those models are stored on other layer), this is how it looks with custom bone shapes:
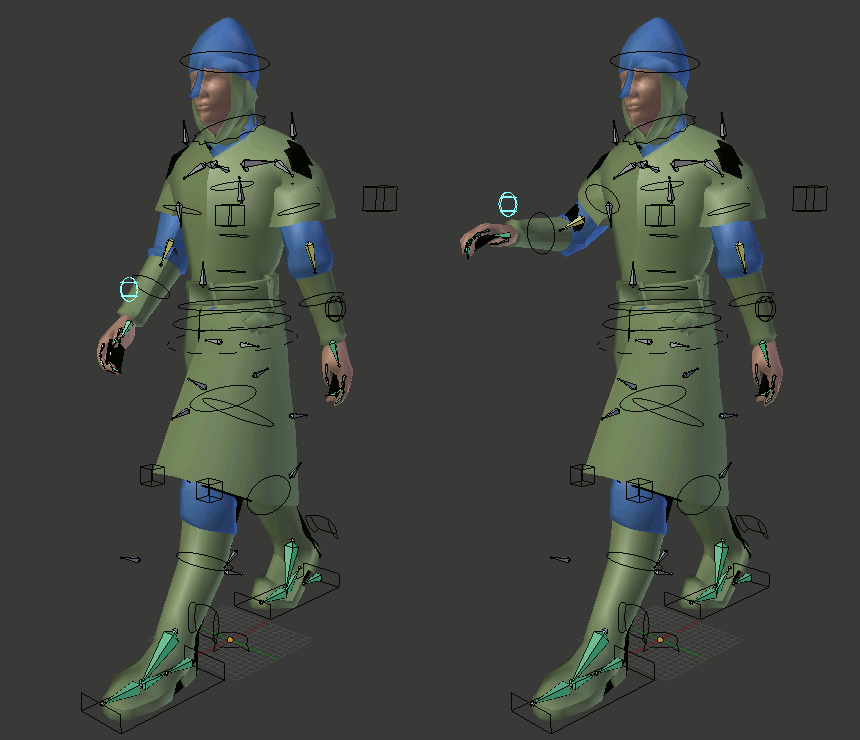
- Use round bones to position hands:
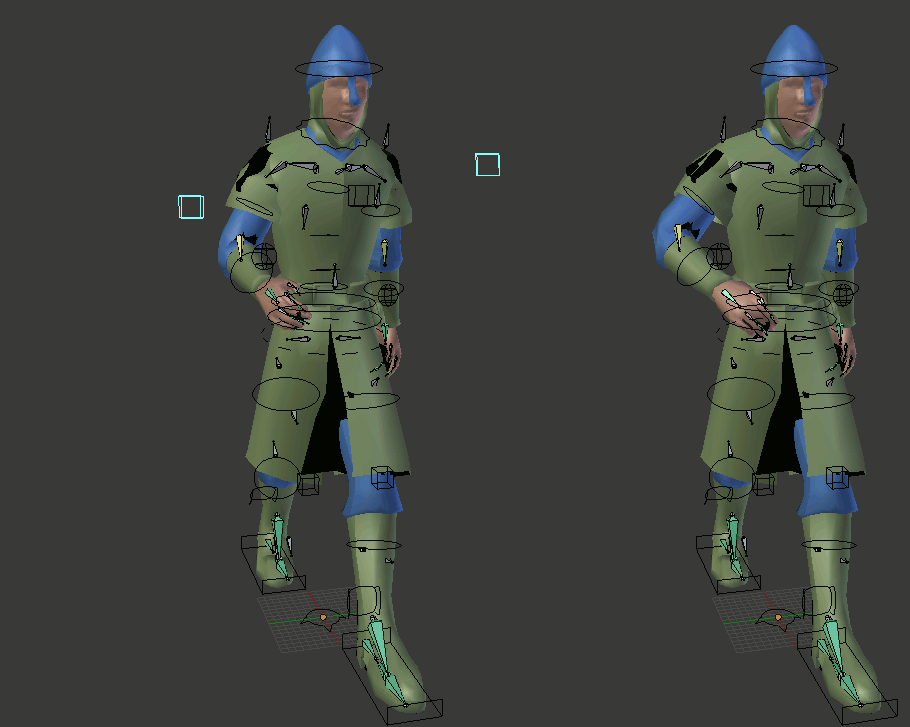
- Use cube bones to position elbows and knees:
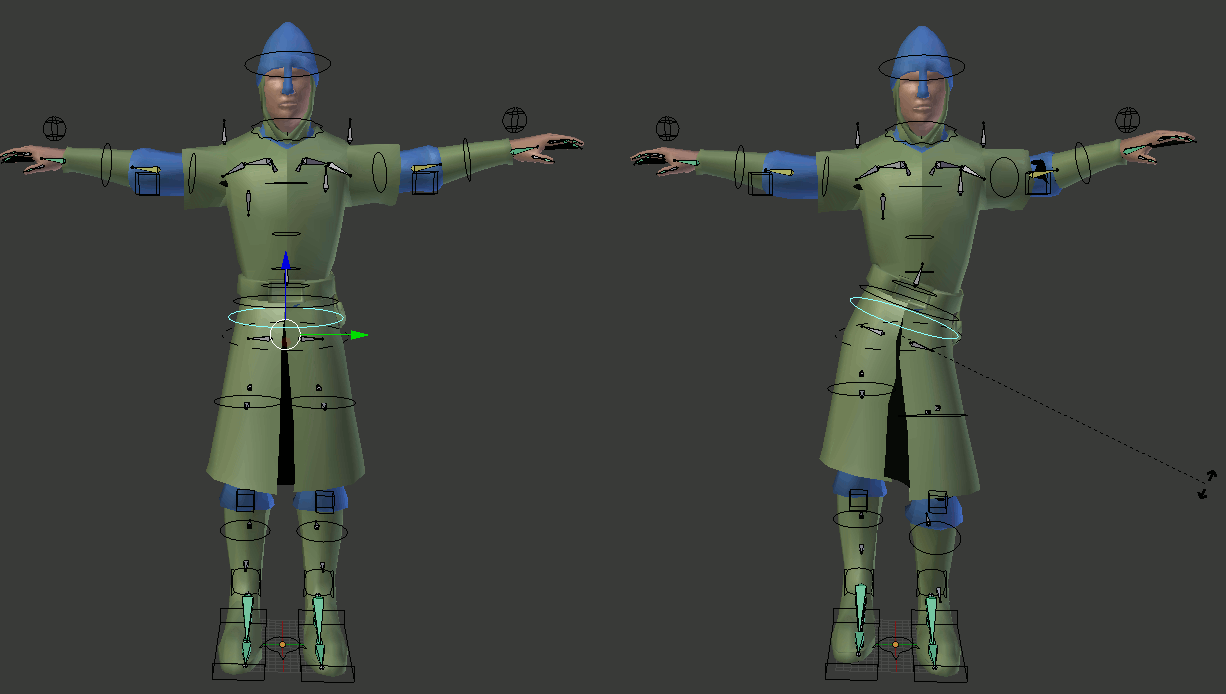
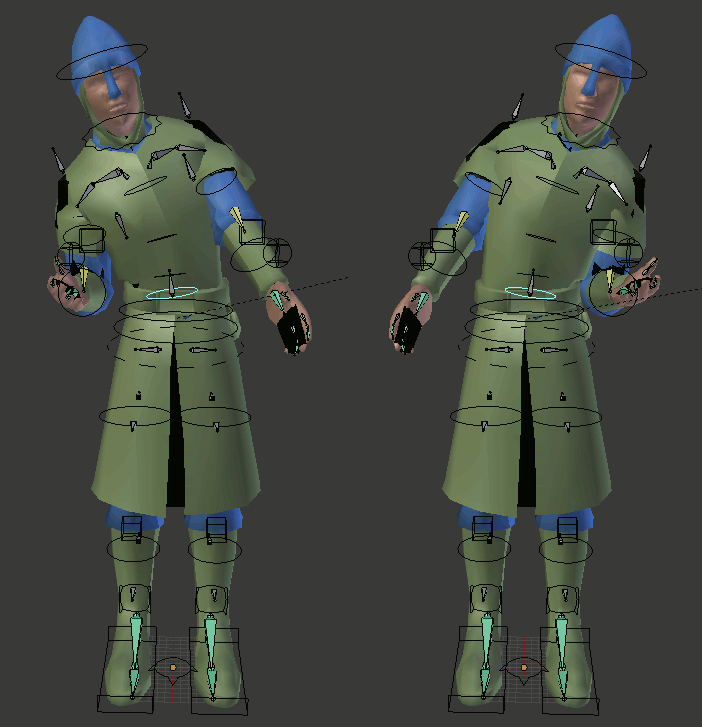
- The Pelvis bone has disabled rotation (it's important), use it to position upper body:
- Use Pelvis 2 and Hips to rotate hips:
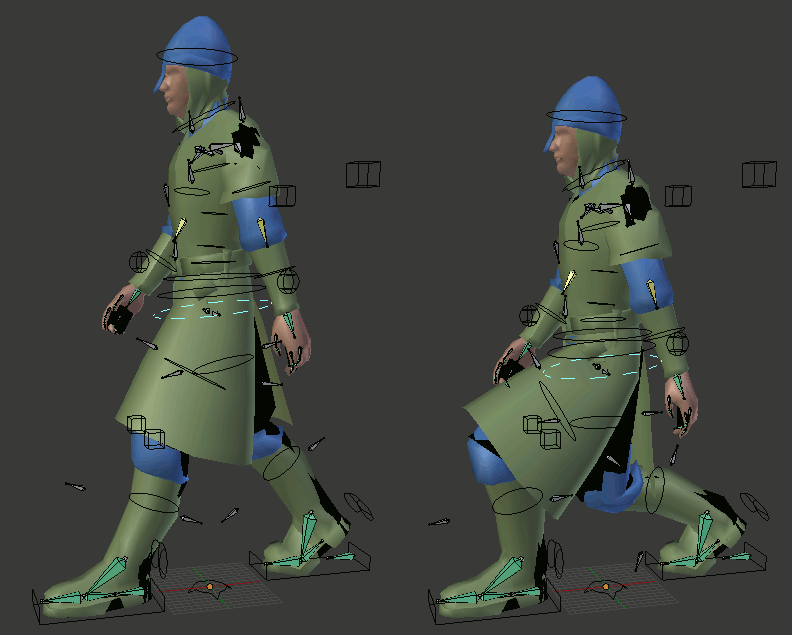
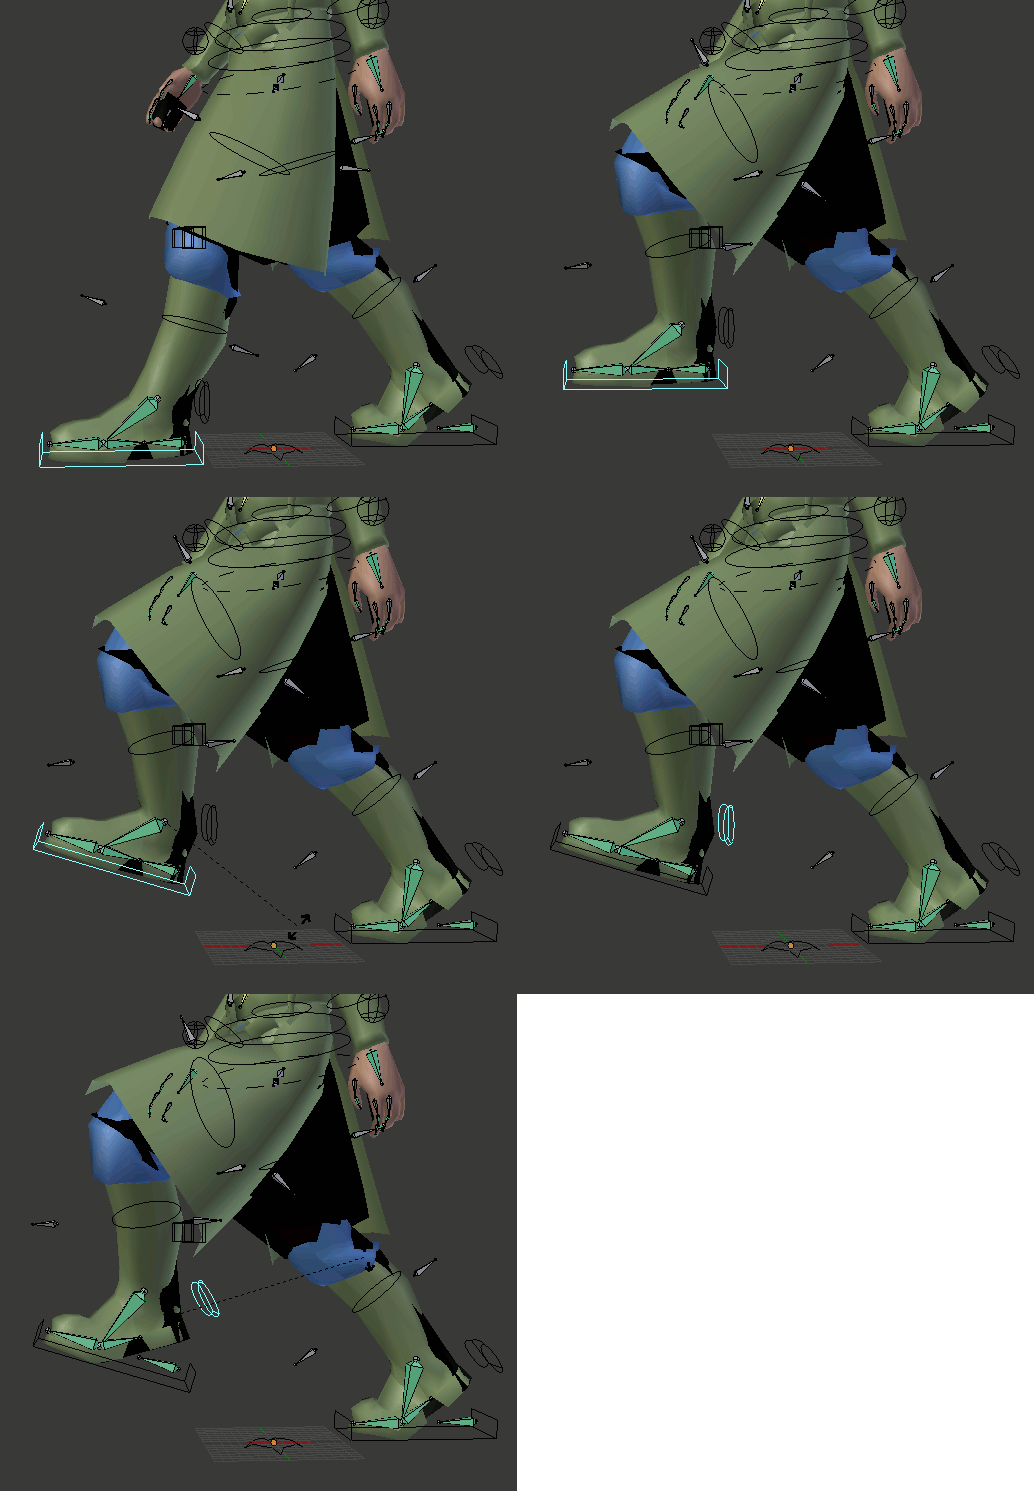
- You can move and rotate 'foot_ik_main' and 'rotate roll_main' to position legs:
- Spine bones copy rotation of previous bone in the chain, so if you rotate the first one other bones in the chain will also slightly rotate in the same direction. But you can turn it off if you wish:
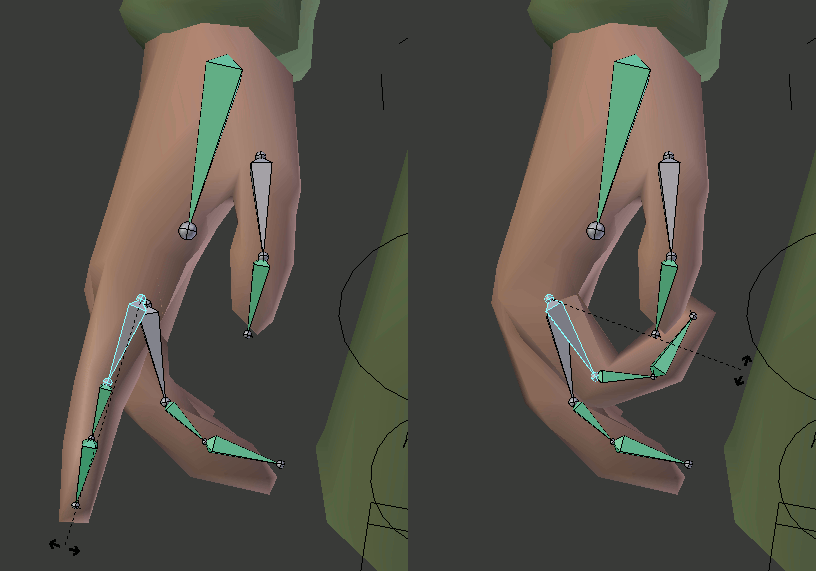
- The same with fingers:
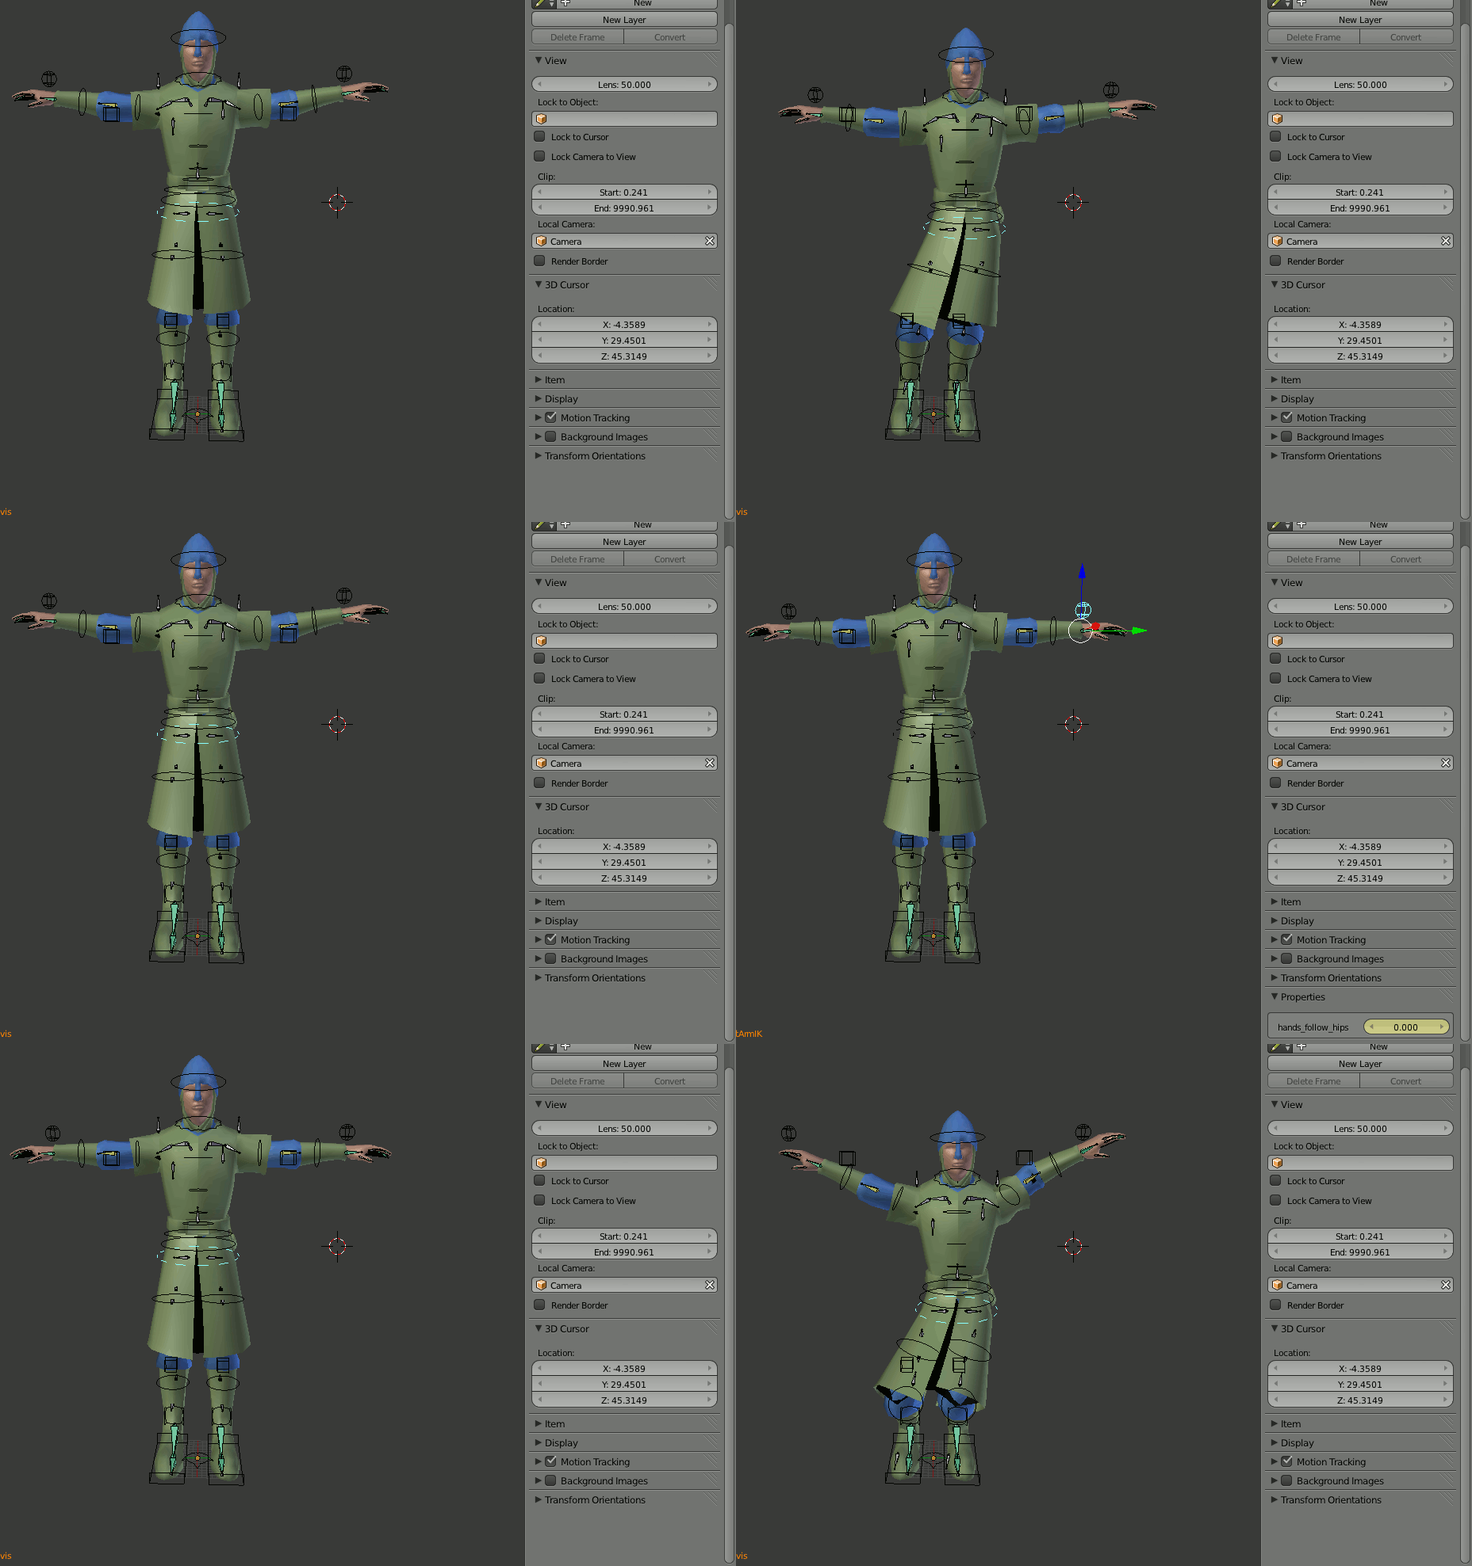
- For more advanced option, see - drivers. There are sliders that define whether certain bones will follow other bones:
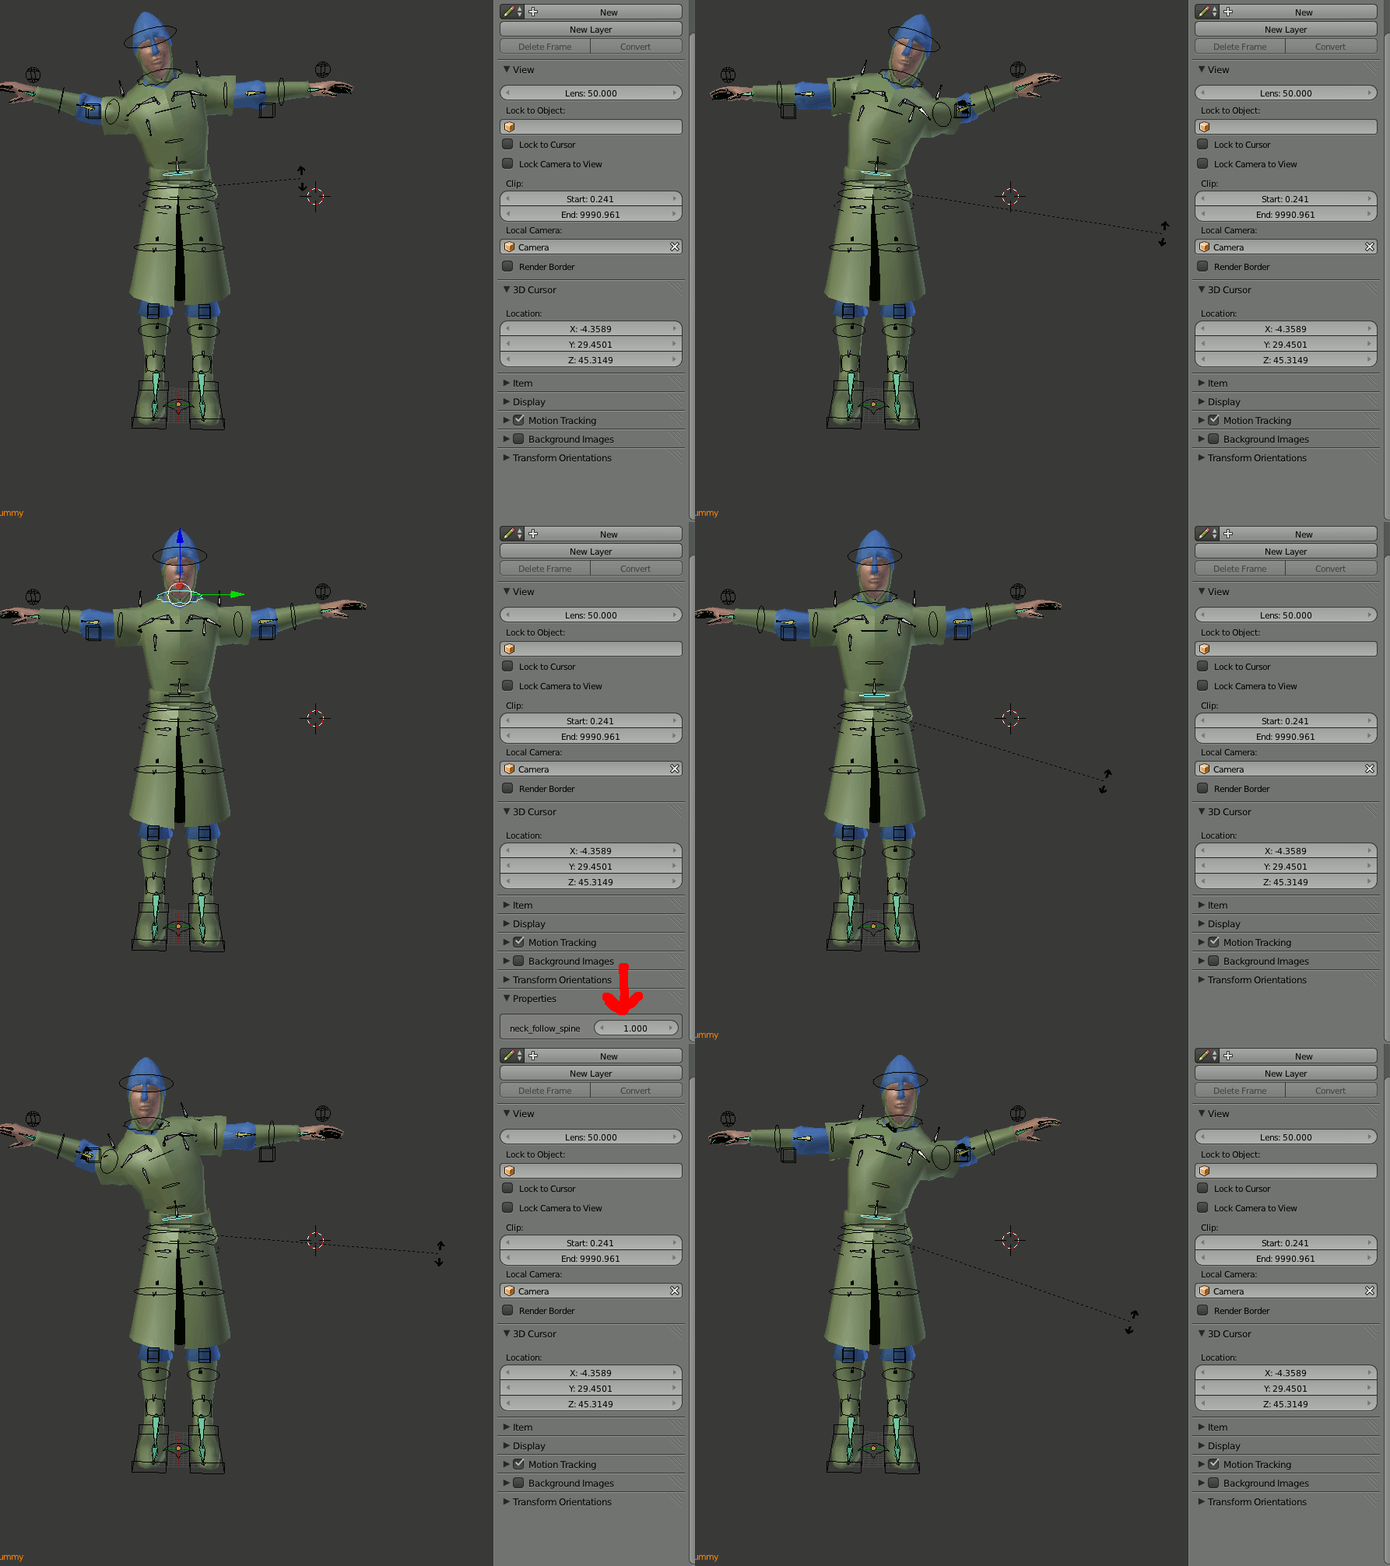
- And that's useful when you want hands to stay in place e.g. when character tries to push something heavy. The same with the neck:
- In order to export the animation you will have to first bake it, vhose the rig from layer 3 and press space bar and type in "Bake Action".
Conclusion
The above tutorial should hopefully help some you budding animators, or maybe a mapper who needs a custom animation for their mission etc.
Hope you enjoyed it.
