Patches: Difference between revisions
| Line 36: | Line 36: | ||
<center>[[Image:bevel05.jpg]]</center> | <center>[[Image:bevel05.jpg]]</center> | ||
* | * Bevels are always created with their curve in the horizontal plane which is what we want here for a vertical corner (if you need a different orientation you have to rotate it after creation.) | ||
* Select Patch Menu > bevel | * Select Patch Menu > bevel | ||
* If the bevel is facing the wrong way (in top view) then rotate it, grid snap if necessary to as shown in the image below. The bevel might not have the same number of faces as in the diagram. Don't worry. We set that separately anyway. | * If the bevel is facing the wrong way (in top view) then rotate it, grid snap if necessary to as shown in the image below. The bevel might not have the same number of faces as in the diagram. Don't worry. We set that separately anyway. | ||
Revision as of 09:37, 14 October 2007
Introduction
A patch is a two dimensional sheet with only one visible surface. It can be bent, curved and twisted in three dimensions but always remains a sheet. It produces better curves and textures better on them than multiple brushes.
A patch is a primitive - a child of the worldspawn entity. This means it is a direct offshoot of the game world and inherits any properties applied to the worldspawn. If you select a brush and look in the Entity Inspector you will see the worldspawn properties.
A patch may be parented to another entity when it will inherit its properties.
A patch will not seal against the void.
A patch is suitable for decals - textures such as stains to be placed over other surfaces.
Round and Softened Corners: Bevels
written by Fidcal
No matter how beautiful the texturing, a mathematically-sharp convex corner is likely to spoil it...
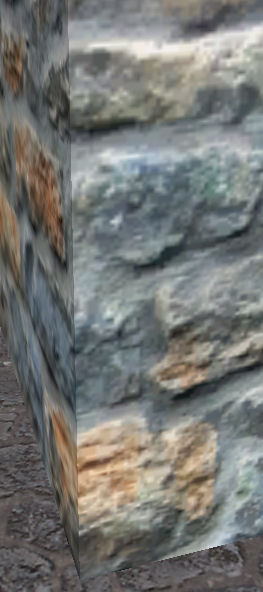
These can be rounded off nicely using a patch bevel. The same method can of course be used to produce larger rounded corners...
- Select the brush that forms the corner...
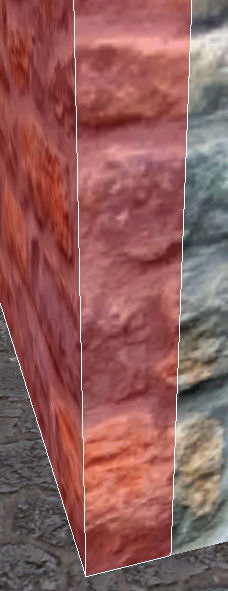
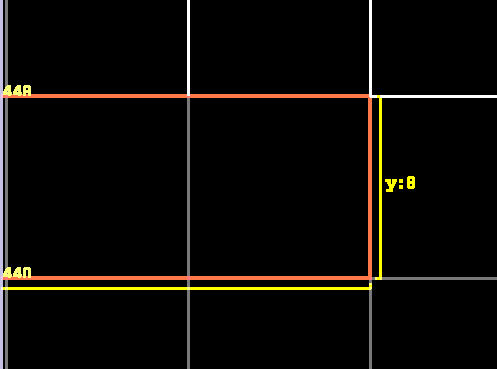
- Zoom in and set the grid to about 4 or 8. How rounded you want the corner will depend on the texture and other things. I crisp new brick wall might be better with a small rounded corner whereas old round stone blocks will take a larger curve. You can of course, use this method for very large curves where they are an architectural feature not merely a softening of a sharp edge.
- Default Ctrl+X for Clipper
- Click the two diagonals in order 0 then 1 as shown in the diagram so that the corner is to the right if 0 was 12 on a clock and 1 is 6...
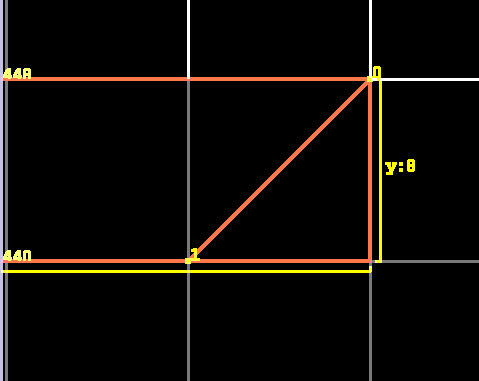
- Shift + Enter to split off the corner without deleting it
- Esc to deselect then exclusively Select the corner triangle. Might be easier in camera view....
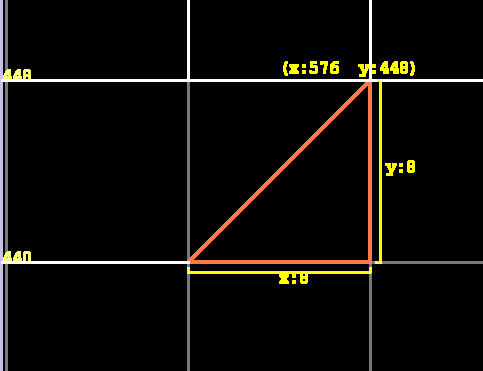
- Bevels are always created with their curve in the horizontal plane which is what we want here for a vertical corner (if you need a different orientation you have to rotate it after creation.)
- Select Patch Menu > bevel
- If the bevel is facing the wrong way (in top view) then rotate it, grid snap if necessary to as shown in the image below. The bevel might not have the same number of faces as in the diagram. Don't worry. We set that separately anyway.
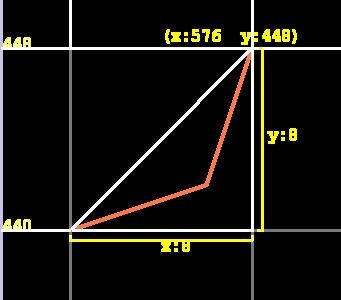
- Delete the original brush corner triangle that was the template for this bevel.
- Default Shift+S for patch inspector
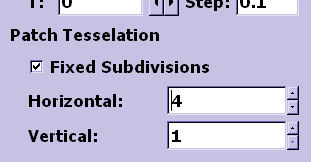
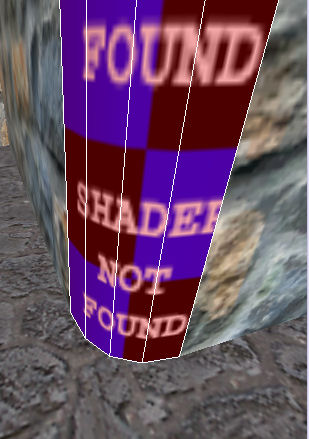
- Click the check box 'Fixed Subdivision' else Doom might change the quality when optimising.
- In the 'Horizontal' input just below that in Patch Inspector set the value to 3 or 4. The higher the value the lower the game performance and beyond a certain value you cannot tell any difference so don't be tempted to go high. It's a matter of experience, judgement, how big the curve is, and the type of texture...
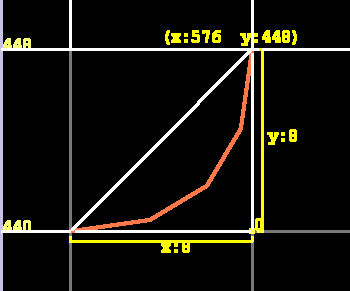
- Close Patch Inspector and Esc to deselect the bevel
- Ctrl+Shift LMB (to select only the surface) of the brush wall to one side of the bevel. Use a side where you do not want to have to re-align the texture on that wall, eg, there is a window further along and it might be awkward. This is because later, the wall texture on the OTHER side of the bevel may have to be realigned to the bevel.
- Edit Menu > Copy Shader or use key/mouse shortcut
- Esc to deselect and select the bevel again
- Edit Menu > Paste Shader (Natural) or shortcut. Do NOT use the normal paste - nor paste then Natural on Surface Inspector.
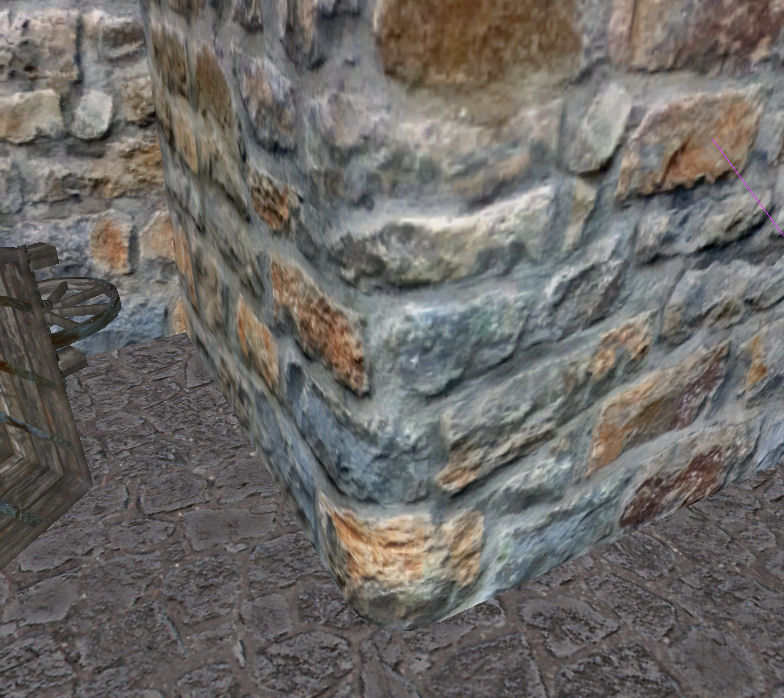
- The texture on the bevel should be aligned to that wall.
- Check texture alignment on the wall on the other side of the bevel and shift it in Surface Inspector as needed.
Hopefully that should now look far better...
Other References
General patches tutorial : http://www.modwiki.net/wiki/Patch