Blender: UVs & U Part 1: Difference between revisions
Created page with "file:UV_Header.jpg =='''UV’s & U: The Basics of UVing'''== ===Introduction=== UV mapping. The mere utterance of that phrase sends paroxysms of fearful shaking down the ..." |
|||
| Line 1: | Line 1: | ||
[[file:UV_Header.jpg]] | [[file:UV_Header.jpg]] | ||
==''' | =='''UVs & U: The Basics of UVing'''== | ||
===Introduction=== | ===Introduction=== | ||
Revision as of 07:47, 19 May 2012
UVs & U: The Basics of UVing
Introduction
UV mapping. The mere utterance of that phrase sends paroxysms of fearful shaking down the spines of the most stout and brave of people. They’ll scream a bit, sometimes cry, then run straight for the hills. Really, it’s no wonder. Back in the day, even the most basic of tutorials read like dry dissertation on higher level mathematical concepts, making it sound less like a way to get a picture on a cube, and more like a grim reminder of why you failed calculus.
Despite its reputation, I can easily say that this is not the case. UV mapping is actually fairly easy once you wrap your head around it. It’s filled with a goodly bit of busywork, I’ll admit. Especially when you compare it to the “select surface, click on texture, get texture on surface” approach BSP editors take. You really can’t beat that as far as simplicity is concerned. But once you figure out the ins and outs and concepts, it’s not at all difficult.
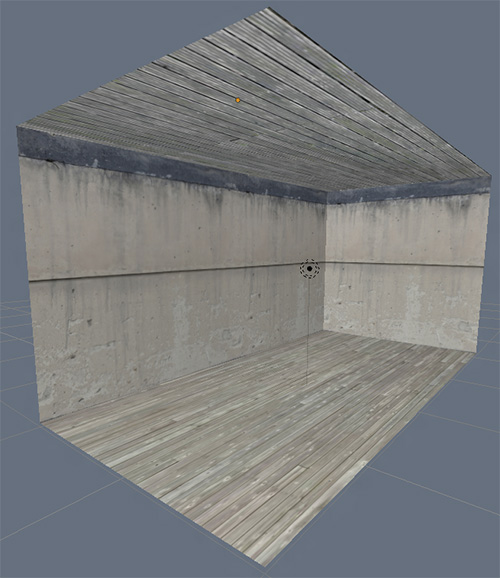
I’ll start out easing you into the wonderful world of UVing by covering texture application similar to what you’d use in Dark Radiant: a single tiling texture applied to a single surface. The end result being this lovely thing…
…where I make materials out of each texture, unwrap each wall on its own UV map, and apply the material to the wall. Sounds complicated, right? Well, it ain’t. A few excess clicks is about the worst of it.
Now lets get down to it! Gird your loins, folks. It’s time to UV map!
Setting Up Your Materials
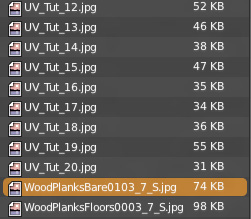
Before we jump in, we’re going to need a few textures to work with. I’m not going to worry about making any super fancy custom textures for the sake of this most simple of tutorials. That’ll come later. Now all we need are a few tiling textures to get us started. I went ahead and picked out three from CGTextures. One for…
Save these wherever, then hop into Blender. Now it’s time to turn them into a bunch of materials to slap on your wall.
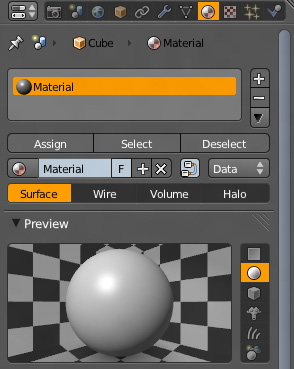
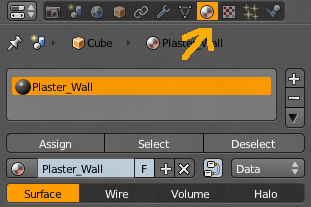
So how do you do this, you wonder? Semi-simply, of course! It’s so easy, it only takes a moderate amount of tutorialage to figure out how to do! To start with, you’re going to want to look over on your properties bar (the big vertical thingy on the right side of the interface FYI), and find this currently highlighted button…
This is your materials tab, where you very obviously define and set your materials. A material being anything from flat colors, to procedural textures, to videos, to bitmap. They are the paint you apply to your surfaces, and your settings within this and the next tab over determine the shape, the grain, the specularity of the material. You have an absolutely staggering amount of options at your disposal. Enough that it’s almost demoralizing at first glance.
“My God”, you think, “I have to deal with all of these”?
Nope! Unless you’re planning on going all fancy and making and baking out some procedural textures, all you have to worry about are the bitmaps. As far as TDM is concerned, the rest is completely nonexistent. You could make the default color purple, and jack the spec up 2000%, and all TDM will see are the image based textures you’ve applied to it.
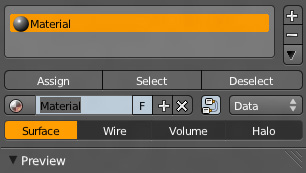
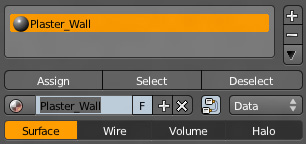
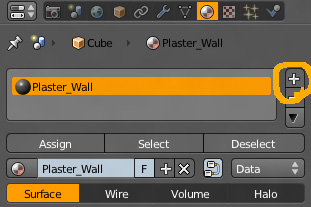
Okay, I’ve jabbered enough. Lets get something done here. Okay, you’re currently in your materials tab. You’ve probably noticed by now that it already has a material applied. The generically named “material” material. We’ll go ahead and use this one for our first texture. But first, lets rename it to something we can identify at first glance. This will be our “Plaster_Wall” material. Rename it by highlighting the material you want to change (you don’t have much choice here at the moment, so…), and clicking the little box located beneath the “Assign”, “Select”, and “Deselect” buttons.
Highlight it as shown in the image, rename it to Plaster_Wall, and hit enter. This changes the name of the selected material.
This’ll make it easier to keep track of once you start making maps and models that use multiple materials.
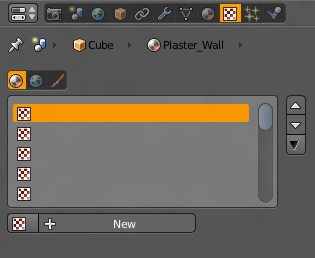
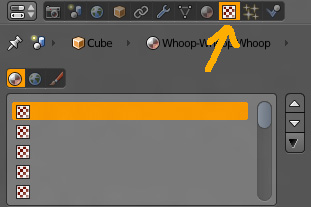
But what about actually applying a texture to this material? After all, we want to use an image we grabbed off of CGtextures, right? All it looks like at the moment is a shiny grey ball. Okay then, lets move on to the next step, which has you going alllllll the way over to the little checkerboard tab right next to it.
This is your textures tab, where you apply procedural effects, video clips, and bitmap images to your materials. In other words, this is where you’ll be applying your texture to your texture.
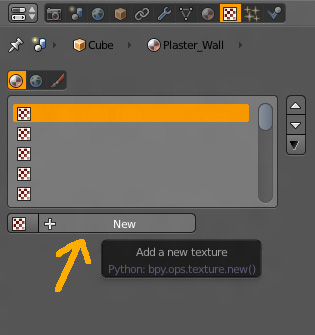
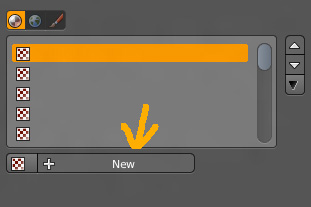
Now lets go ahead and lead the material to our texture. Do this by clicking new…
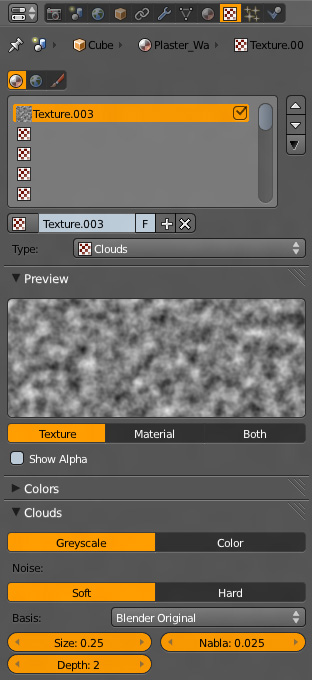
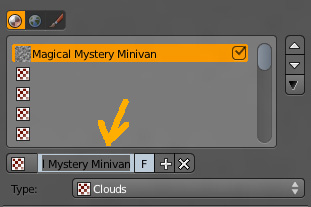
…(yeah, that arrow was probably unnecessary), which then makes a new texture for this material and brings up all the options for tweaking it. You should be seeing something like this…
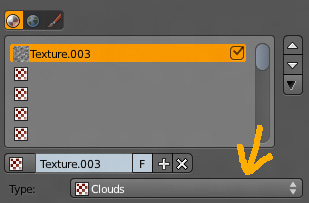
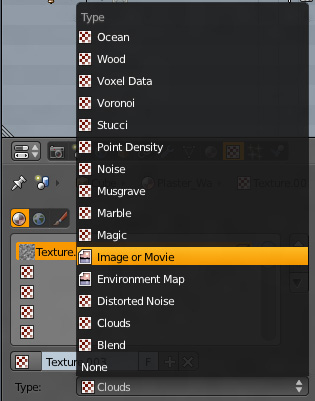
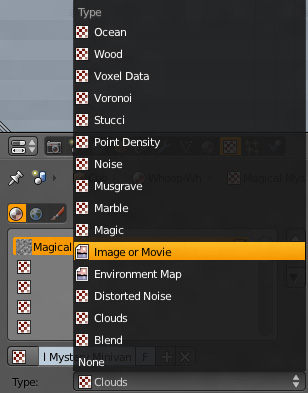
…holy crap, that’s a whole ton of weird stuff. What the hell am I gonna do with all this? Not much, really. All you want to do is add in your image, which you can do by clicking on the type dropdown menu…
…which brings up the various types of procedurals and other effects you can use for this texture. You want to select “Image or Movie”…
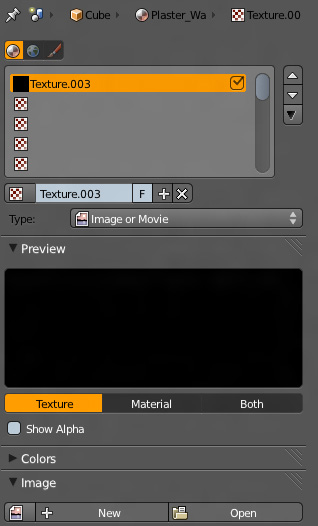
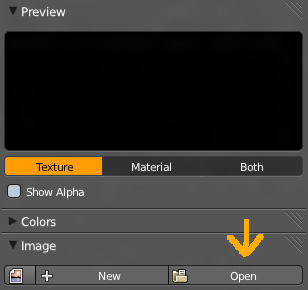
…which changes your preview shot to black, and brings up a whole new set of options. Don’t worry about the rest now, all you want to do is focus your attention on the “Image” dropdown tab.
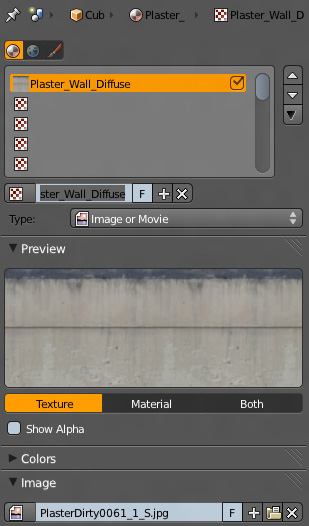
The rest is relatively easy. Hit “Open”, and lead Blender to your PlasterDirty0061_1 texture. The preview box will now show a stretched out version of your image. Congrats! You’ve just applied a texture to your material! It’s now ready to go.
If you want, you can go ahead and rename “Texture.001” to something like Plaster_Wall_Diffuse for future reference.
Alright! That’s one down! It might seem a little complicated now, but once you get used to it, it’s nothing more than a simple 10 second process. All you need is a little practice doing it, and you’ll have the process memorized in no time flat. Good thing you’ve still got two more to add, huh? Extra practice ahoy!
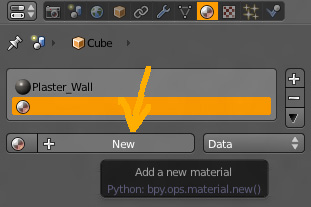
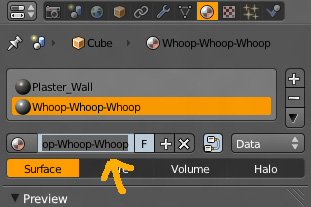
I’m not going to run you through detailed explanations for these next two. A quick step-by-step would be better here, both to hammer the process home, and for reference.
Bam! Sweet texture! Do it again for the floor/ceiling, and you’re good to go!
…cept for the fact you don’t have anything to apply them to. I guess since this is a UV tutorial, we should eventually cover that, right? I think now would be as good a time as any, so lets do that now...

