Photoshop 5: Stone Wall Phase 3: Difference between revisions
| Line 69: | Line 69: | ||
Change your brush size if you need to, use {{key|x}} to switch between black and white to refine your edges, and don't forget to offset to get those bricks along the | Change your brush size if you need to, use {{key|x}} to switch between black and white to refine your edges, and don't forget to offset to get those bricks along the side. In about 20 minutes, you should have a texture that looks something like... | ||
Revision as of 06:28, 2 April 2012
Photoshop tutorial series:
Other photoshop tutorials:
Adding Detail
Phase 3 of our tutorial is gonna be relatively short and sweet compared to the rest. The hard part has been done. From here on, it's all about touching up to taste, and adding some spice and variety to the mix. Think of this part of the tutorial as an refresher exercise, where we take what we've learned previously and apply it different ways.
Painting Moss
Okay. Now we've got this snazzy brick wall, what more needs to be done? Hmm...how about some moss growing between the cracks? To start with, lets go to CGTextures and find ourselves a nice moss texture.
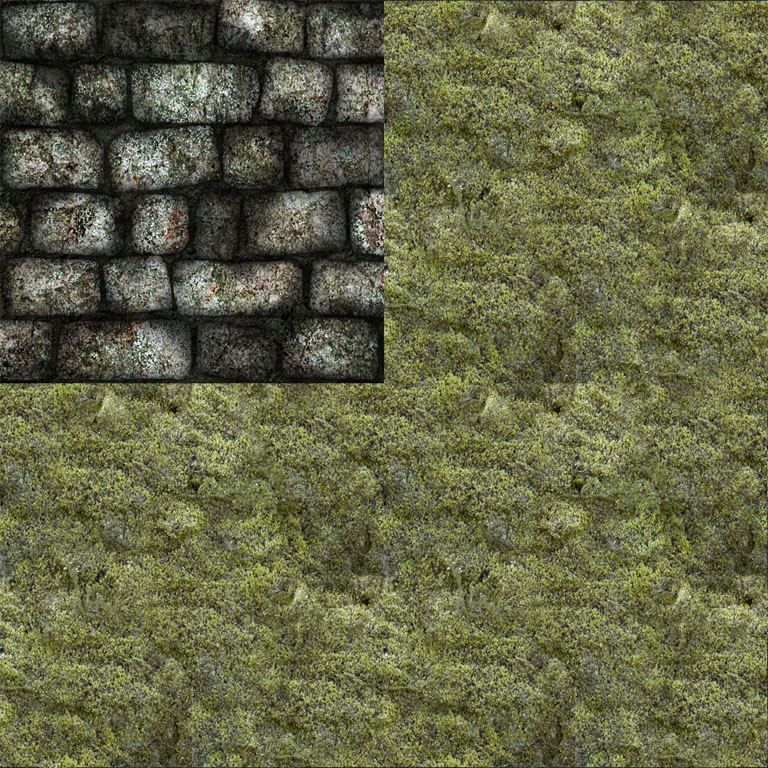
Apply the usual alpha mask & offset tile job to it. Try to keep your details homogenous, so you don't have one patch of moss that looks totally different from the others (unless that's what you want). Now, when you're done tiling, go to image/image size from your dropdown menu, and resize it to 512x512. We're doing this so the grains and details of your moss texture will be fine and to scale. You don't want a blurry, overly large moss texture here. When you've done that, copy your new moss texture 4 times into your texture, like so...
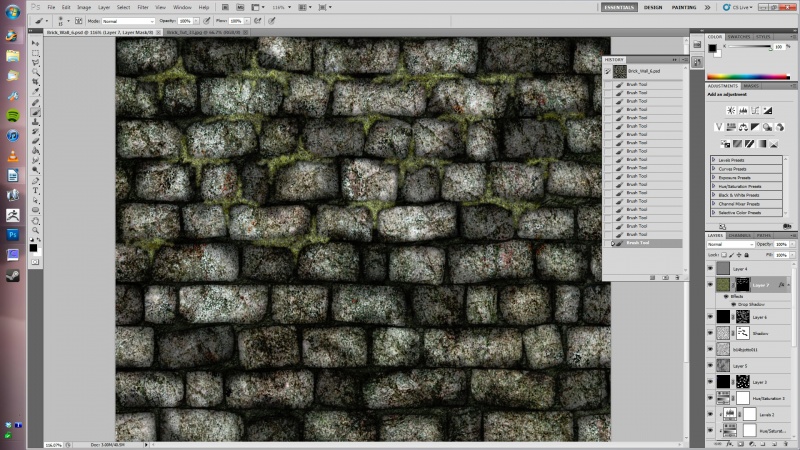
Make an alpha submask, fill it with black so the entire layer is completely transparent, and start painting your moss into your cracks. Don't worry about adjusting your colors and levels just yet. We'll do that when we're finished painting. Use a soft edged brush with a lot of feathering on the edge, and go to town.
Eventually, you'll get to the point where you need to paint in your edges. Now you could go through all your layers one by one and offset them, but that'd be a huge pain in the ass. Instead, we're going to rely on our flatten layer/copy/undo trick we learned previous. You know the routine by now, first hide your moss layer, then flatten your image, drag a marquee around the texture, copy it by hitting CTRL+v, step back in your history to just before the flatten, and paste your new flattened bricks just below the moss layer. Offset it, and your moss, and continue painting away. Once you're done, delete the flattened image (or hide it if you prefer), and offset your moss yet again.
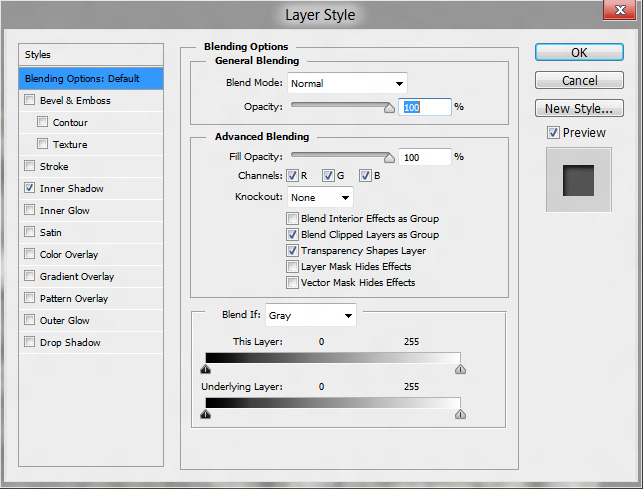
Now, we're gonna go ahead and add in a drop shadow and/or inner shadow to add some depth and roundness. Do this by double ![]() in the grey space on your moss layer tab. This will pop up your Layer FX menu.
in the grey space on your moss layer tab. This will pop up your Layer FX menu.
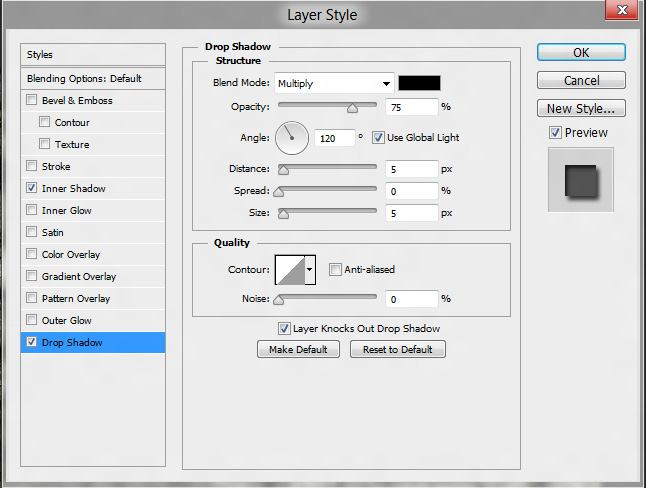
See the option for "Drop Shadows"? That's what you're aiming for here. Check the box, and you'll see the immediate results. If you want to tweak the directions, distance, opacity, and thickness of the shadows, then click on the tab, and you'll see your options to do so.
The default settings should be good enough, but play with the settings if you want to tweak to taste. Your moss should end up looking like it's situated slightly deeper in the grooves between your bricks.
Just try not to go overboard. A heavy shadow effect might look cool on the diffuse, but it'll make for nothing but weirdness once you've got it normalmapped. Try to keep it subtle, just shadowed enough so it adds detail. Like a handmade ambient occlusion effect.
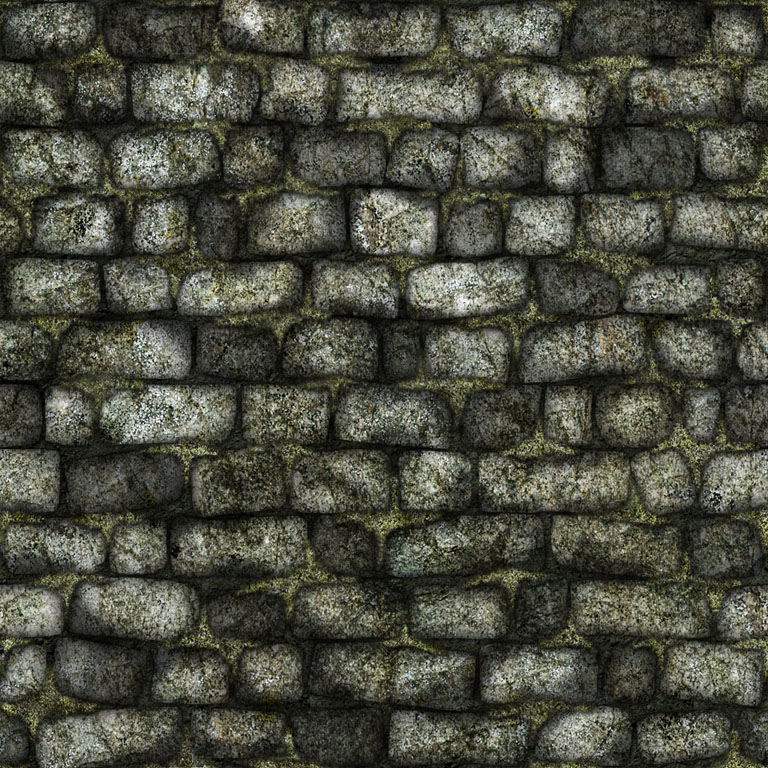
Once you're done with your painting and playing with your Layer FX settings, add your usual adjustment layers, play with them until you get your moss blended in nicely with your bricks. I also recommend tweaking your other adjustment layers a bit on the bricks themselves to try to match your new moss just a bit more. Once you're done, you should have a texture that looks like this...
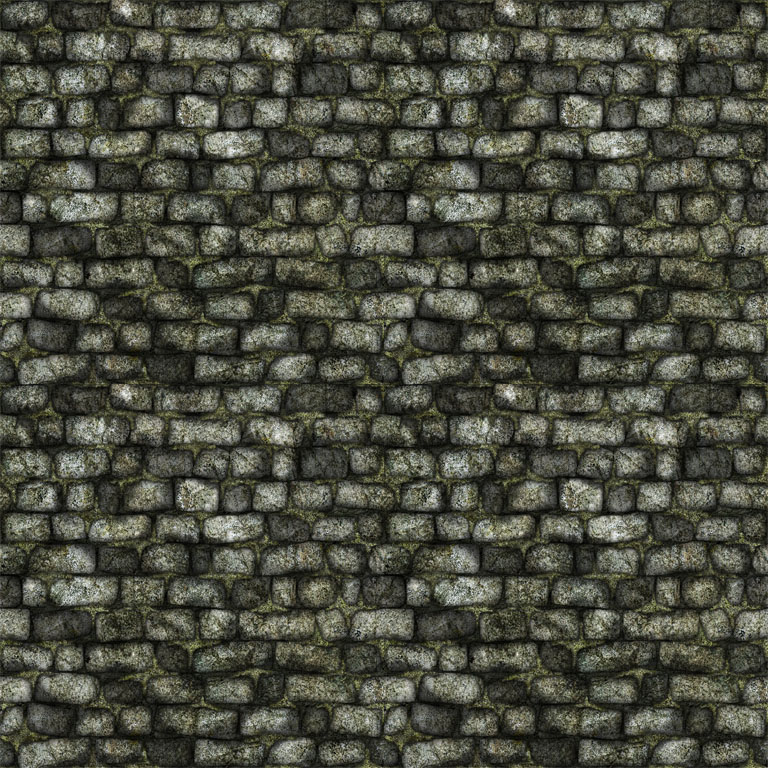
...and lets see how it tiles...
Looks good so far! But lets add a little more. I think throwing in some cracks would help bring some more life to our texture.
Painting Cracks
We'll start by making a new layer above your moss. Add an alpha mask, and fill both it and the main image with black using the paint bucket tool. If you've followed me thus far, you should know exactly what we're about to do. That's right...
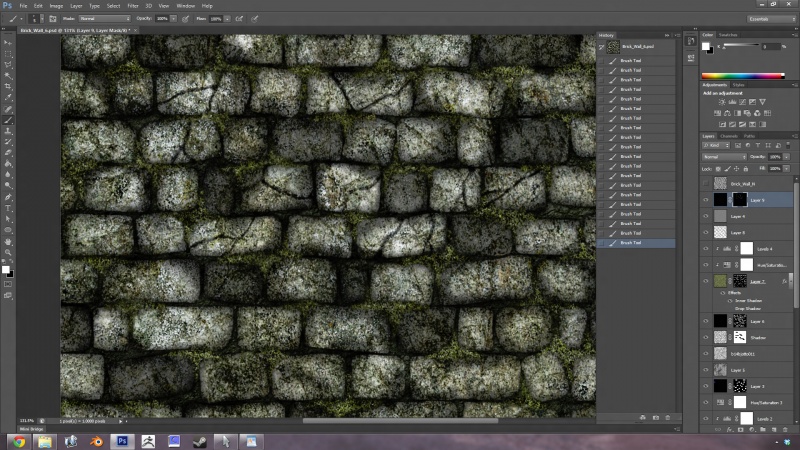
Go into your alpha mask, make sure white is your chosen color on the swapper, and select another soft, goopy brush, so you get a nice soft transition between the brick and your new crack. Resize the brush using ] [ to grow and shrink, (I went with 3-6px for my brush), and paint away! Think of it as an extension to the roughing up you did way back in at the beginning of Phase 2.
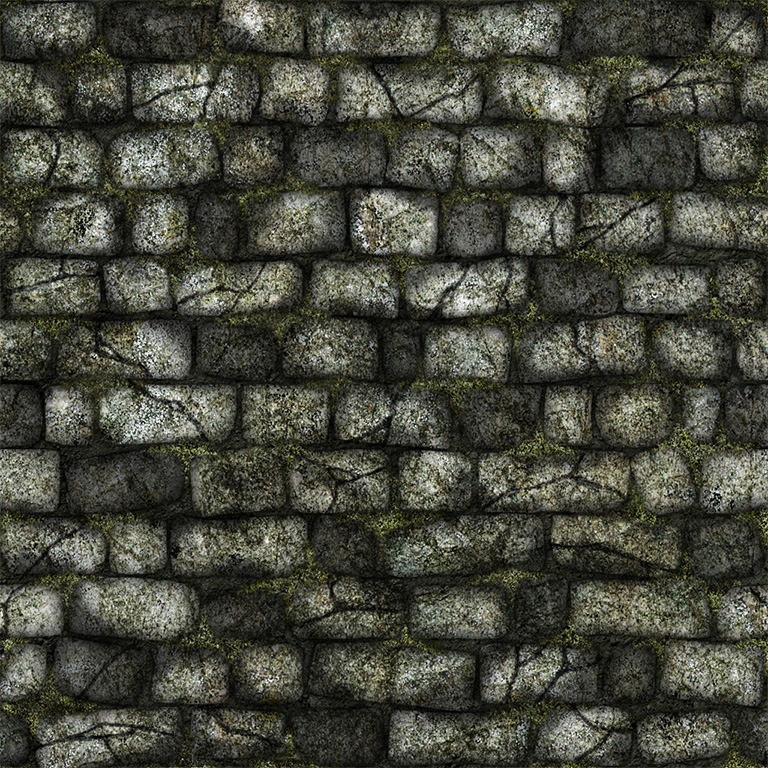
Change your brush size if you need to, use x to switch between black and white to refine your edges, and don't forget to offset to get those bricks along the side. In about 20 minutes, you should have a texture that looks something like...
And there you go! Mossy cracked up bricks. If you feel like it, play with your opacity slider to make them a little less harsh. Make them more like they're more surface indentions rather than completely cracked through stones. This'll be important for when we normalmap it in the next phase.
We're just about done, folk! There's only one more thing I want to cover.
Grunge Maps
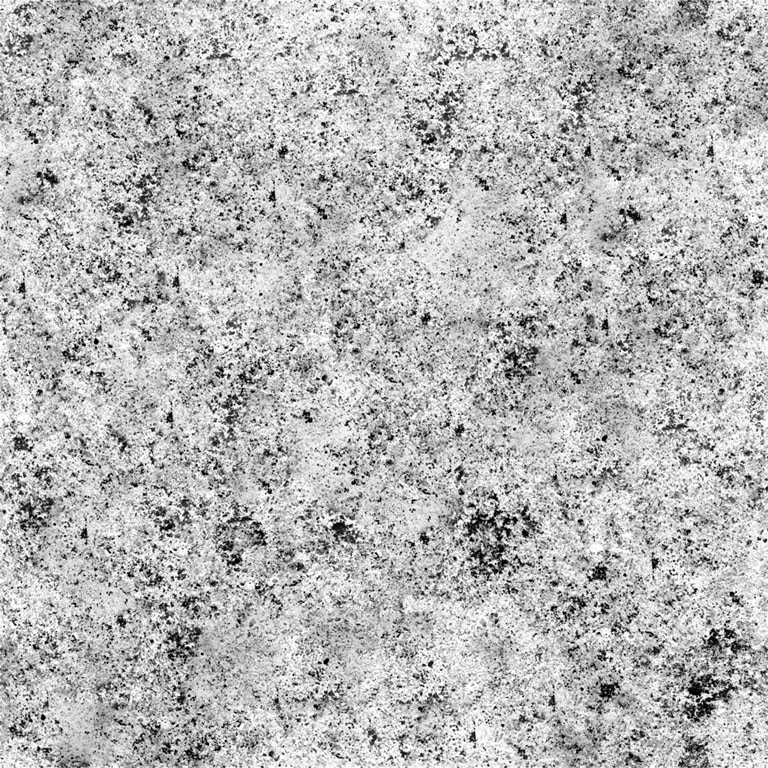
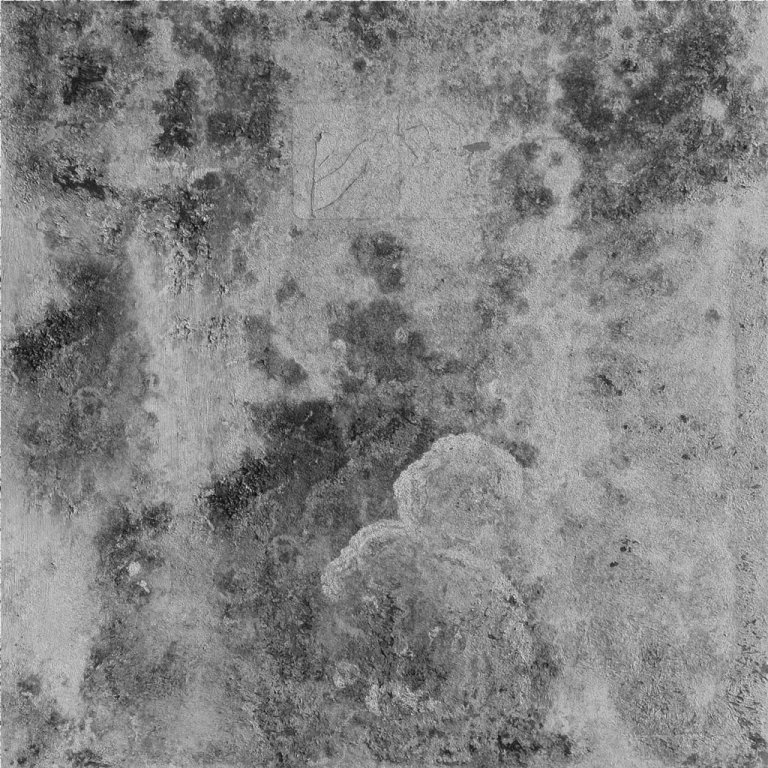
Grunge maps pretty much live up to their name. They're textures you'll throw into your layer stack to add in random noise and detail, or mix in a few more random fields of color. They can be pretty much any nasty, dirty texture. A grotty wall, a water stained piece of metal, a rusted pipe, an image consisting of nothing but random spots. They can be color, or black and white. They don't even necessarily have to tile, depending on how strong they are in your texture.
These are the two I used to finish off my brick wall.
This one...
...which I used to add in some random spots and splashes of dirty, and....
This one...
...which is, well, even broader random spots and splashes of dirty. As you can see, they're really just desaturated images I grabbed off of CGTextures, Imageafter, or any other number of texture sites. Adding them in is incredibly easy. Just take your intended grungemap, throw it in on top of your image, play with the layer blends and opacity until you get something cool looking. Once you're happy, you're done.
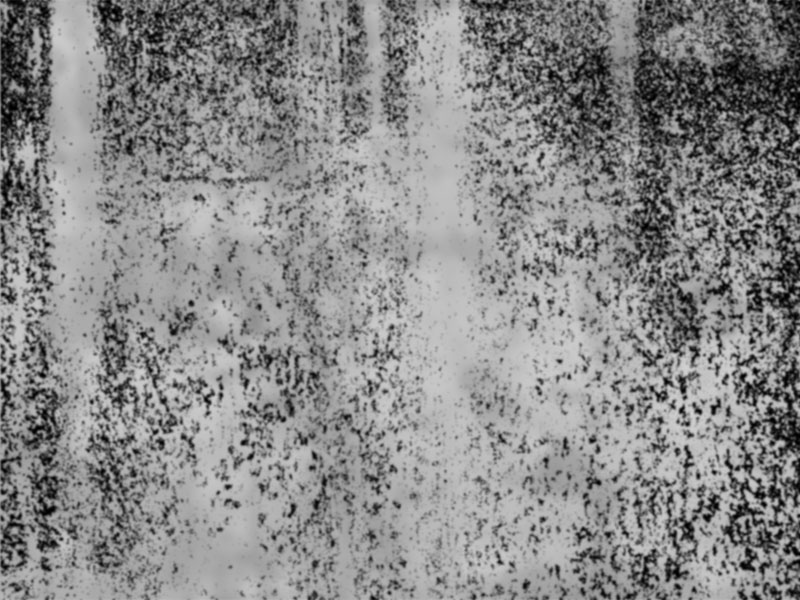
If you want to make your own grunge map that's more like the topmost texture, then here's what you do.
Find two textures. A rust texture, and a stainy one will work alright here. Like these two...
&
Make a new texture, add them both into your layer stack, then put a white background underneath them both. Then, take Rust0081, and gaussian blur it. Set the opacity to 60% or so. Then take Rust0155, go to image/adjustment/threshold. That'll make your top layer all spotty. Set it to the multiply filter, and there you have it...your first easy to do grungemap.
Pretty basic, even for a grungemap, but it's enough to give you a good idea on how to make your own.
And that's it. By this point, you should have completed your first handmade grunged up stone wall diffuse in Photoshop. Next up, the oh so important and very final stage of our texture: Normalmaps!
Photoshop tutorial series:
Tiling with alpha masks • Tweaking with adjustment layers • Stonewall phase 1 • Stonewall phase 2
Other photoshop tutorials:
The Toolbar explained

