DrVertexBlend (tutorial): Difference between revisions
Added tutorial |
Width Adjustments |
||
| Line 69: | Line 69: | ||
When starting Blender you will be presented with the default layout which includes a scene with a camera, light, and cube primative in the main viewport. | When starting Blender you will be presented with the default layout which includes a scene with a camera, light, and cube primative in the main viewport. | ||
[[Image:Step3general1.PNG]] | [[Image:Step3general1.PNG|800px]] | ||
The cube should be highlighted in orange to identify it as being selected. If not right click it. Press x to delete it from the scene. | The cube should be highlighted in orange to identify it as being selected. If not right click it. Press x to delete it from the scene. | ||
| Line 150: | Line 150: | ||
===UV Mapping=== | ===UV Mapping=== | ||
[[Image: | [[Image:Cube Representative UV Unwrapping.png|800px]] | ||
UV mapping is best explained through an analogy. Imagine you have a box and you want to lay it flat and run it through your printer to apply a texture to it. Obviously the box isn't going to lay flat unless you pull it apart at the seams. | UV mapping is best explained through an analogy. Imagine you have a box and you want to lay it flat and run it through your printer to apply a texture to it. Obviously the box isn't going to lay flat unless you pull it apart at the seams. | ||
| Line 195: | Line 195: | ||
#Open DarkRadiant along with a plain text editor like notepad. | #Open DarkRadiant along with a plain text editor like notepad. | ||
#In the media browser identify the first material you'd like to use.<br/>[[Image:Bstep2.PNG]] | #In the media browser identify the first material you'd like to use.<br/>[[Image:Bstep2.PNG|800px]] | ||
#Right click it and select show shader definition.<br/>[[Image:Bstep3.PNG]] | #Right click it and select show shader definition.<br/>[[Image:Bstep3.PNG]] | ||
#Copy the text that makes up the material shader into your text editor.<br/>[[Image:Bstep4.PNG]] | #Copy the text that makes up the material shader into your text editor.<br/>[[Image:Bstep4.PNG|800px]] | ||
#Repeat this process for a second material adding the additional text to the bottom. | #Repeat this process for a second material adding the additional text to the bottom. | ||
#In your text editor break any diffusemap, bumpmap, or specularmap keywords into stages.<br/>[[Image:Bstep6a.PNG]][[Image:Bstep6b.PNG]] | #In your text editor break any diffusemap, bumpmap, or specularmap keywords into stages.<br/>[[Image:Bstep6a.PNG|400px]][[Image:Bstep6b.PNG|400px]] | ||
#Remove any image processing keywords like addheightmap if present so only the most logical image reference remains. | #Remove any image processing keywords like addheightmap if present so only the most logical image reference remains. | ||
#In the first material shader, add the keyword vertexColor to each stage.<br/>[[Image:Bstep8.PNG]] | #In the first material shader, add the keyword vertexColor to each stage.<br/>[[Image:Bstep8.PNG]] | ||
| Line 212: | Line 212: | ||
#Open DarkRadiant along with a text editor. | #Open DarkRadiant along with a text editor. | ||
#In the media browser identify the material you'd like to use.<br/>[[Image:Bbstep2.PNG]] | #In the media browser identify the material you'd like to use.<br/>[[Image:Bbstep2.PNG|800px]] | ||
#Right click it and select show shader definition.<br/>[[Image:Bbstep3.PNG]] | #Right click it and select show shader definition.<br/>[[Image:Bbstep3.PNG]] | ||
#Copy the material shader into your text editor.<br/>[[Image:Bbstep4.PNG]] | #Copy the material shader into your text editor.<br/>[[Image:Bbstep4.PNG|800px]] | ||
#In your text editor break the diffusemap keyword if present, into a stage.<br/>[[Image:Bbstep5a.PNG]][[Image:Bbstep5b.PNG]] | #In your text editor break the diffusemap keyword if present, into a stage.<br/>[[Image:Bbstep5a.PNG|400px]][[Image:Bbstep5b.PNG|400px]] | ||
#Add the keyword vertexColor to the diffuse stage.<br/>[[Image:Bbstep6.PNG]] | #Add the keyword vertexColor to the diffuse stage.<br/>[[Image:Bbstep6.PNG]] | ||
#Rename the modified material shader so that it has a unique name.<br/>[[Image:Bbstep7.PNG]] | #Rename the modified material shader so that it has a unique name.<br/>[[Image:Bbstep7.PNG]] | ||
Revision as of 13:28, 24 July 2010
Vertex Painted ASE Models with DarkRadiant and Blender 2.53
For the level designer who is not comfortable in a modeling package I've written a series of ASE import and export plugins so that you might benefit from vertex blending or coloring in your maps.
These plugins will not absolve you of a modeling application completely however they will spare you from modeling and uv mapping. Essentially the entire process has been reduced to four steps.
- Export map geometry from DarkRadiant
- Import resulting .ASE into Blender
- Switch to vertex paint mode and paint
- Export object(s) from Blender
It is assumed you already have DarkRadiant 1.4 and Blender 2.53 installed.
Required Plugins
- DarkRadiant ASE Export
- Blender 2.53 ASE Import
- Blender 2.53 ASE Export
The DarkRadiant ASE Export plugin is bundled with DarkRadiant and will not need to be installed.
Plugin Installation
Due to discrepancies that arise depending on what operating system you are using, whether you are using the 32-bit or 64-bit versions of Blender, and installation options, the full path for installation may vary.
Blender 2.53
The Blender 2.53 ASE Import and Export plugins (import_ase.py and export_ase.py) should be placed in the relative path below.
...\scripts\io
If you have difficulty finding this location on your system you can perform a search for any of the following files.
engine_render_pov.py
export_3ds.py
export_fbx.py
export_mdd.py
export_obj.py
export_ply.py
export_x3d.py
import_anim_bvh.py
import_scene_3ds.py
import_scene_obj.py
import_shape_mdd.py
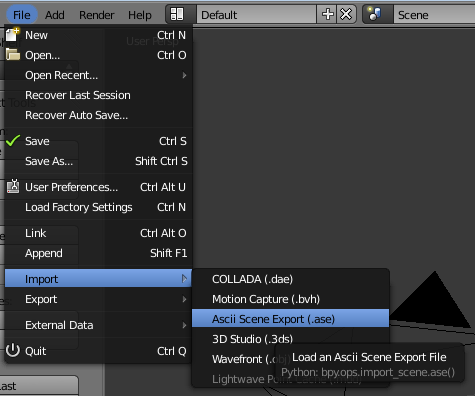
Once you have placed import_ase.py and export_ase.py in the location described above you can verify installation by starting Blender 2.53. If Ascii Scene Export (.ASE) is available in the File > Import and File > Export menus, installation was successful.
Exporting Geometry From DarkRadiant
Only brushes and patches may be exported using Export ASE... from DarkRadiant. This includes entities comprised of brushes and patches. If you intend to export such an entity please revert it to worldspawn first.
Also it should be mentioned that at the time of this writing, The Dark Mod does not appear to come with many if any vertex blended or vertex colored material shaders. If you intend to use such a material, you'll need to use one from Doom 3 or create a new one before you reach this step.
If you don't know how to create such a material you'll find a brief description of the process in Appendix B at the end of this document.
Assuming you have DarkRadiant open, you have created or loaded the map geometry you intend to export, and vertex blended or colored material shaders are applied to your satisfaction, perform the following steps.
- Select the brushes and patches for export.
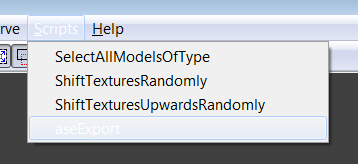
- Select Scripts > Export ASE...
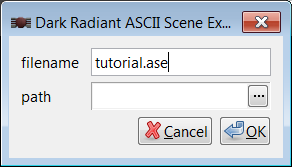
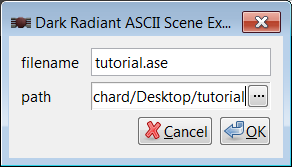
- In the filename textbox enter a filename.
- In the path textbox enter the path or use the elipsis button on the right side of the text box to browse for a folder.
- Click the OK button.
If export was successful you will find a file with the name you've specified at the location specified. If you attempt to overwrite the file you will be prompted to confirm or cancel the operation.
If for some reason there was a problem no file will be exported and an error message will be present in the console.
Importing the .ASE into Blender 2.53
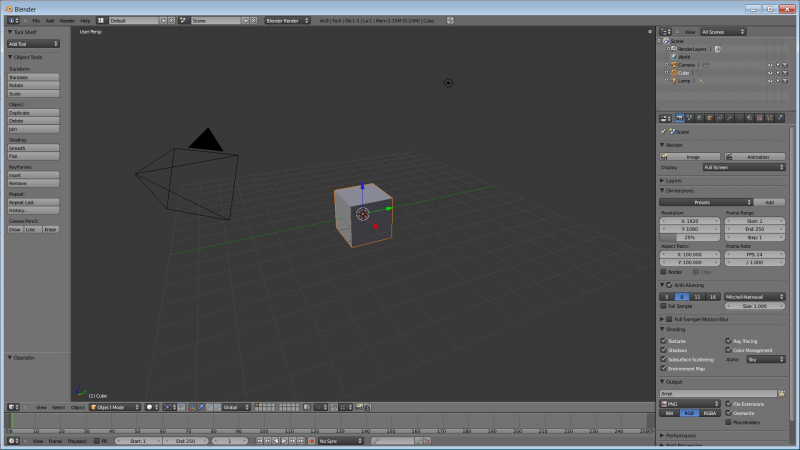
When starting Blender you will be presented with the default layout which includes a scene with a camera, light, and cube primative in the main viewport.
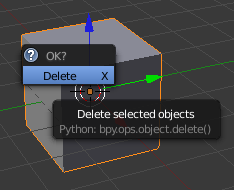
The cube should be highlighted in orange to identify it as being selected. If not right click it. Press x to delete it from the scene.
With the cube removed, perform the following steps.
- Click File > Import > Ascii Scene Export (.ASE) to open the file browser.
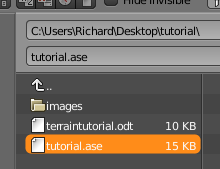
- Navigate to the location of the .ASE exported in the previous section and select the file.
- Click the Import ASE button in the top right corner.
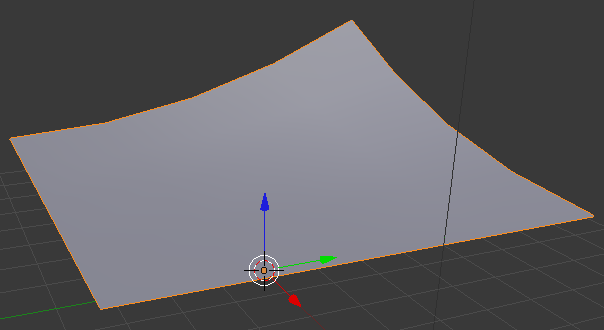
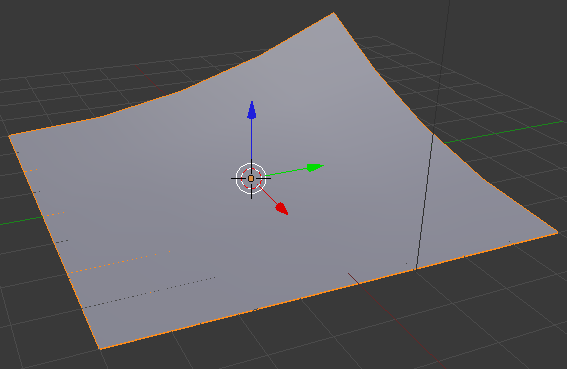
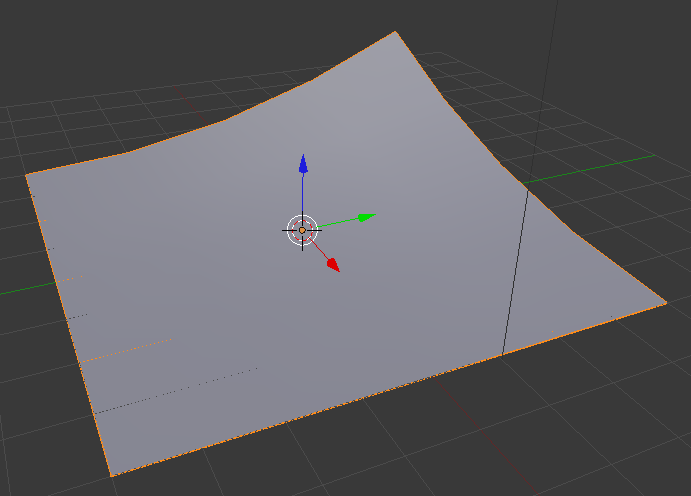
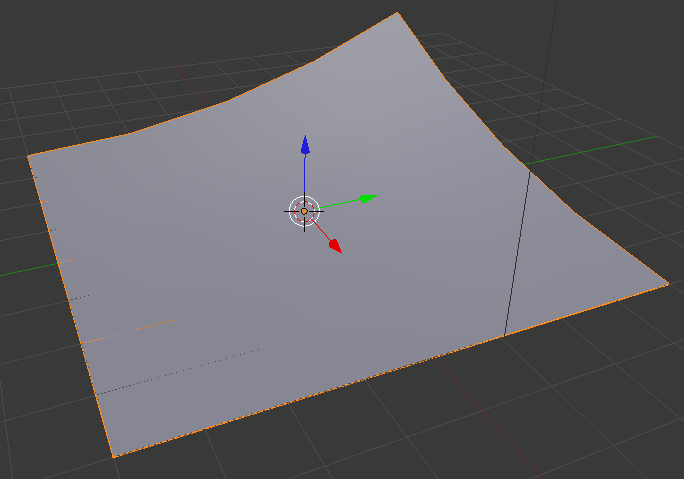
If import was successful familiar geometry should appear in the main viewport and be reflected in the outliner. Take care that if you were to switch to textured mode, no texture would appear on the model. But rest assured that the material shaders applied in DarkRadiant have been preserved.
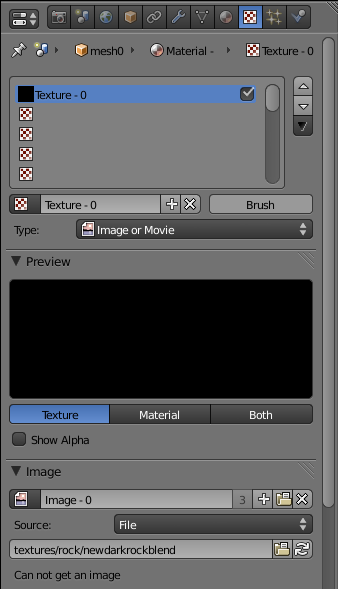
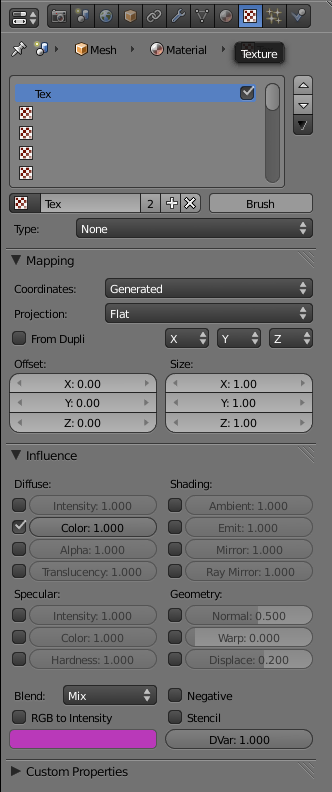
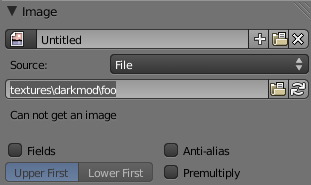
The reason for this is because a material shader as used in the idTech 4 engine is not an image as Blender expects all textures to be. Instead, it is a declaration which references several images along side other game assets. Take note that in the image below, the texture panel is making reference to a non-existant image texture. This reference "textures/rock/newdarkrockblend" does not represent a file named newdarkrockblend in a folder called textures/rock. This is in fact the full name of a material shader.
While it is theoretically possible to give the script the ability to read the contents of .pk4 files, load the contents of .mtr files, identify the specified material shader, and extract/convert the required image files so that they may be loaded into Blender, it is not required for vertex painting.
In the future such functionality may be incoorporated into the script but as it stands, it is not too much to ask that you refrain from playing with texture settings within Blender unless you know what you are doing.
It is important to note that brushes with multiple textures are exported as separate objects within a single .ASE file. Although the .ASE format supports unique textures per-face, idTech 4 does not so spliting faces into separate objects is required.
If there were any problems during import or it appears parts of the model are missing, check the console which would be the DOS or BASH terminal running in the background for error messages. If you encounter a problem please share the full contents of the console and the .ASE so that I can fix it.
Vertex Painting Each Object
For each mesh object in your scene you plan to vertex paint, perform the following steps.
- Right click the object to select it.
- Press the period key on your numpad to focus the viewport on the selection.
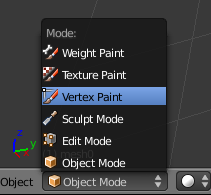
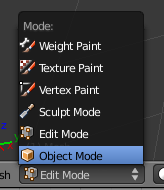
- Select Vertex Paint mode from the mode selection box at the bottom of the main viewport.
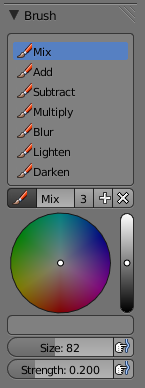
- Using the following controls, paint the vertices of the selected object.
- the middle mouse button to rotate
- the shift key and middle mouse button to pan
- the mouse wheel to zoom
- the color wheel on the left for color selection
- the left mouse button to paint
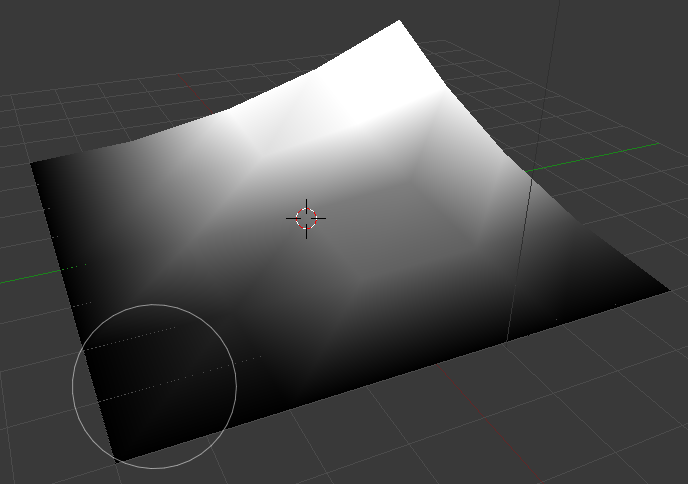
Vertex blending is when two textures are blended based on the color of the underlying vertices. idTech 4 dictates that you use white to represent one texture and black to represent the other. Gray values are used to gradually blend between the two.
Vertex coloring is when one texture is tinted based on the color of the underlying vertices. You are not restricted in color usage although I am hard pressed to find a use for this. Technically you could paint shadows and the like on a mesh provided the geometry was dense enough.
Exporting Objects from Blender 2.53
If you've created any new geometry within Blender it must be uv mapped and assigned a material before you can export. A brief explanation will be covered in Appendix A at the end of this document.
That said, if you've been following the tutorial and the objects in the scene are vertex painted to your satisfaction you are ready to export.
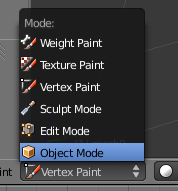
To make your selection visible it's best to change the mode from vertex paint to object mode. Right click each mesh object in your scene and choose object mode from the mode selection box.
Now you are prepared to export a group selection of objects.
- Right click to select a mesh object.
- Hold shift and right click each mesh object to add it to the selection.
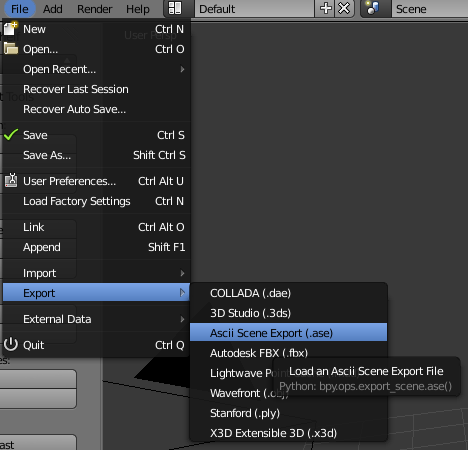
- With everything you intend to export selected, click File > Export > Ascii Scene Export (.ASE)
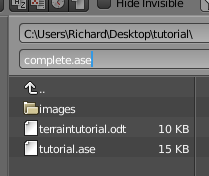
- Navigate to the location you wish to export and type a unique filename in the filename text box.
- Click the Export ASE button in the top right corner.
If export was successful a file with the name specified will appear in the location specified. If you attempt to overwrite an existing file the plugin will abort.
If no file exists check the console to ensure no problems were encountered during export. Now you should be able to copy the resulting .ASE file into the appropriate location along with your mod assets and use it in your map(s).
Appendix A. Preparing a Native Object for Export
If you've created objects within Blender, it is not enough to simply export them as you would with something you've imported from DarkRadiant.
The distinction is in the fact that brushes and patches exported to .ase from DarkRadiant are already UV mapped and have a material applied while objects created within Blender do not.
UV Mapping
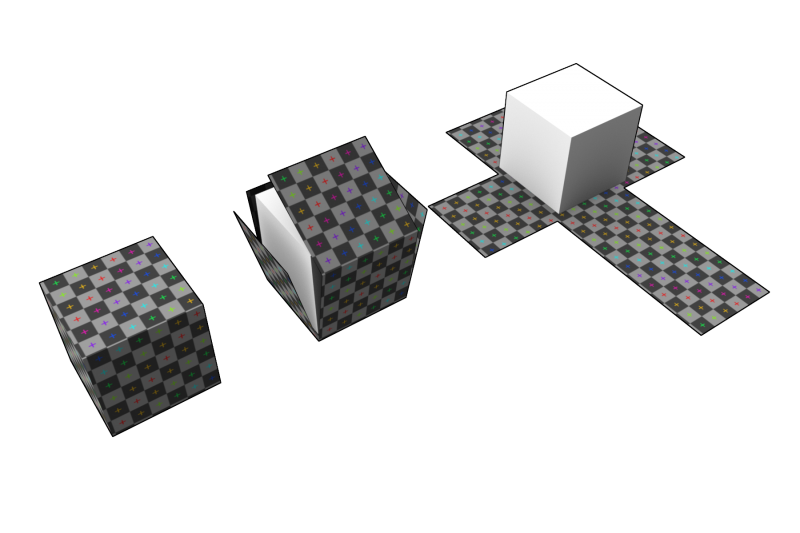
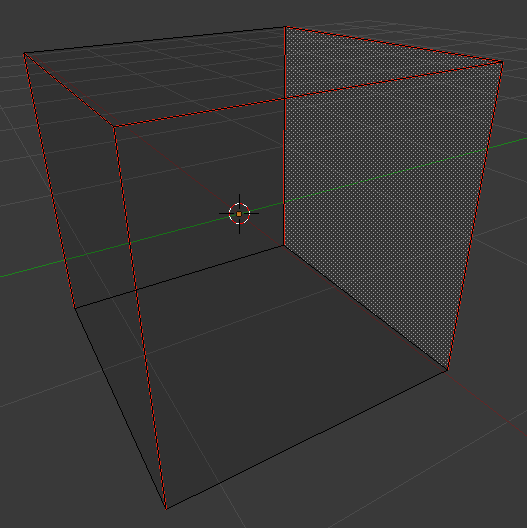
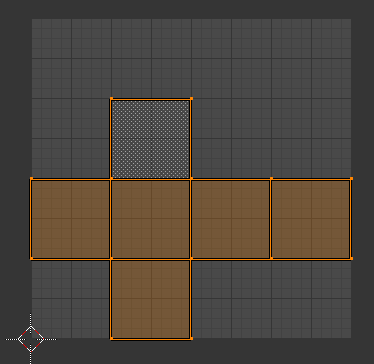
UV mapping is best explained through an analogy. Imagine you have a box and you want to lay it flat and run it through your printer to apply a texture to it. Obviously the box isn't going to lay flat unless you pull it apart at the seams.
UV mapping is the process of marking the seams on your object and commanding Blender to unwrap it. Once an object has been UV mapped, you've essentially given Blender and more importantly idTech 4 instructions on where parts of a 2D texture should appear on the 3D model.
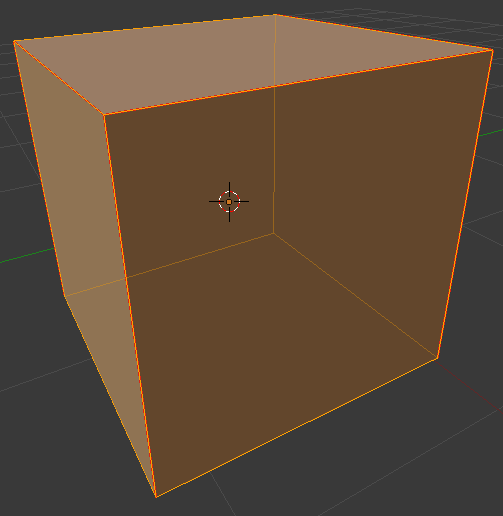
For the purposes of this section the example object will be a cube.
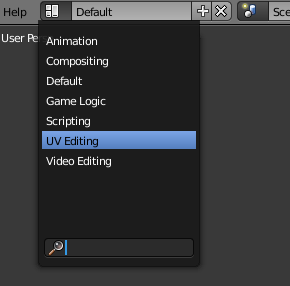
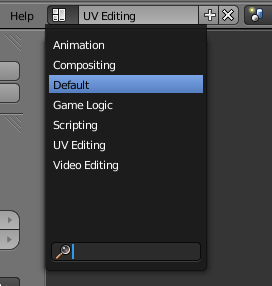
- On the menu bar immediately to the right of the help menu is the layout dropdown box. Change the layout to UV editing.
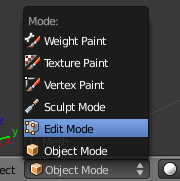
- Right click your object in the 3D viewport to select it and toggle edit mode.
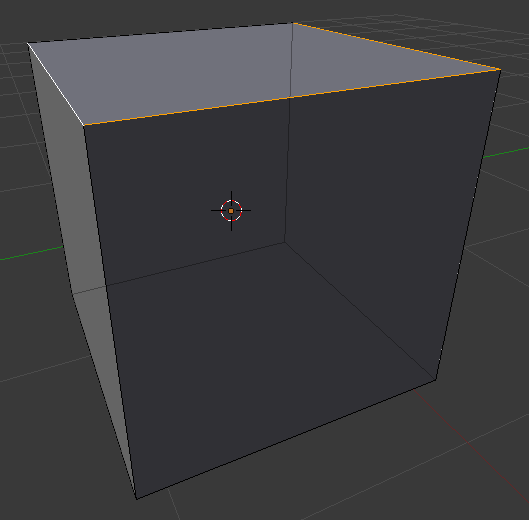
- Change the selection mode to edge and press the a key to deselect everything.
- Use right click followed by shift and right click to select a few edges to designate as seams.
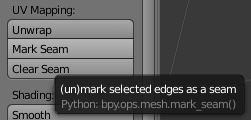
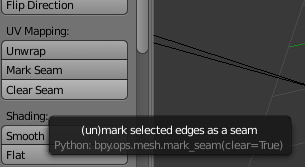
- On the tool shelf to the left of the 3D viewport under UV mapping select Mark Seams.
- Repeat this process until you are satisfied. It may help to turn wireframe mode on so you can see the seams on all sides of the model.
- In the 3D viewport press the a key to select all.
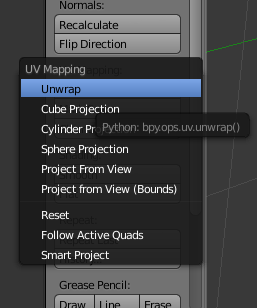
- On the tool shelf to the left of the 3D viewport under UV mapping select Unwrap > Unwrap. The unfolded version of your cube should appear in the UV editor on the left.
- On the menu bar immediately to the right of the help menu is the layout dropdown box. Change the layout to Default.
- The seams are no longer needed. You may clear them by selecting all with the a key followed by clicking the clear seams button on the toolbar to the left of the 3D viewport under UV mapping.
Applying a Material
Applying a material is important as well as it's where the export script learns what material shader to apply to each object.
- Change back to object mode using the mode selection box.
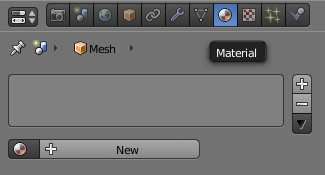
- Ensure the cube is selected and open the material properties on the right.
- Add a new material to the object.
- Open the texture properties and select the first texture channel.
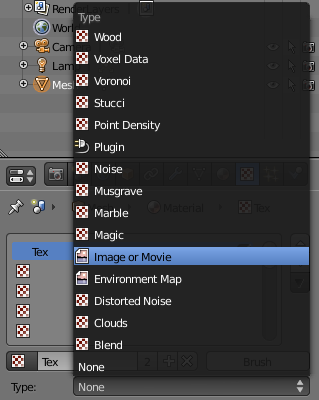
- Change the type to image.
- Scroll down to the image properties and add a new image.
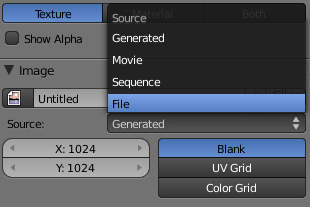
- Change the source to file.
- In the file name text box type the full material shader name.
At this point the object should be ready for export. If you have multiple objects you'd like to export as an .ASE you'll need to uv map and apply a material to them separately.
Appendix B. Preparing Vertex Blended or Colored Material Shaders
Generally this is a matter of opening up one or multiple material shader(s), mixing and matching portions of them, making a few modifications, and saving the newly created material shader with a unique name.
In section four I outlined the difference between vertex blended and vertex colored material shaders. I'm going to assume you've grasped the concept and know which of the two you're after.
It would also be of great benefit if you studied the texturing documentation available here along with a few existing materials that make use of vertex colors like textures/rock/dirt03_sharprock3.
Vertex Blended
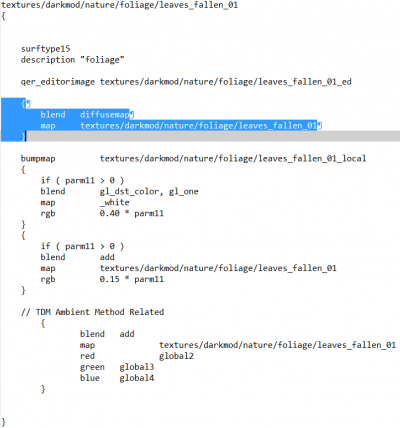
- Open DarkRadiant along with a plain text editor like notepad.
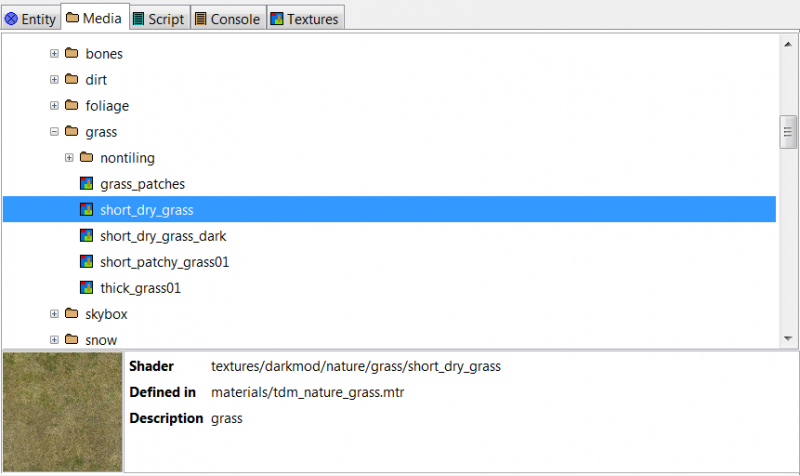
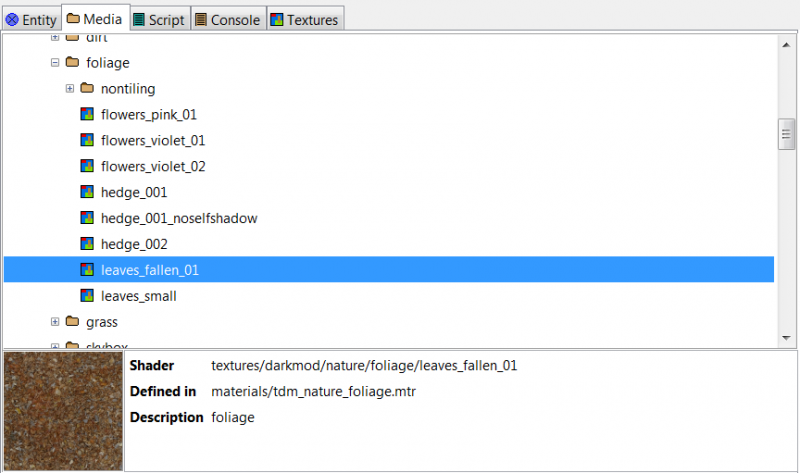
- In the media browser identify the first material you'd like to use.
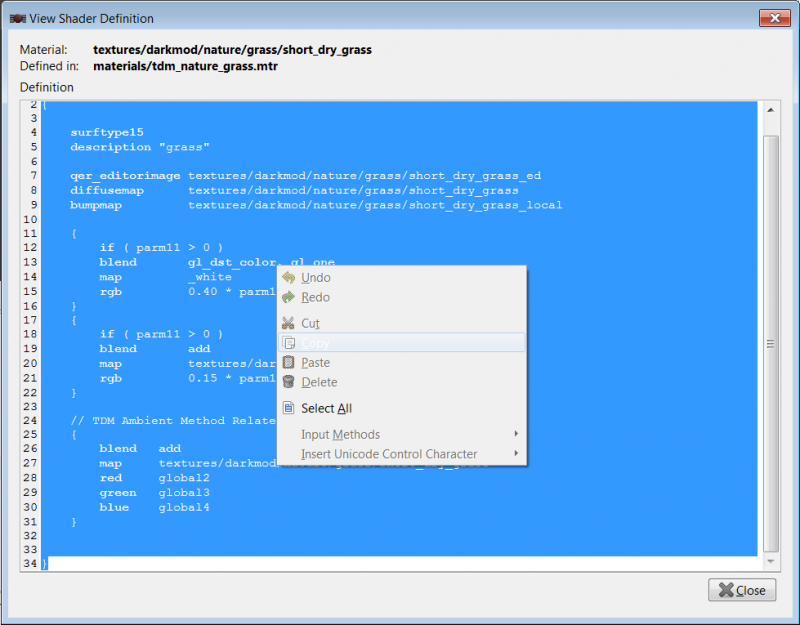
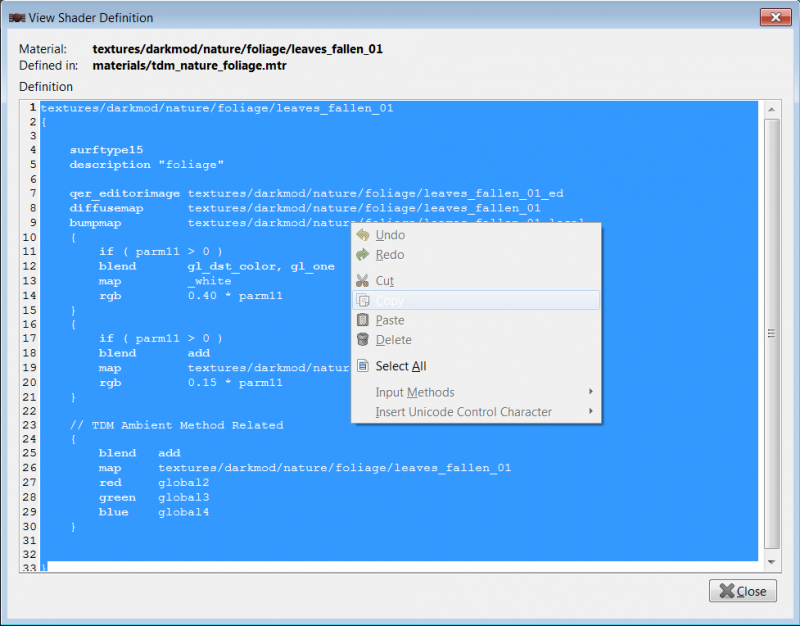
- Right click it and select show shader definition.
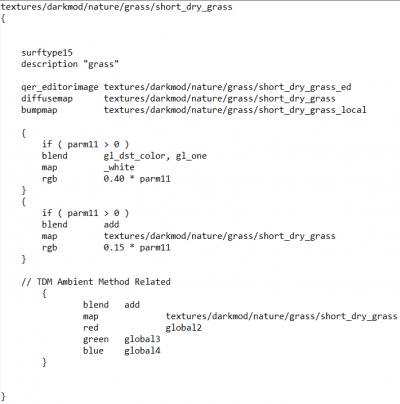
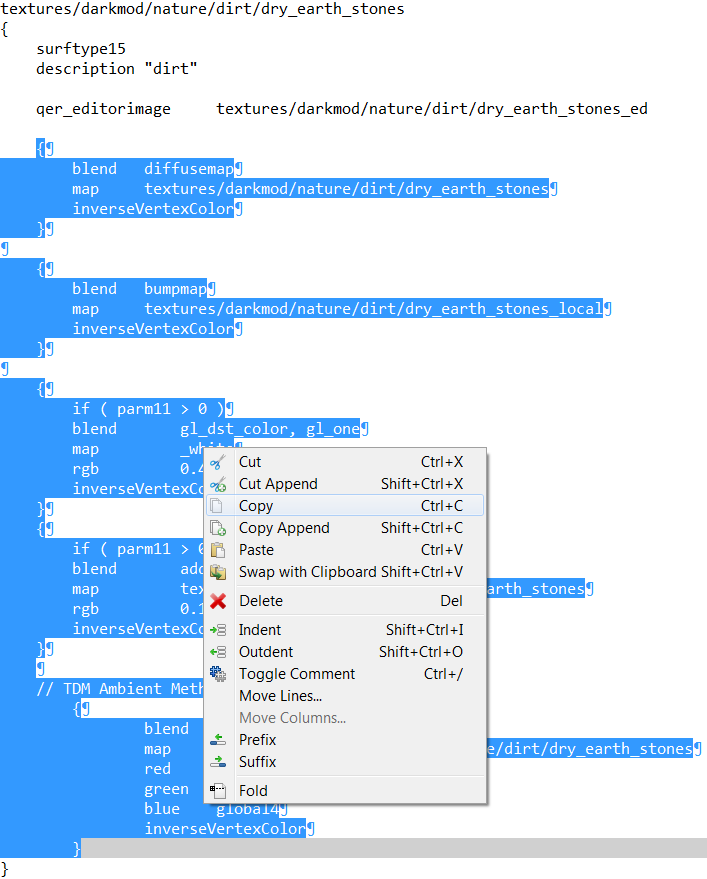
- Copy the text that makes up the material shader into your text editor.
- Repeat this process for a second material adding the additional text to the bottom.
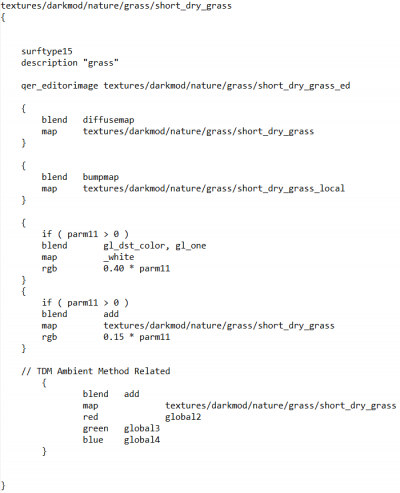
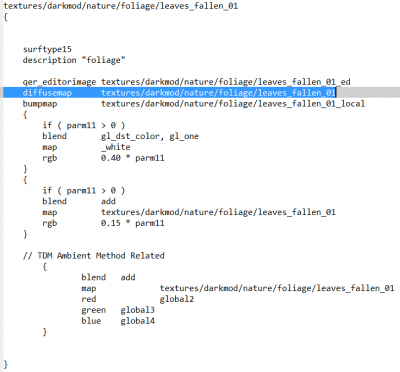
- In your text editor break any diffusemap, bumpmap, or specularmap keywords into stages.
- Remove any image processing keywords like addheightmap if present so only the most logical image reference remains.
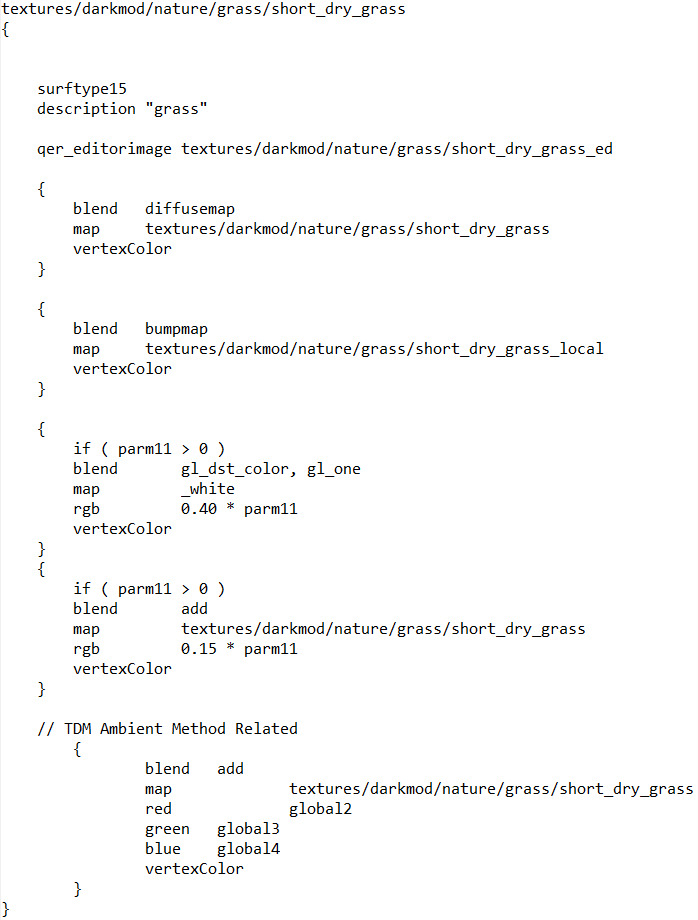
- In the first material shader, add the keyword vertexColor to each stage.
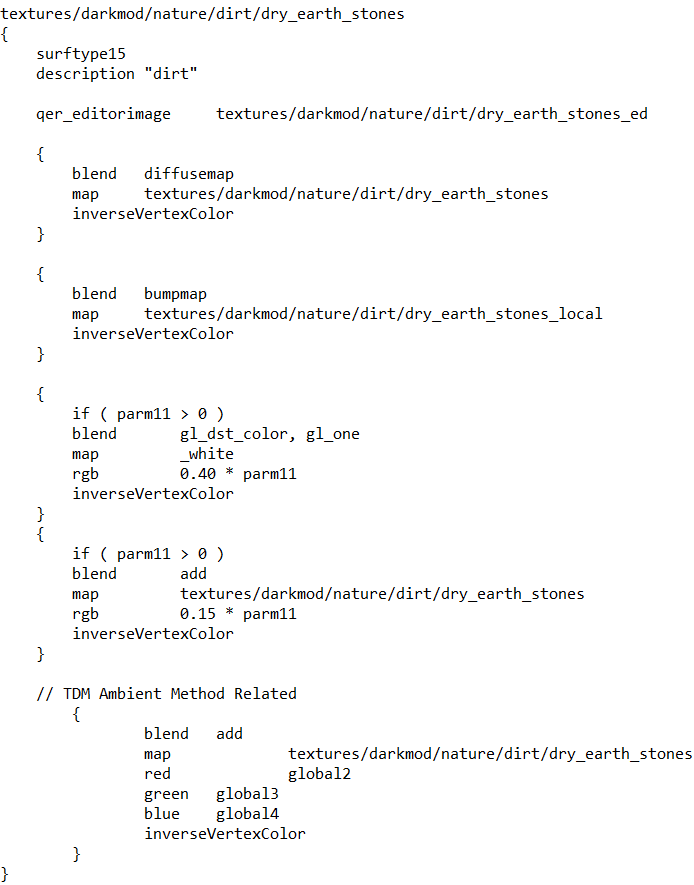
- In the second material shader, add the keyword inverseVertexColor to each stage.
- Cut and paste the stages from the second material shader into the end of the first.
- Delete the remnants of the second material shader.
- Rename the remaining material shader so that it has a unique name.
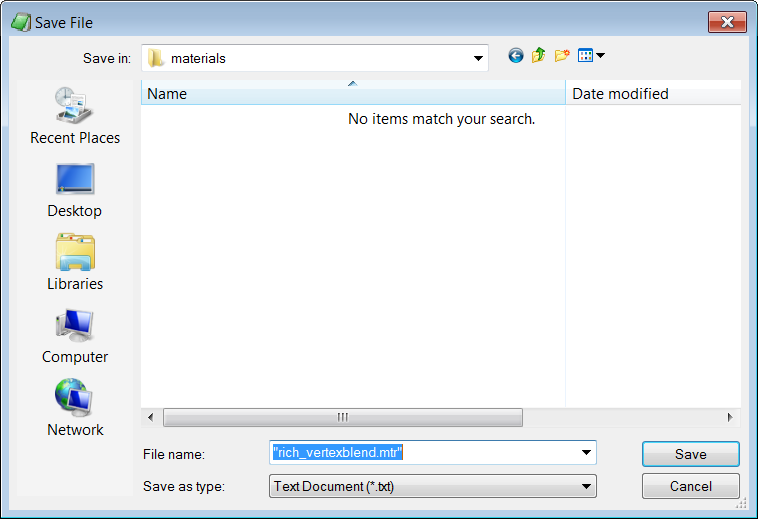
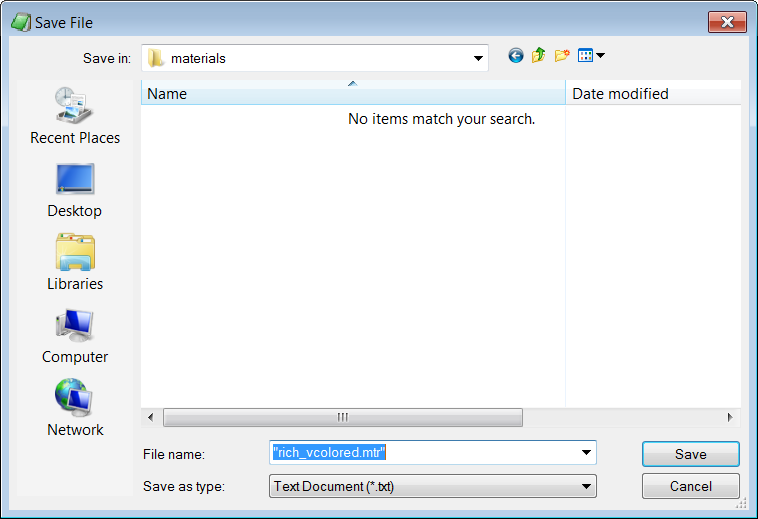
- Save it as an .mtr file.
- Place it in the materials subfolder within your mod directory.
Vertex Colored
- Open DarkRadiant along with a text editor.
- In the media browser identify the material you'd like to use.
- Right click it and select show shader definition.
- Copy the material shader into your text editor.
- In your text editor break the diffusemap keyword if present, into a stage.
- Add the keyword vertexColor to the diffuse stage.
- Rename the modified material shader so that it has a unique name.
- Save it as an .mtr file.
- Place it in the materials subfolder within your mod directory.
