Systematic Method for Adding Pathfinding to Uneven Terrain: Difference between revisions
Created page with "''originally written by Dragofer'' For more information on pathfinding, see Pathfinding. = Concept = This method may be used for surfaces with irregular terrain, which..." |
mNo edit summary |
||
| (One intermediate revision by one other user not shown) | |||
| Line 8: | Line 8: | ||
| | ||
| | ||
= | = Preparing the grid = | ||
Make a large monsterclip brush that covers your whole terrain. Its height should span from the bottom of the map area to above even the sky or ceiling brushes, so that it may be clicked on easily from above. | Make a large monsterclip brush that covers your whole terrain. Its height should span from the bottom of the map area to above even the sky or ceiling brushes, so that it may be clicked on easily from above. | ||
| | ||
| Line 23: | Line 23: | ||
| | ||
= | = Using the grid = | ||
Disable the filter for entities, set your DarkRadiant grid size to 8, go into the side orthoview to select the protruding tops of all your monsterclip brushes, hit v to swap to vertices mode and lower all the top vertices just enough that the highest point of your terrain is still covered in monsterclip. | Disable the filter for entities, set your DarkRadiant grid size to 8, go into the side orthoview to select the protruding tops of all your monsterclip brushes, hit v to swap to vertices mode and lower all the top vertices just enough that the highest point of your terrain is still covered in monsterclip. | ||
| | ||
| Line 40: | Line 40: | ||
= | = Making steps between the blocks = | ||
Some blocks may be considerably higher than their neighbouring blocks, so that steps must be added. Not all AI can handle 16-unit steps, so it is advisable to use 8-unit steps for this method. | Some blocks may be considerably higher than their neighbouring blocks, so that steps must be added. Not all AI can handle 16-unit steps, so it is advisable to use 8-unit steps for this method. | ||
| | ||
| Line 53: | Line 53: | ||
| | ||
= | = Monsterclipping the perimeter = | ||
Unhide the map and create a tall brush that spans from the lowest monsterclip block surface to the top of the map area, which is then deleted again. This will inform DarkRadiant how tall brushes should be that are created while in top-down orthoview. | Unhide the map and create a tall brush that spans from the lowest monsterclip block surface to the top of the map area, which is then deleted again. This will inform DarkRadiant how tall brushes should be that are created while in top-down orthoview. | ||
| | ||
| Line 78: | Line 78: | ||
[[image:MC_Uneven8.png]] | [[image:MC_Uneven8.png]] | ||
{{tutorial-editing}} | |||
Latest revision as of 22:55, 28 November 2023
originally written by Dragofer
For more information on pathfinding, see Pathfinding.
Concept
This method may be used for surfaces with irregular terrain, which includes many outdoor areas. It will create a grid of monsterclip floor brushes, where the top surface of each brush is brought to match the height of the terrain at that location. Steps are added wherever there is a great difference in height between two adjacent brushes. The map boundary is traced by brushes created on an 8-unit grid.
Preparing the grid
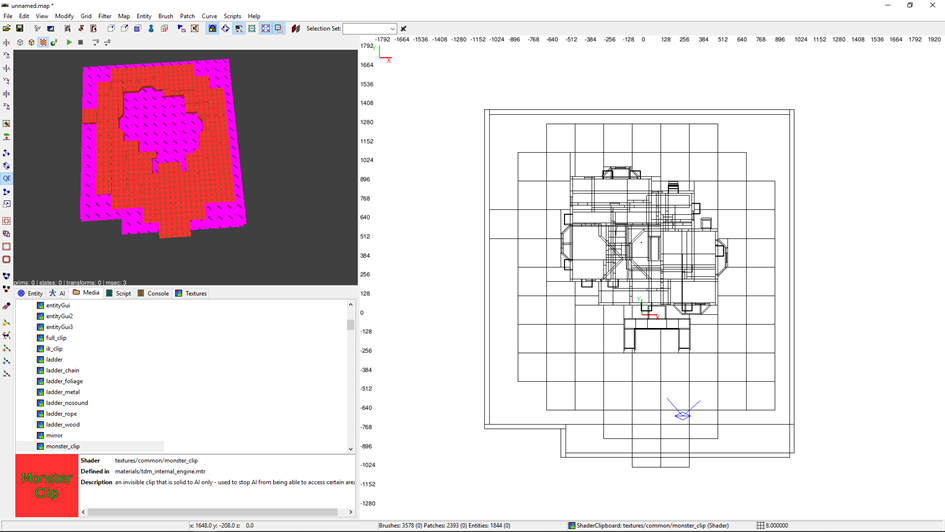
Make a large monsterclip brush that covers your whole terrain. Its height should span from the bottom of the map area to above even the sky or ceiling brushes, so that it may be clicked on easily from above.
Go to your preferences and ensure your clipper tool does not use caulk. Switch to the top-down orthoview and use the clipper tool to cut this brush up into blocks so that you get a grid. A good size would be 192x192 units per block, but you could use smaller or larger blocks if your terrain is highly uneven (i.e. boulder landscape) or quite flat, respectively.
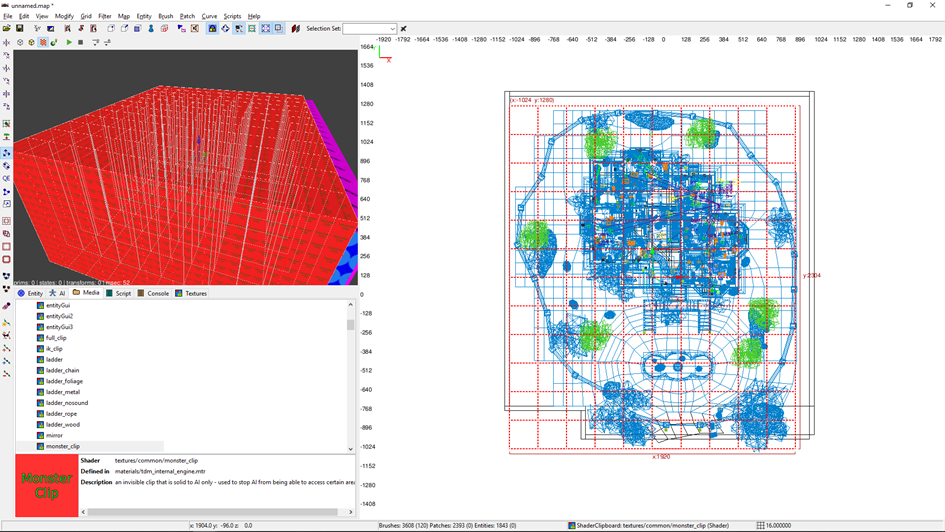
Delete any blocks that do not touch the terrain. If there is a structure with worldspawn brushes within the terrain, like the mansion in the image, then enable the filter for entities and use the clipper to remove those parts of the monsterclip brushes that overlap with the house.
Using the grid
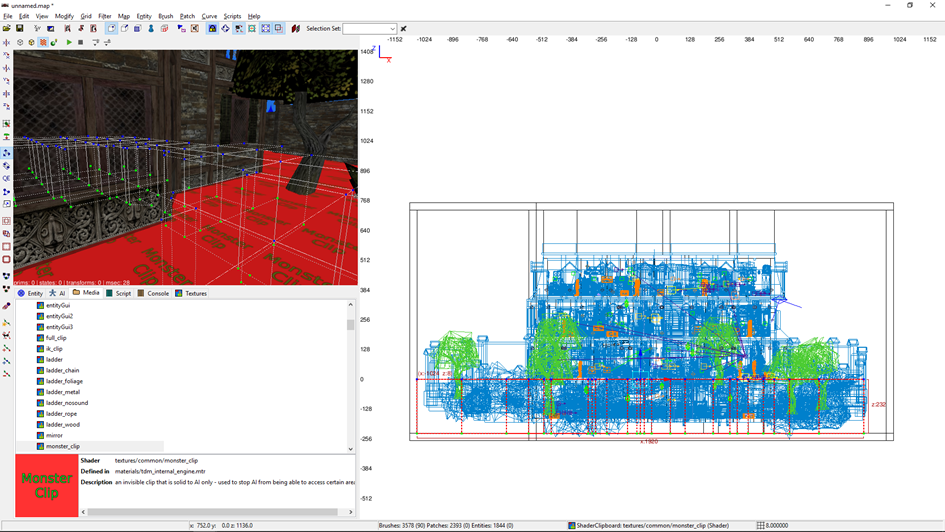
Disable the filter for entities, set your DarkRadiant grid size to 8, go into the side orthoview to select the protruding tops of all your monsterclip brushes, hit v to swap to vertices mode and lower all the top vertices just enough that the highest point of your terrain is still covered in monsterclip.
Now use the resize tool to lower the top surface of each block so that it intersects with your terrain. This does not have to be very exact because there is around 30 units tolerance in both vertical directions. If a brush is completely covered by impassable entities it can be deleted.
Making steps between the blocks
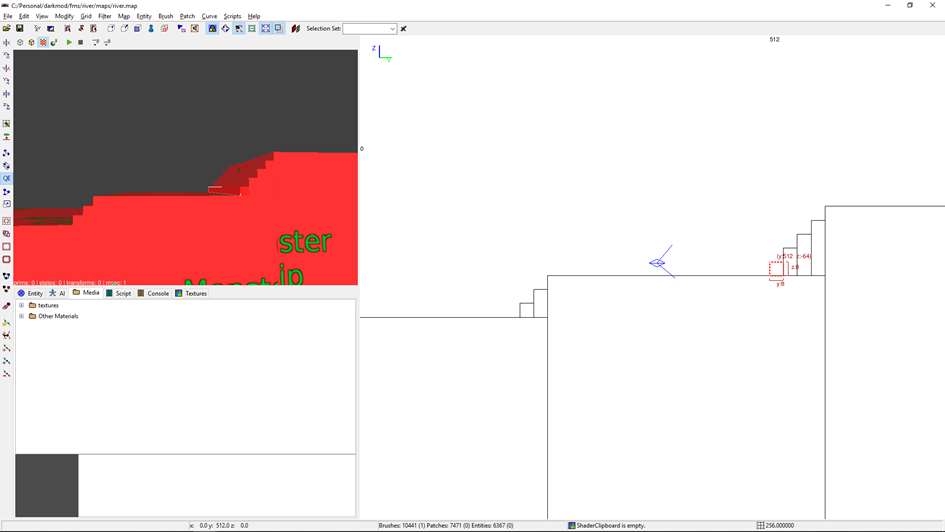
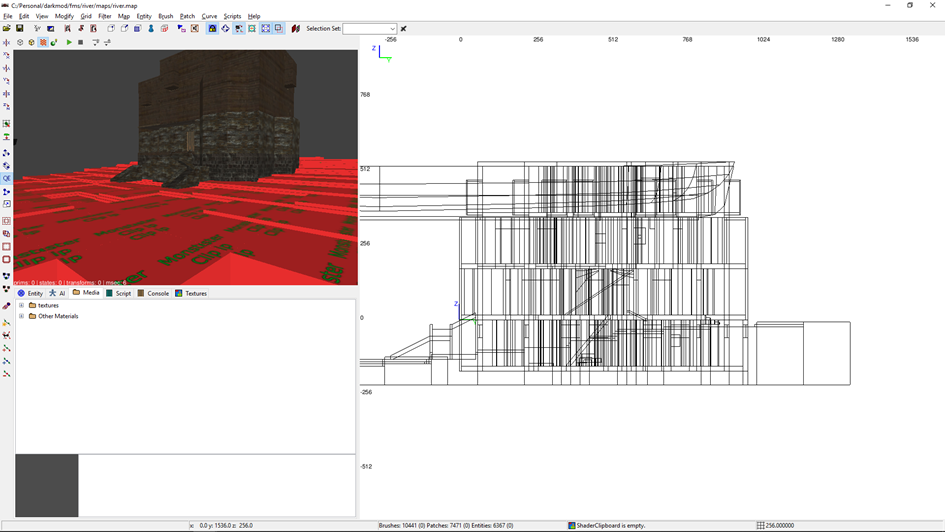
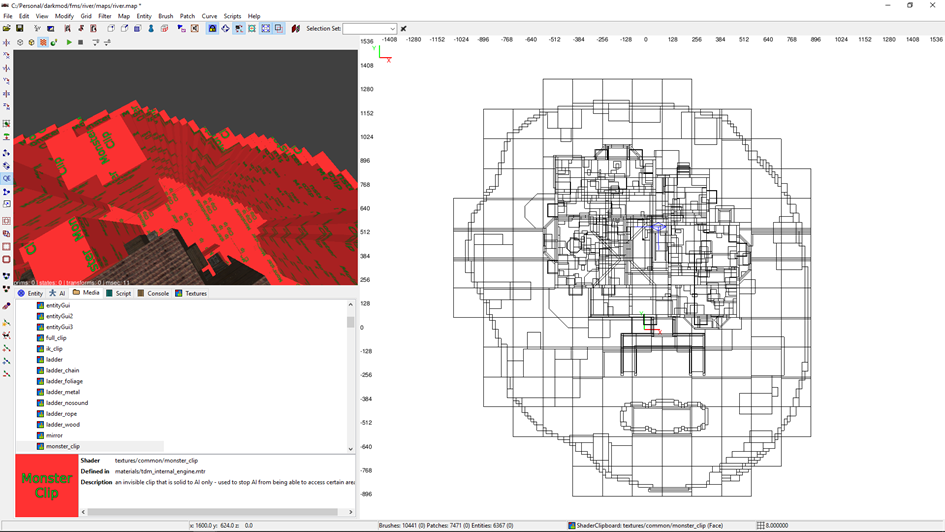
Some blocks may be considerably higher than their neighbouring blocks, so that steps must be added. Not all AI can handle 16-unit steps, so it is advisable to use 8-unit steps for this method. Start by hiding everything except monsterclip: enable the filter for monsterclip, select & hide your whole map, then disable the filter for monsterclip. Now use the camera view to identify where steps are needed and add them as shown. Thanks to shading in the camera view it is relatively straightforward to identify which surfaces are vertical and which ones protrude by more than 8 units, as shown in the second shot.
Monsterclipping the perimeter
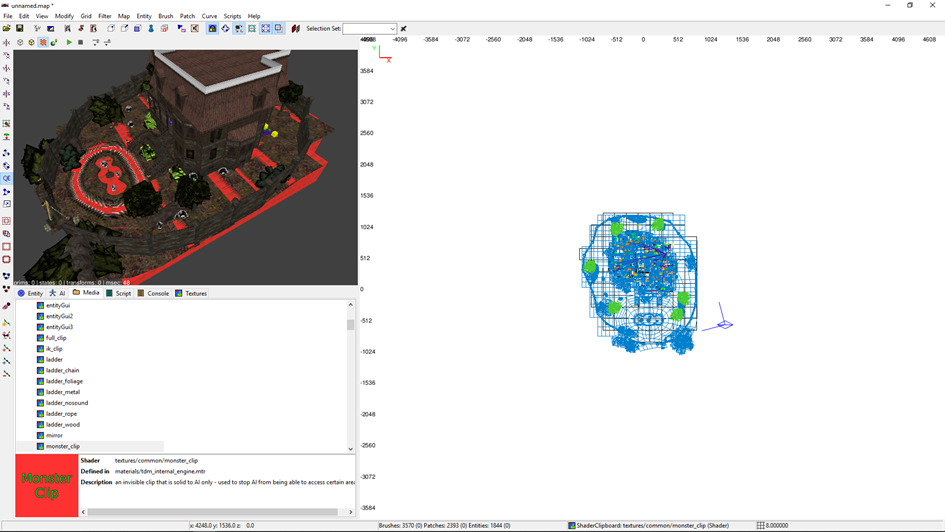
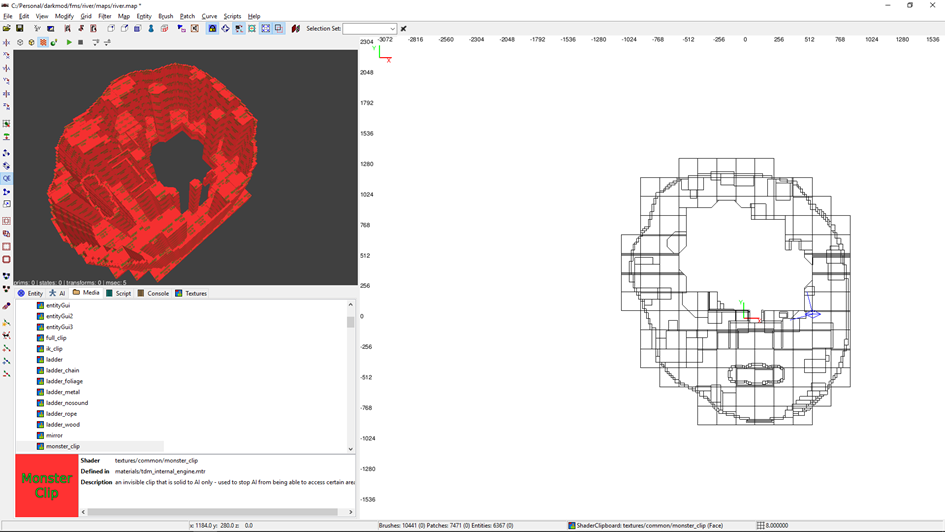
Unhide the map and create a tall brush that spans from the lowest monsterclip block surface to the top of the map area, which is then deleted again. This will inform DarkRadiant how tall brushes should be that are created while in top-down orthoview. Switch to the top-down orthoview and trace the terrain's boundary, i.e. rocks & trees, with monsterclip brushes on an 8x8 grid. Use the camera view to ensure that these objects are completely behind monsterclip: AI can get stuck on any pieces that might stick out, such as branches. Objects within the terrain can be monsterclipped normally. Remember that AIs need over 32x32 units of space, so ideally you should fill up any alcoves that are 32 units or smaller.
Testing
For testing you can have an AI chase you row-by-row, then column-by-column while you fly backwards with noclip enabled. The AI should always follow in a straight line.
Result
This has applied highly quadrangular monsterclip to an organic environment that should fit well to TDM's 32x32 unit pathfinding system. This may be initially more labour-intensive than doing the monsterclip by eye, but the approach is systematic so that all areas should be covered correctly from the outset.
Note how the non-floor monsterclip brushes in this image all reach the ceiling. This is to avoid that their top surfaces are included in pathfinding calculations, even though they can't be accessed.
