Vertex Painting in Lightwave: Difference between revisions
No edit summary |
No edit summary |
||
| Line 17: | Line 17: | ||
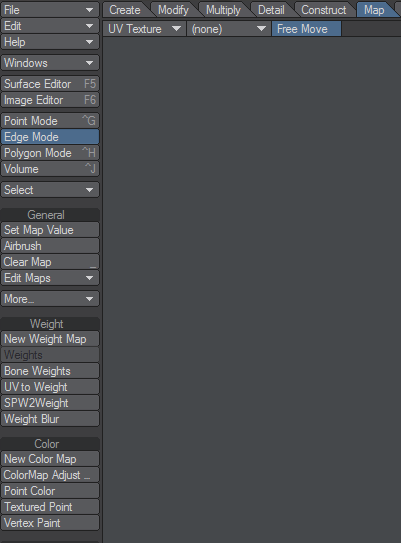
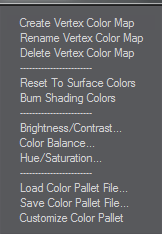
Next we're going to paint black and white vertex colors to define material blending. To find the painting window you'll have to go to the Map tab and find Vertex Paint under Color. | Next we're going to paint black and white vertex colors to define material blending. To find the painting window you'll have to go to the Map tab and find Vertex Paint under Color. | ||
[[File:Vertex Paint Tut | [[File:Vertex Paint Tut 005.png]] [[File:Vertex Paint Tut 006.png]] | ||
== Step 3: Final Model and Material == | == Step 3: Final Model and Material == | ||
Revision as of 04:02, 15 August 2017
Here we'll discuss from start to finish, a Vertex Color Map on a model converted from Dark Radiant brushwork. Software you'll be using are Dark Radiant and Lightwave Modeler. How you procure a copy of Lightwave is entirely up to you; I happen to be using Lightwave Modeler 11.5 for this tutorial. It's worth noting that Lightwave saves it's model data into the proprietary binary file type LWO. LWO is one of two primary formats supported to run in the Doom3 engine (the other being ASE). This painting method can be done in either format but LWO is by far a superior type as it usually only amounts to mere kbs of data for multiple files.
This tutorial already assumes you know how to create levels and manage brushwork in Dark Radiant. After covering this tutorial you should cleanly be able to add in material blending to your levels, with no modeling skills required.
Step 1: Prep and Export Brushwork
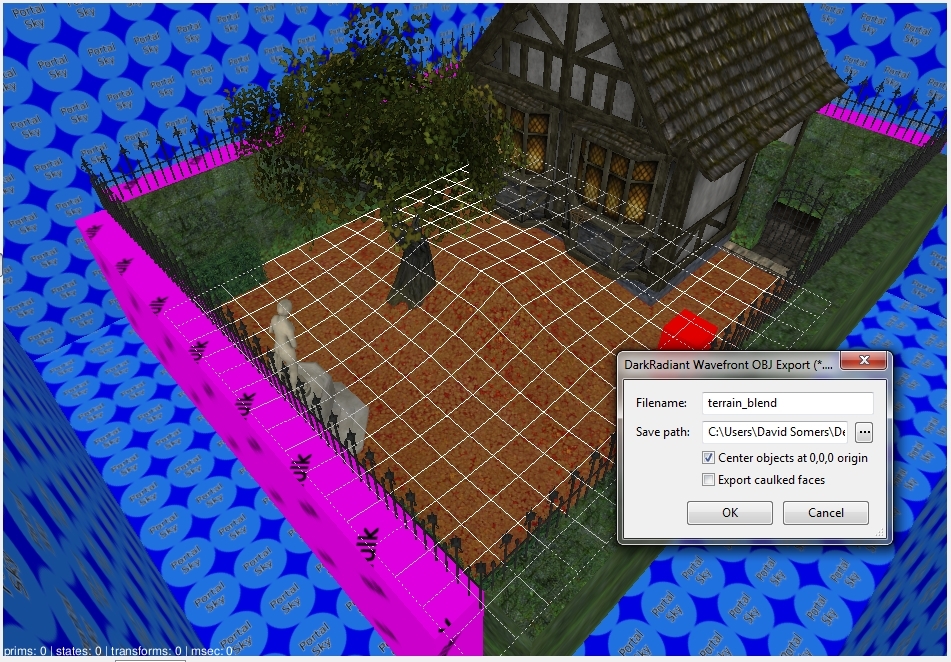
Here I already have a prepped small space done up in DR. It's important that you do you texture and scale the surface properties to your liking. When we export this data in the OBJ script, this will be used as your UV data in Lightwave. When ready to export in DR go Scripts>ExportOBJ and be sure to center objects.
Step 2: Importing and Painting in Lightwave
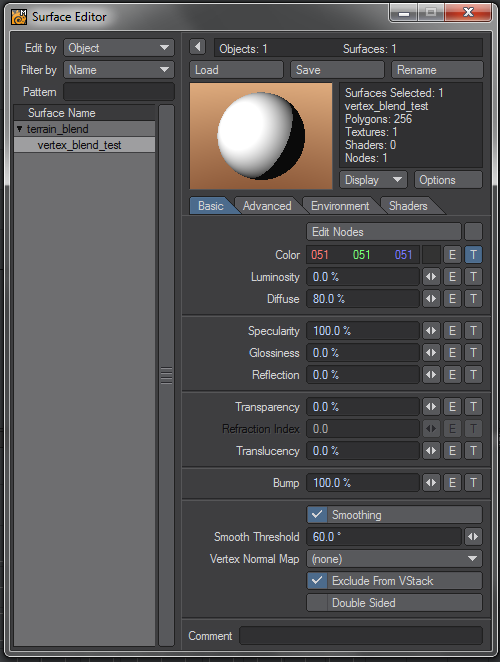
Now it's time to head to Lightwave and open your OBJ file you've exported. First thing you'll want to do is press F5 to bring up the Surface Editor panel. Two things you'll want to do is check smoothing on and find a good value (I use 60 degrees) and then press rename in the top right corner to specify the material name you want to embed in the saved LWO. Here I use vertex_blend_test for my example material name and it must be devoid of typos to match the name we'll declare in the MTR later.
Next we're going to paint black and white vertex colors to define material blending. To find the painting window you'll have to go to the Map tab and find Vertex Paint under Color.


