Swimmable Water: Difference between revisions
(fixed images) |
|||
| Line 4: | Line 4: | ||
== Create some walls == | == Create some walls == | ||
[[Image:Watertutorial1.jpg]] | |||
In this example, I made this little rectangular pool, but you can also use differently shaped structures. | In this example, I made this little rectangular pool, but you can also use differently shaped structures. | ||
| Line 15: | Line 15: | ||
[It has now been recommended that nodraw solid be used instead of nodraw as sometimes the water fails to function. - Fidcal] | [It has now been recommended that nodraw solid be used instead of nodraw as sometimes the water fails to function. - Fidcal] | ||
[[Image:Watertutorial2.jpg]] | |||
== Create the entity == | == Create the entity == | ||
| Line 21: | Line 21: | ||
In [[DarkRadiant]]: Select your brush, RMB -> Create Entity -> func_liquid | In [[DarkRadiant]]: Select your brush, RMB -> Create Entity -> func_liquid | ||
[[Image:Watertutorial5.jpg]] | |||
In the Entity Inspector you can see that the classname is now func_liquid, and the name func_liquid_1 (or a higher number if there are also other water sources present) | In the Entity Inspector you can see that the classname is now func_liquid, and the name func_liquid_1 (or a higher number if there are also other water sources present) | ||
| Line 31: | Line 31: | ||
Select the face that is going to be the surface (Ctrl - Shift - LMB) and texture it with a nice water texture, for example Water_source/water_clear. | Select the face that is going to be the surface (Ctrl - Shift - LMB) and texture it with a nice water texture, for example Water_source/water_clear. | ||
[[Image:Watertutorial6.jpg]] | |||
Do not assign the water texture to the whole brush, or you will see this: (You can also get rid of that z-fighting by dragging the brush into the wall so that it insersects with it.) | Do not assign the water texture to the whole brush, or you will see this: (You can also get rid of that z-fighting by dragging the brush into the wall so that it insersects with it.) | ||
[[Image:Watertutorial4.jpg]] | |||
== Test your water == | == Test your water == | ||
[[Image:Watertutorial3.jpg]] | |||
And there it is! | And there it is! | ||
{{tutorial-water}} | {{tutorial-water}} | ||
Revision as of 13:48, 17 November 2007
{{missing-image}} from the article.written by angua
Create some walls
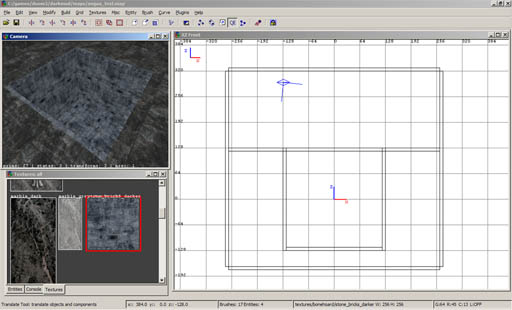
In this example, I made this little rectangular pool, but you can also use differently shaped structures.
Fill in your water
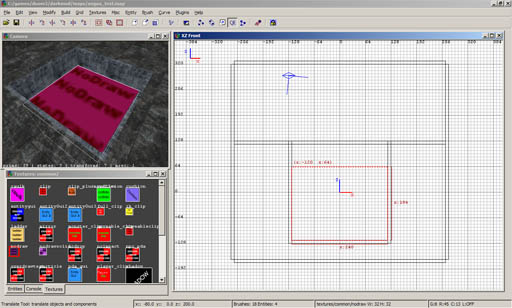
Draw a brush that is going to be your water volume and texture it with common/nodraw
[It has now been recommended that nodraw solid be used instead of nodraw as sometimes the water fails to function. - Fidcal]
Create the entity
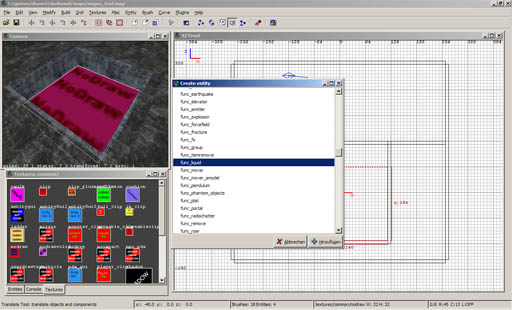
In DarkRadiant: Select your brush, RMB -> Create Entity -> func_liquid
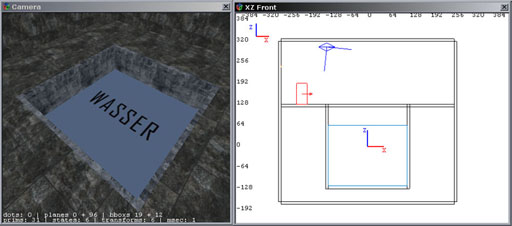
In the Entity Inspector you can see that the classname is now func_liquid, and the name func_liquid_1 (or a higher number if there are also other water sources present) It should also have a blue outline in the orthographic view (The XZ Front in this case)
Texture the surface
Select the face that is going to be the surface (Ctrl - Shift - LMB) and texture it with a nice water texture, for example Water_source/water_clear.
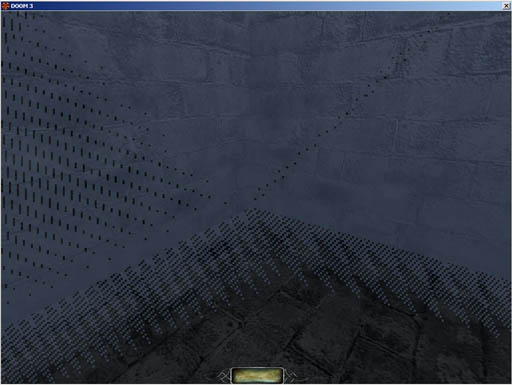
Do not assign the water texture to the whole brush, or you will see this: (You can also get rid of that z-fighting by dragging the brush into the wall so that it insersects with it.)
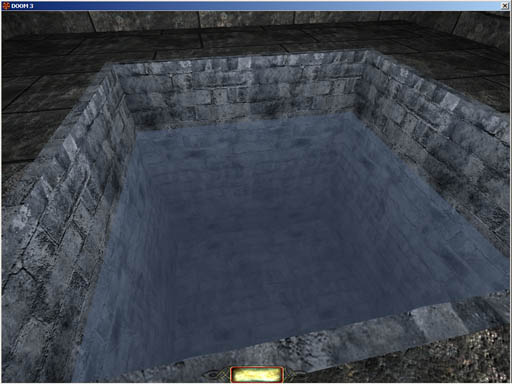
Test your water
And there it is!
