Patch constructions
This is a wiki article containing basic tutorials on how to create different contructions using patches. For an overview on working with Patches, see [[1]].
- This is a working stub
T intersection on cylindrical tunnels
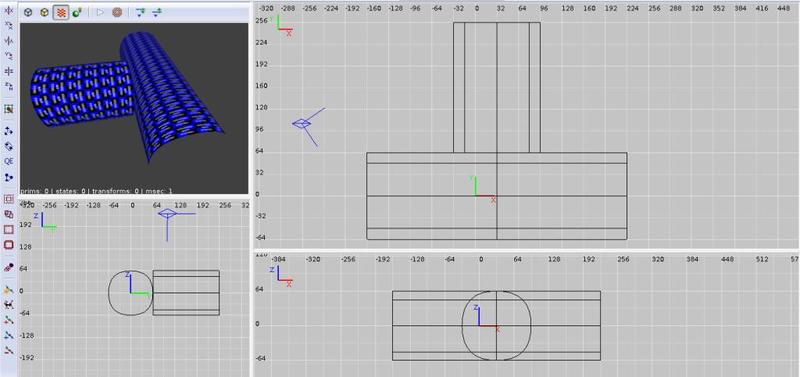
1- Start with 3 identical cylinder patches, all with the same dimensions and constrained to the grid (press CTRL+V with the 3 of them selected; it's just easier this way and you can always re-model after they are joined).
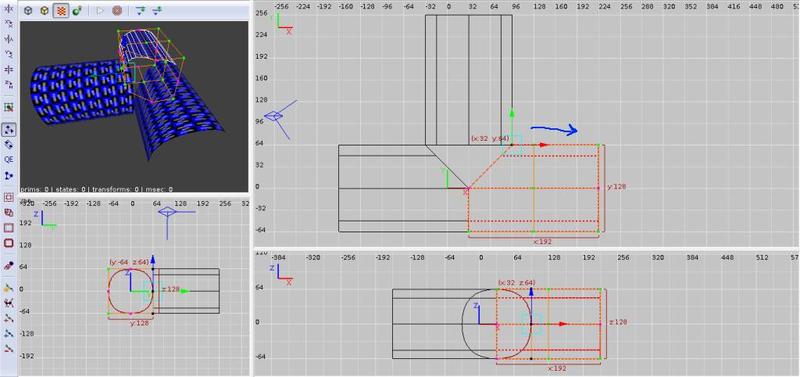
2- Go to vertex editting mode (press V with the patch you want to work with selected) then just box select the vertex rows indicated on the image, and Move them to the border of the perpendicular patch, so that they share the same grid position (do that with both botton ones).
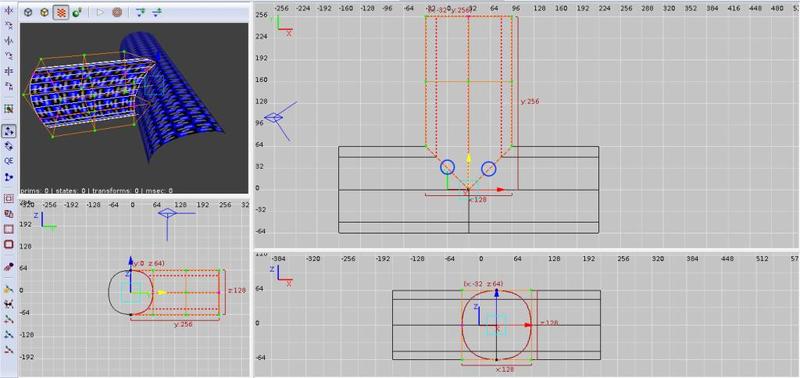
3- Select the upper patch, and on vertex editting mode, box select the middle row of control points, and move it down in order to meet with the middle control points of the botton patches, closing the gap. As indicated by the blue circles in the picture, you need to line up all additional border control points (if there are any) on each intersecting patch surface, so they would form a perfect 45º angle. That’s why all cylinders must have the exact same number of control point rows, with dimensions that are divisible by the grid, so that all the control points anywhere on the intersection can be placed over it.
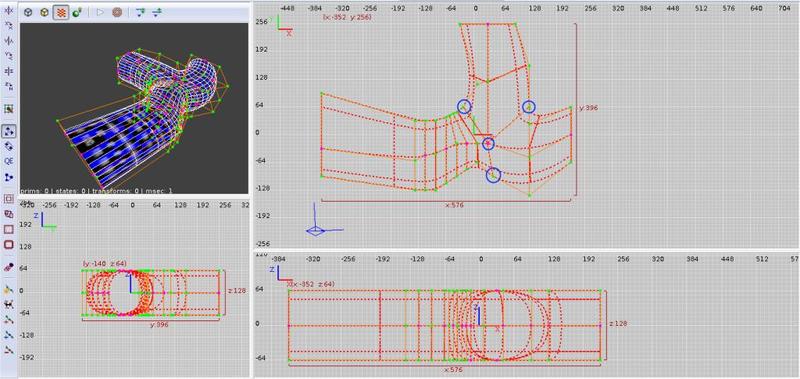
4- After the "connection" is done (they are not really connected, just sharing the same point positions in space), you can box select everything and move the intersection control points around to create whatever shape (keeping the "merged" points together, as seen in the blue circles).


