Texture Tool Example 01

From The DarkMod Wiki
Jump to navigationJump to search

Back to Texture Tool

Introduction

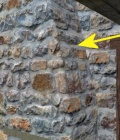
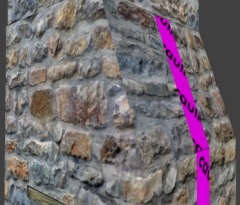
ChimneySlope.jpg

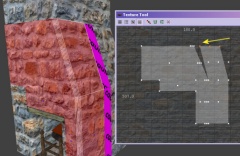
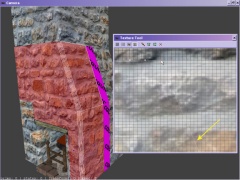
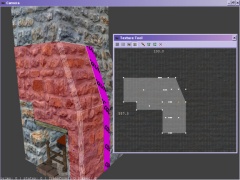
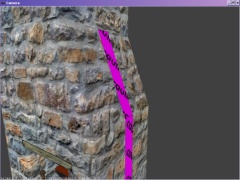
In this patch example there is a sloping chimney above a fireplace. This is made of brushes (with narrow patch bevels to soften the edges.) You can see from the image on the right that the texture on the slope pointed to by the yellow arrow aligns at the base of that slope with the front surface of the chimney on the left. But higher up the slope it does not align (indeed cannot, with a brush except perhaps with a custom texture.) If you scroll the texture along to align the top then it will not align further down.

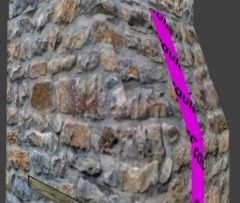
ChimneyPatch.jpg

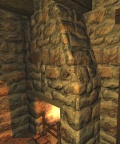
To fix this I retextured the sloping surface with caulk and placed a patch exactly over it with the required texture. I aligned this with the texture below that slope to start with in the normal way (using copy shader then paste shader natural.) With the patch selected I used the texture tool, selected the top row of vertices and LMB dragged sideways to the point where the texture just to the left of the edge matched (actually the edge bevel in this case but it would be the same for just a brush edge.) I kept the top vertex line horizontal. DeSelect and the result is a perfect match as you see in the image on the right.


Here are the step by step details...


Step by Step Alignment

To clarify the introductory example, here is how I did it step by step. Just to summarise we need to align the texture on a sloping surface with its neighbouring surfaces to its left and below..


Textool01.jpg
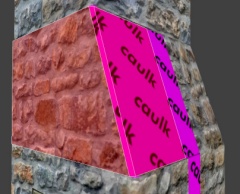
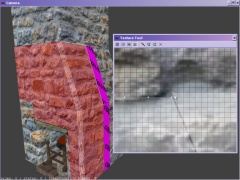
First I retextured the sloping surface with caulk as it will be hidden by a new patch surface. This image shows the brush with its sloping side caulked. The edge between that surface and the front surface was cut off at 45 degrees and caulked and covered with a bevel previously, here removed so you can see the whole brush clearly. The vertical strip of caulk you can see is just where the wall would be for this chimney fireplace.
Textool02.jpg
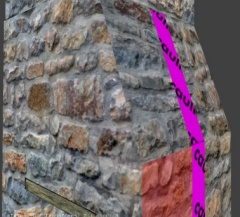
In this next image you can see I UNhide the bevel edge and you can just about see it is already aligned with the front surface.
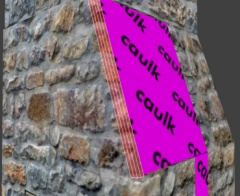
Textool03.jpg
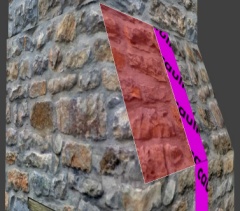
Next I place a simple rectangular panel patch over the sloping surface, textured it but not yet aligned. Aligning this is the entire subject of this example. Note the edge bevel blends in naturally now I have removed the highlight.
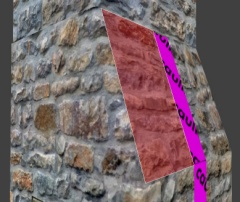
Textool04.jpg
The same view but with that patch unselected and you can clearly see it is not aligned left or below. In this example I am not concerned with aligning it to its right because it will be against a wall (but I will mention what to do later if you need to align both sides.) Nor am I going to align it above because for my use it disappears into the ceiling.


Textool05.jpg
Now I select the brush surface below the patch. Even though the patch above it slopes away I can easily align these in the normal way because the edges are square to each other. With the brush surface selected I copy its texture to Dark Radiant's shader clipboard using either menu > edit > copy shader or Click the middle mouse button.


Textool06.jpg
Next select the sloping patch above it and use menu > edit > paste shader (natural) or Shift+Click the middle mouse button. Do not just use paste shader but use paste shader natural to paste to patches and it will adjust for curves, slopes, etc. The sloping texture should now be aligned with the brush surface below it.
Textool07.jpg
Here you can see more clearly without the highlight that top and bottom are aligned but the slope is still not aligned to the front surface on its left.
Textool08.jpg
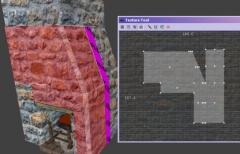
OK, that was the preliminaries now we are ready to actually use the texture tool. First I selected about six surfaces - about five brush surfaces, two bevel edges and the sloping surface we want to align. You don't need all those surfaces to be selected - just the sloping patch and the bevel on its left would do - I am only doing so to demonstrate in texture tool how you can have multiple surfaces selected and I think in this case it also makes it clearer which surface we are interested in - the one at top right - to the right of the V notch. You can see our surface (actually sloping patch) is a rectangular panel and the brush surface to its left has its right side cut away at an angle. Now you can see why they do not align - there is a texture gap between them (the top of the sloping panel is also slightly high) so we need to close the gap...
Textool09.jpg
Now there are two ways to do this depending on the situation. If you had yet another surface on the other (right) side of our sloping patch and need to keep aligned with that then you would need to stretch the texture coverage in texture tool to bridge the gap. You could do that by dragging just the top left vertex across the gap. That works but it does stretch the texture somewhat. In many cases that is fine. You have to use your own judgement. It depends on the type of texture and how much it has to be stretched. By its very nature there must be some distortion but in this case it would not be noticeable. The stones in the texture are irregular and nobody would be concerned if some stones are 10 or 15% wider. However we do not need to do this because in this example the right side is against another wall. Instead we slide the entire texture coverage across but keeping the same width. To do this we have to drag ALL the top line of vertices. Select the top three one by one using Shift+Click the left mouse button until all three turn red. Now Click the left mouse button drag them towards the top right vertex of the bevel patch on its left (in the direction of the yellow arrow in this image which shows it only dragged half way.)
Textool10.jpg
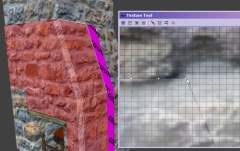
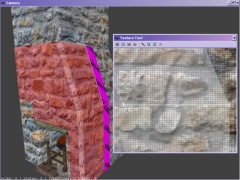
In this zoomed-in image I have almost closed the gap and the top left vertex of the three is almost touching the top right vertex of the bevel patch but you can see the sloping patch texture is not grid-snapped even though I have reduced the grid size to the minimum.
Textool12.jpg
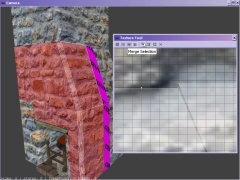
Do NOT be tempted to select the top right vertex of the bevel and use the Merge feature. That would be fine for a brush but with a patch it would move all the vertices to the one spot. And if you just select only the two shown then it will move one or the other but will not align the whole patch. No we need to grid snap...
Textool13.jpg
So with just the top three vertices of our sloping patch selected (NOT the bevel at all) click the third button along Snap to Grid and all three vertices will jump to the nearest grid line (the left-most one here indicated by the white Windows mouse cursor. In this case they are not in line with the bevel vertex so we also need just to drag them down one grid square...
Textool14.jpg
Now they align but NOTE: the yellow arrow is pointing to a pale line along the old gap. This is a tiny overlap which also needs adjusting...
Textool15.jpg
The patch is gridsnapped OK but one grid square too low at the bottom. Just highlight those three and drag them up one square.
Textool16.jpg
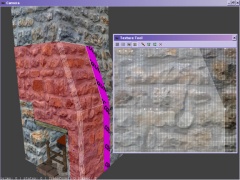
Now they are all aligned. Just to clarify this image, on that bottom horizontal line we just dragged, the three white squares close together on the left are the bottom of the bevel with the left vertex of our sloping patch on top of the rightmost of those three exactly aligned.
Textool17.jpg
Zoom out now and you can see how everything is in line and the top of the sloping patch is still the same width dragged to one side - it is not stretched at all so the stonework should be near perfect. In fact we had to drag down the top very slightly which means the texture scale is slightly bigger. This is because the distance along this slope is greater than it would be if it were vertical.
Textool18.jpg
Tada! The final alignment and you can see it looks pretty good.

Back to Texture Tool